My family was recently given the opportunity to review Exact Change, a card game that
uses cards of various colors and values to teach your kids how to count money. The
cards come in four colors and all the basic denominations up to one dollar. In addition,
there are “Loose Change” cards, Wild cards and others I’ll detail a little later in this
article.
Game play is fairly simple. Each player gets seven cards, with the remaining cards
placed face down in a draw pile and one card placed next to it face up to start the discard pile. The player then draws a card and has several possible options. They can: 1) discard a card of the same value
2) discard a card of the same color
3) discard multiple cards that add up to the value of the card played
If the player has nothing they can play on the top card in the Discard pile, they must continue to draw cards until they get a play. The first player who gets rid of all the cards in their hand wins that round.
For example, my son discards a blue $1.00 card. I look in my hand and see a blue card and a yellow $1.00 card. But I also see 3 quarters, 2 dimes and a nickel. Guess who just got rid of six cards on one play!
That quickly taught the kids a basic strategy of the game, which is to discard your lowest-value card for the next player to deal with. This discovery, coupled with the fact that three of our 4 boys were beginners to the concept of counting change, made the first round a little long . . . be prepared for this.
The instructions also recommend starting with the basic denominations before adding the extra cards. These include:
• Wild Card: can be used for any color or value, but the player must state the color and value they are claiming for it
• Loose Change: these are cards of various amounts which require the player to add up multiple cards to play ($1.06, for example)
• Bank Withdrawal: you can choose another player to randomly draw a card from your hand and add it to theirs
• Collect Tax: everyone EXCEPT the player who play this card must draw a card from the draw pile and add it to their hand
Scoring is somewhat random. The player who has discarded all of their cards gets to choose one other player who still has cards and add up all the currency value of their hand. This is the amount they get to add to their total. The first player to get to $2.00 wins!
As mentioned earlier, play can take a while if you’re working with beginners. On the plus side, our boys caught on quickly, and we were able to start incorporating the other cards. We started with the Wild cards, then the Loose Change cards. Then, finally, we added the Bank Withdrawal and Collect Tax cards. We found this was the best process for introducing this game to our kids.
We found that once we mastered the learning curve in Exact Change, our boys couldn’t get enough of it! My husband calls it a “stealth” game, where they’re having fun while learning something under the radar. Exact Change has become a welcome addition to our game night rotation, and in my opinion, is a bargain, retailing on http://www.continuumgames.com for only $9.99. Further, I discovered a number of other games on the website that interest me for our family, along with finding a store locator which showed me three different stores in my city that carry games from this company. Since I am trying to focus more on educational play for my family, this company was definitely a good find for me!
Killing time. Today, we did one last experiment that I wanted pictures of, to use in my most recent review. This one was quick and easy to get started, but then we had to wait several hours for the results. So in between, we worked on laundry, “The Artist” worked in a writing program (which he’s now being balky about), “The Batman” sorted sports cards, “Mr. Loquacious” and his twin, “The Puzzler” played a math game that we are reviewing on the computer. And we are STILL working on laundry, though I think the last of the hang-up clothes are now done. Our final experiment gave us good results, so I took a picture of it to include in my review, which is now completed, posted, and linked up. YAY!
So today, “killing time” did not mean leisurely activities, we were very productive!
When I was given the opportunity to review the e-science program from Supercharged Science, I was both excited, and nervous. I have NEVER really been much of a “science geek”, and so I’ve always wondered if I was short-changing my kids in some way, or even creating a science phobia in them.
With e science, Aurora Lipper has created a fun, exciting way to get kids (and their science phobic moms!) right in there actually DOING science! 🙂 When I told my kids about Aurora, especially when I told them she was a “real” rocket scientist, they all exclaimed “Just like Mrs. J.”! (Mrs. J. just so happens to be my very best friend, and did, in fact, work as a rocket scientist. :-)) But, I digress . . .
Back to Aurora, who has worked at NASA, taught mechanical engineering at Cal Poly, flew airplanes, launched rockets, and help design engines for a very special F-15.
While teaching at the university, Aurora came to realize how bored the students appeared to be, and decided to look at how science was being taught to kids. At that point, she thought that if she were being taught that way, she would be bored, too, and eventually, Supercharged Science was the company she created, in order to get e-science out there and make science FUN!
The first thing I did, when I received my log in information, was to go on the site and just start exploring. This would be when I REALLY began to get nervous! There is SO much content, it was really hard to decide where to begin. Of course, I wanted to begin with something basic, so since my kids and I have never really done much formal science, we began with learning the scientific method.
First, we watched the video in which Aurora walked us through all the steps of the scientific method by just doing it so we could really see it in action.
After that, my kids really, really wanted to do an experiment, so we decided we were now confident enough to move on to the “scientific method experiment” section of the web site. Here, we found a very cool experiment called “Underwater Presidents“. The idea is to use the scientific method in this (and every experiment), to do the following:
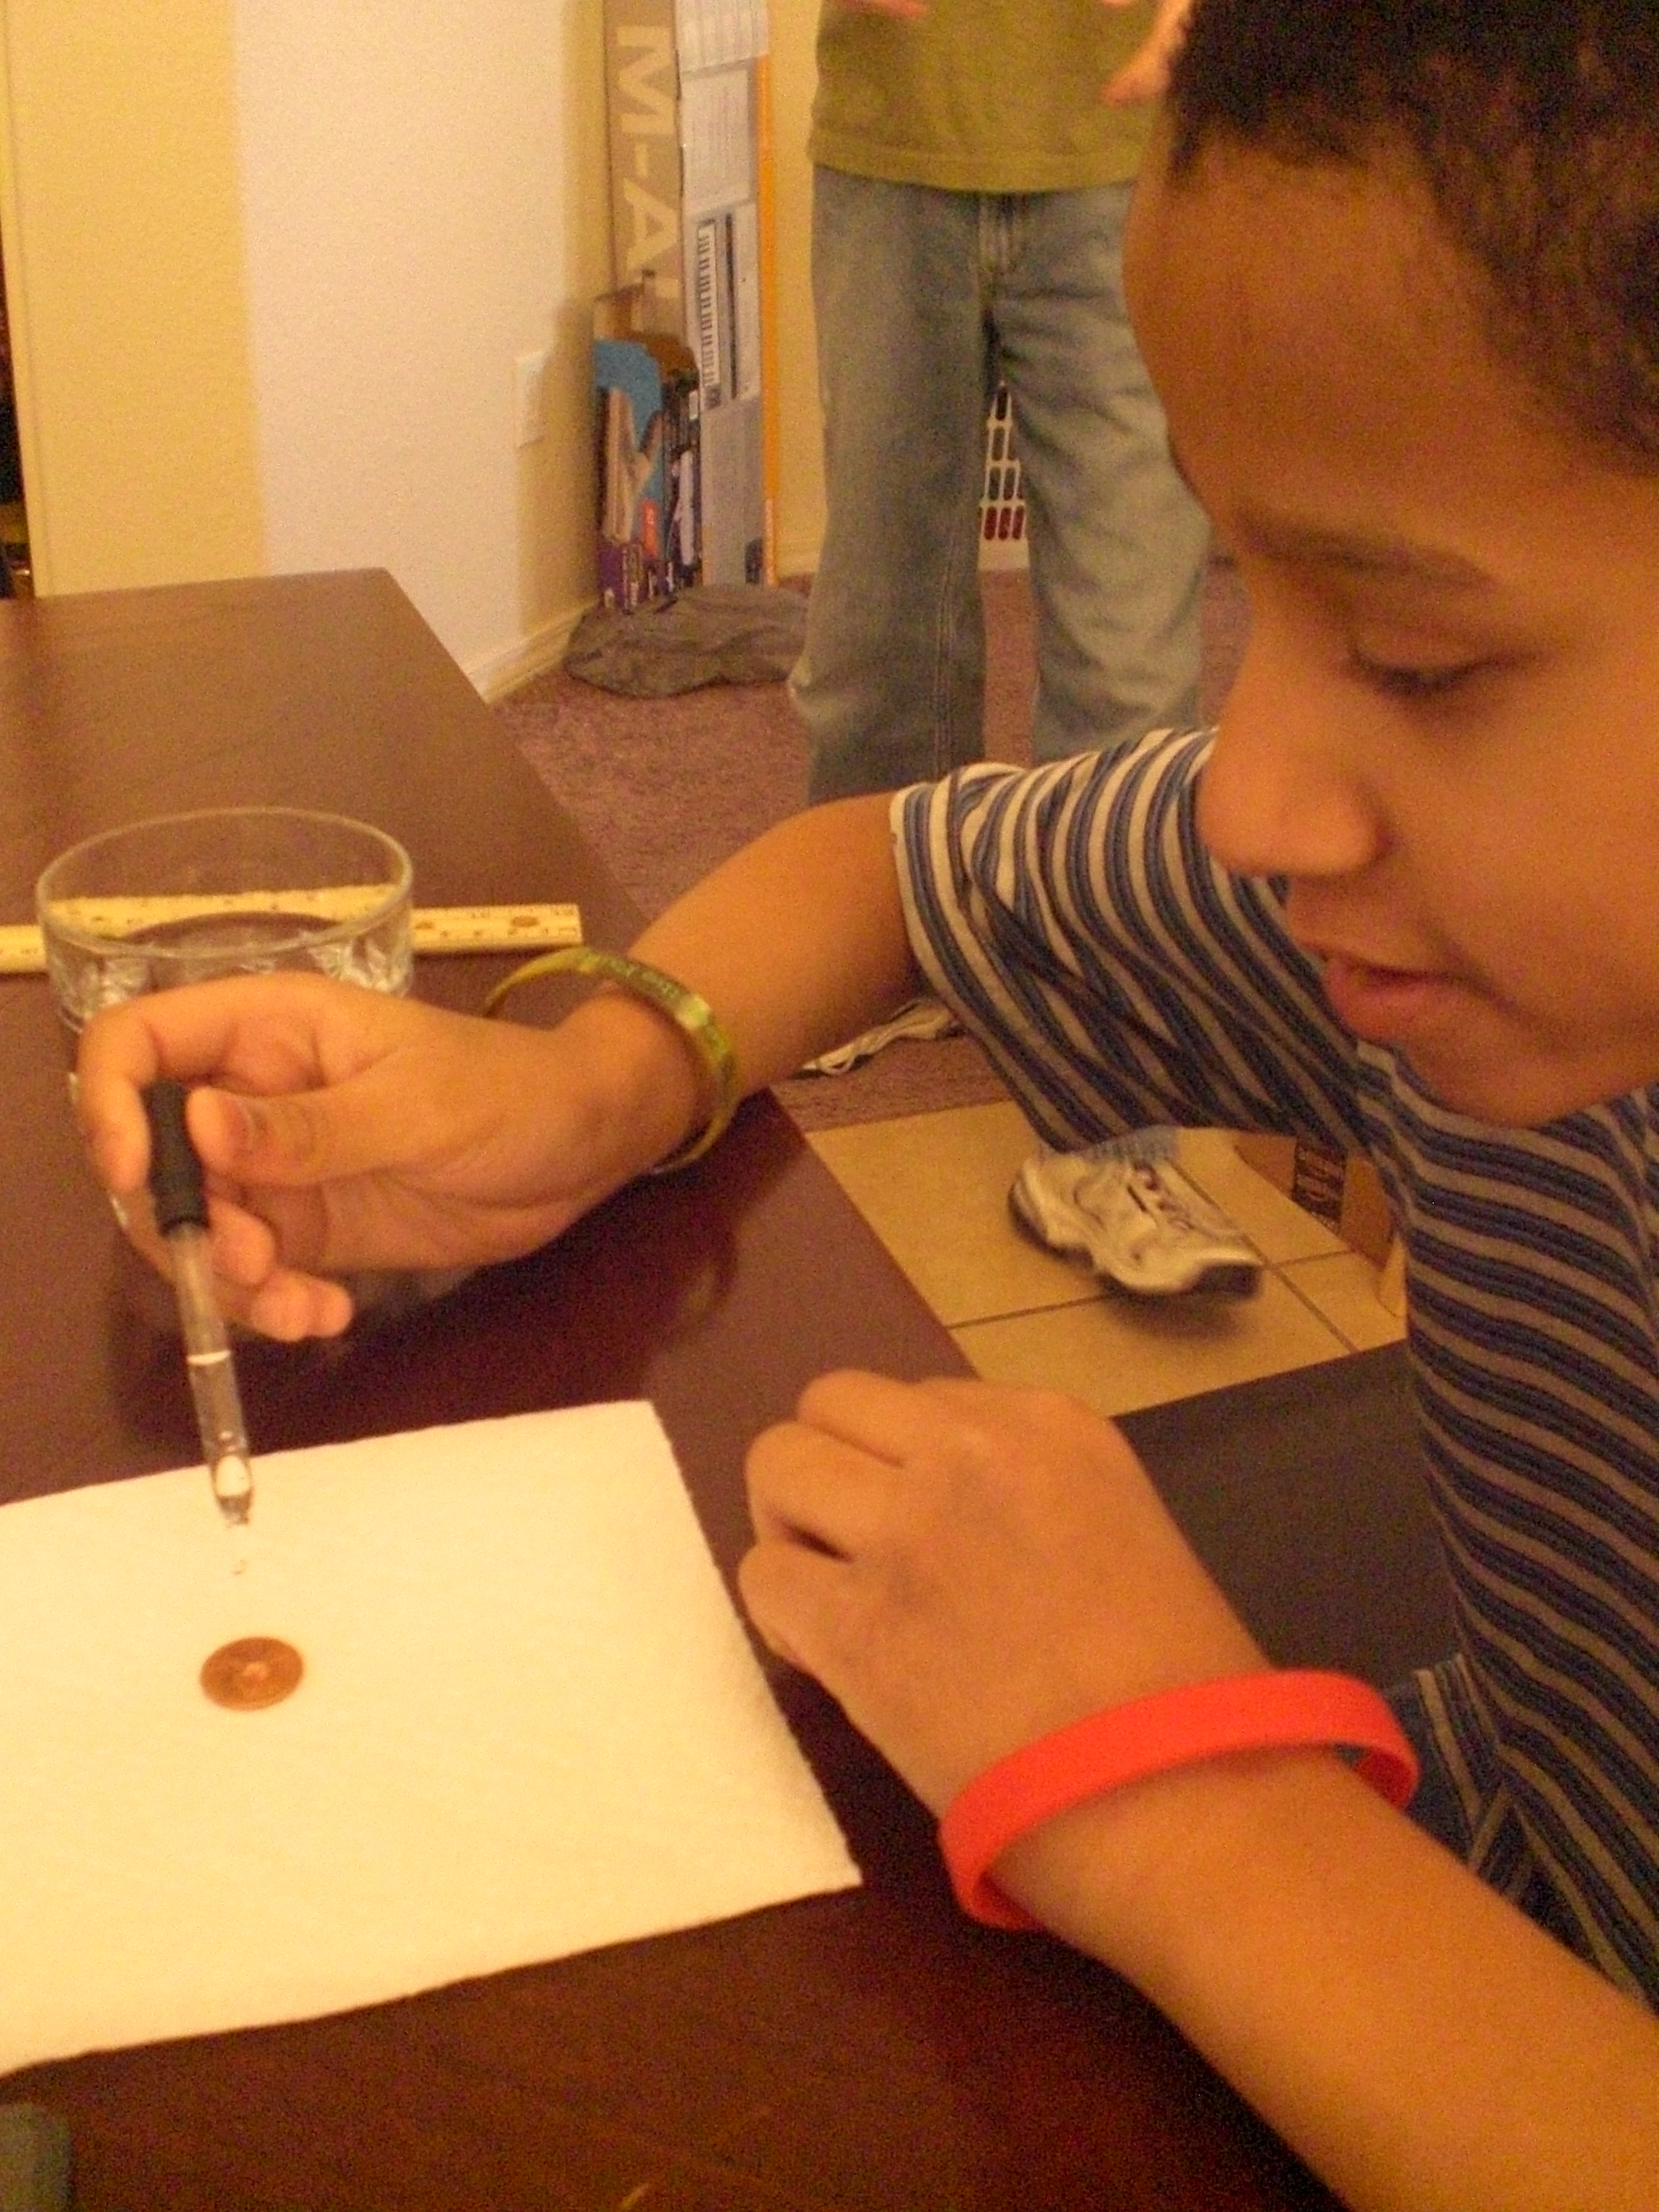
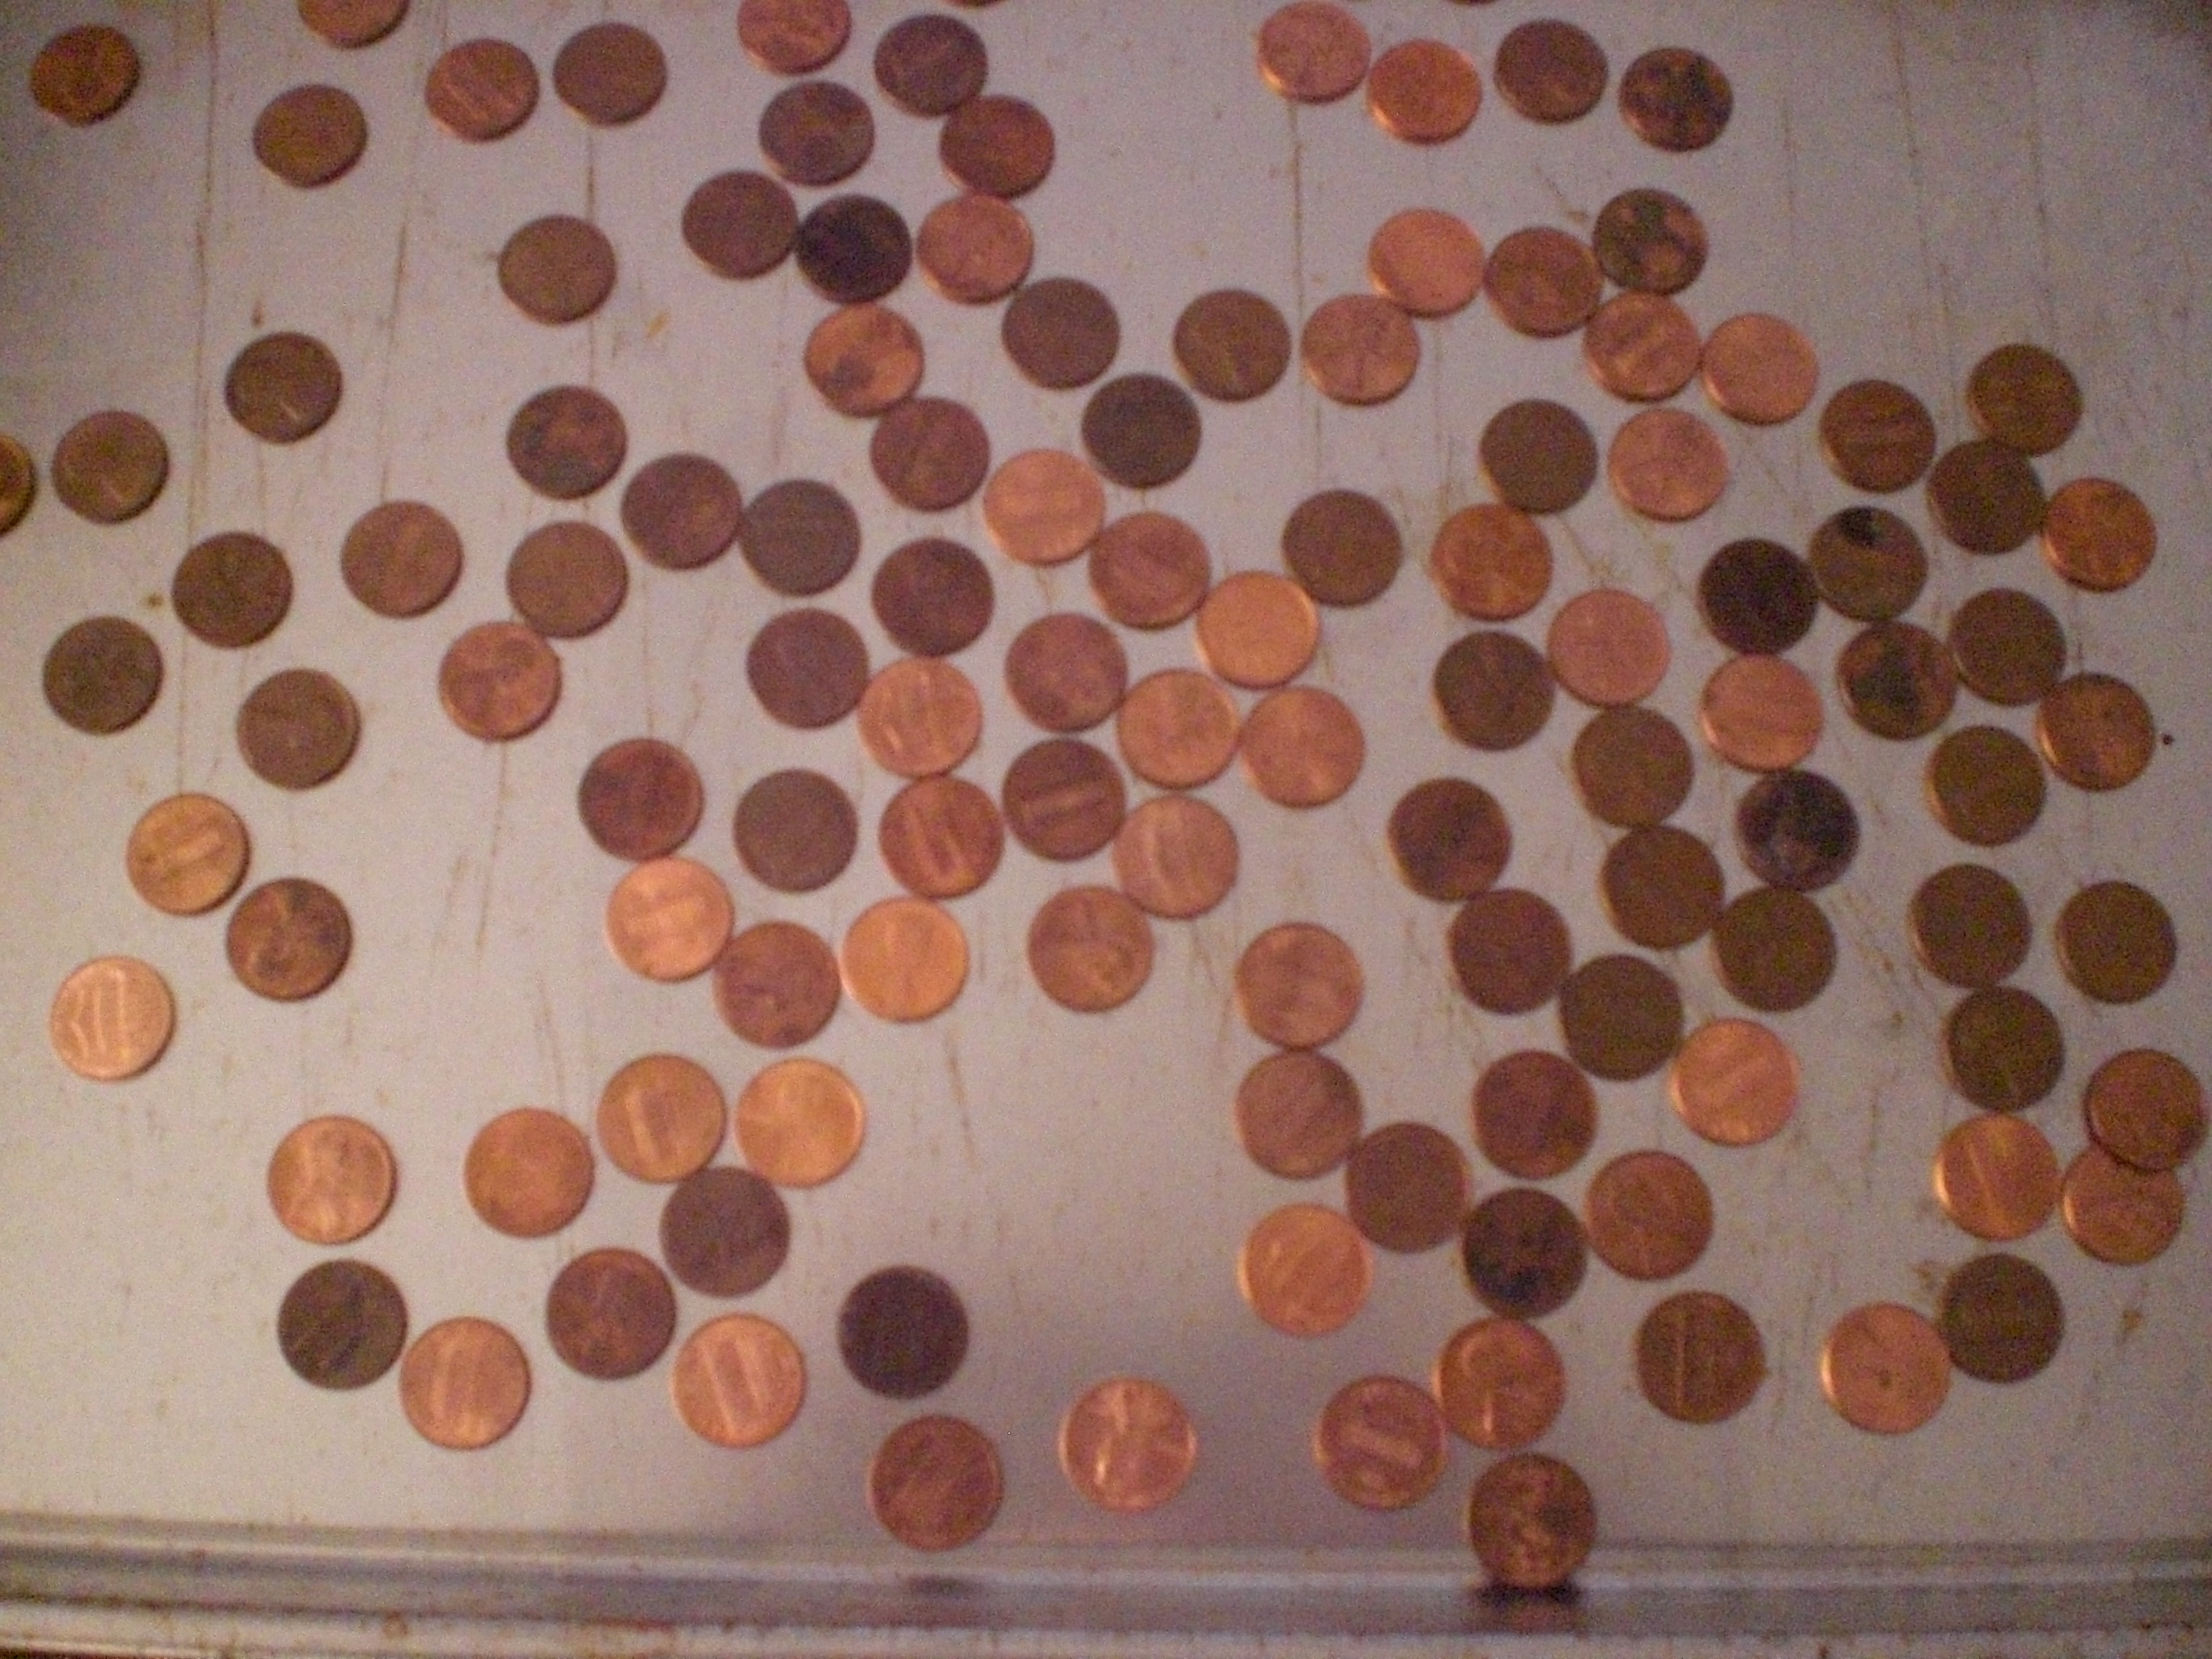
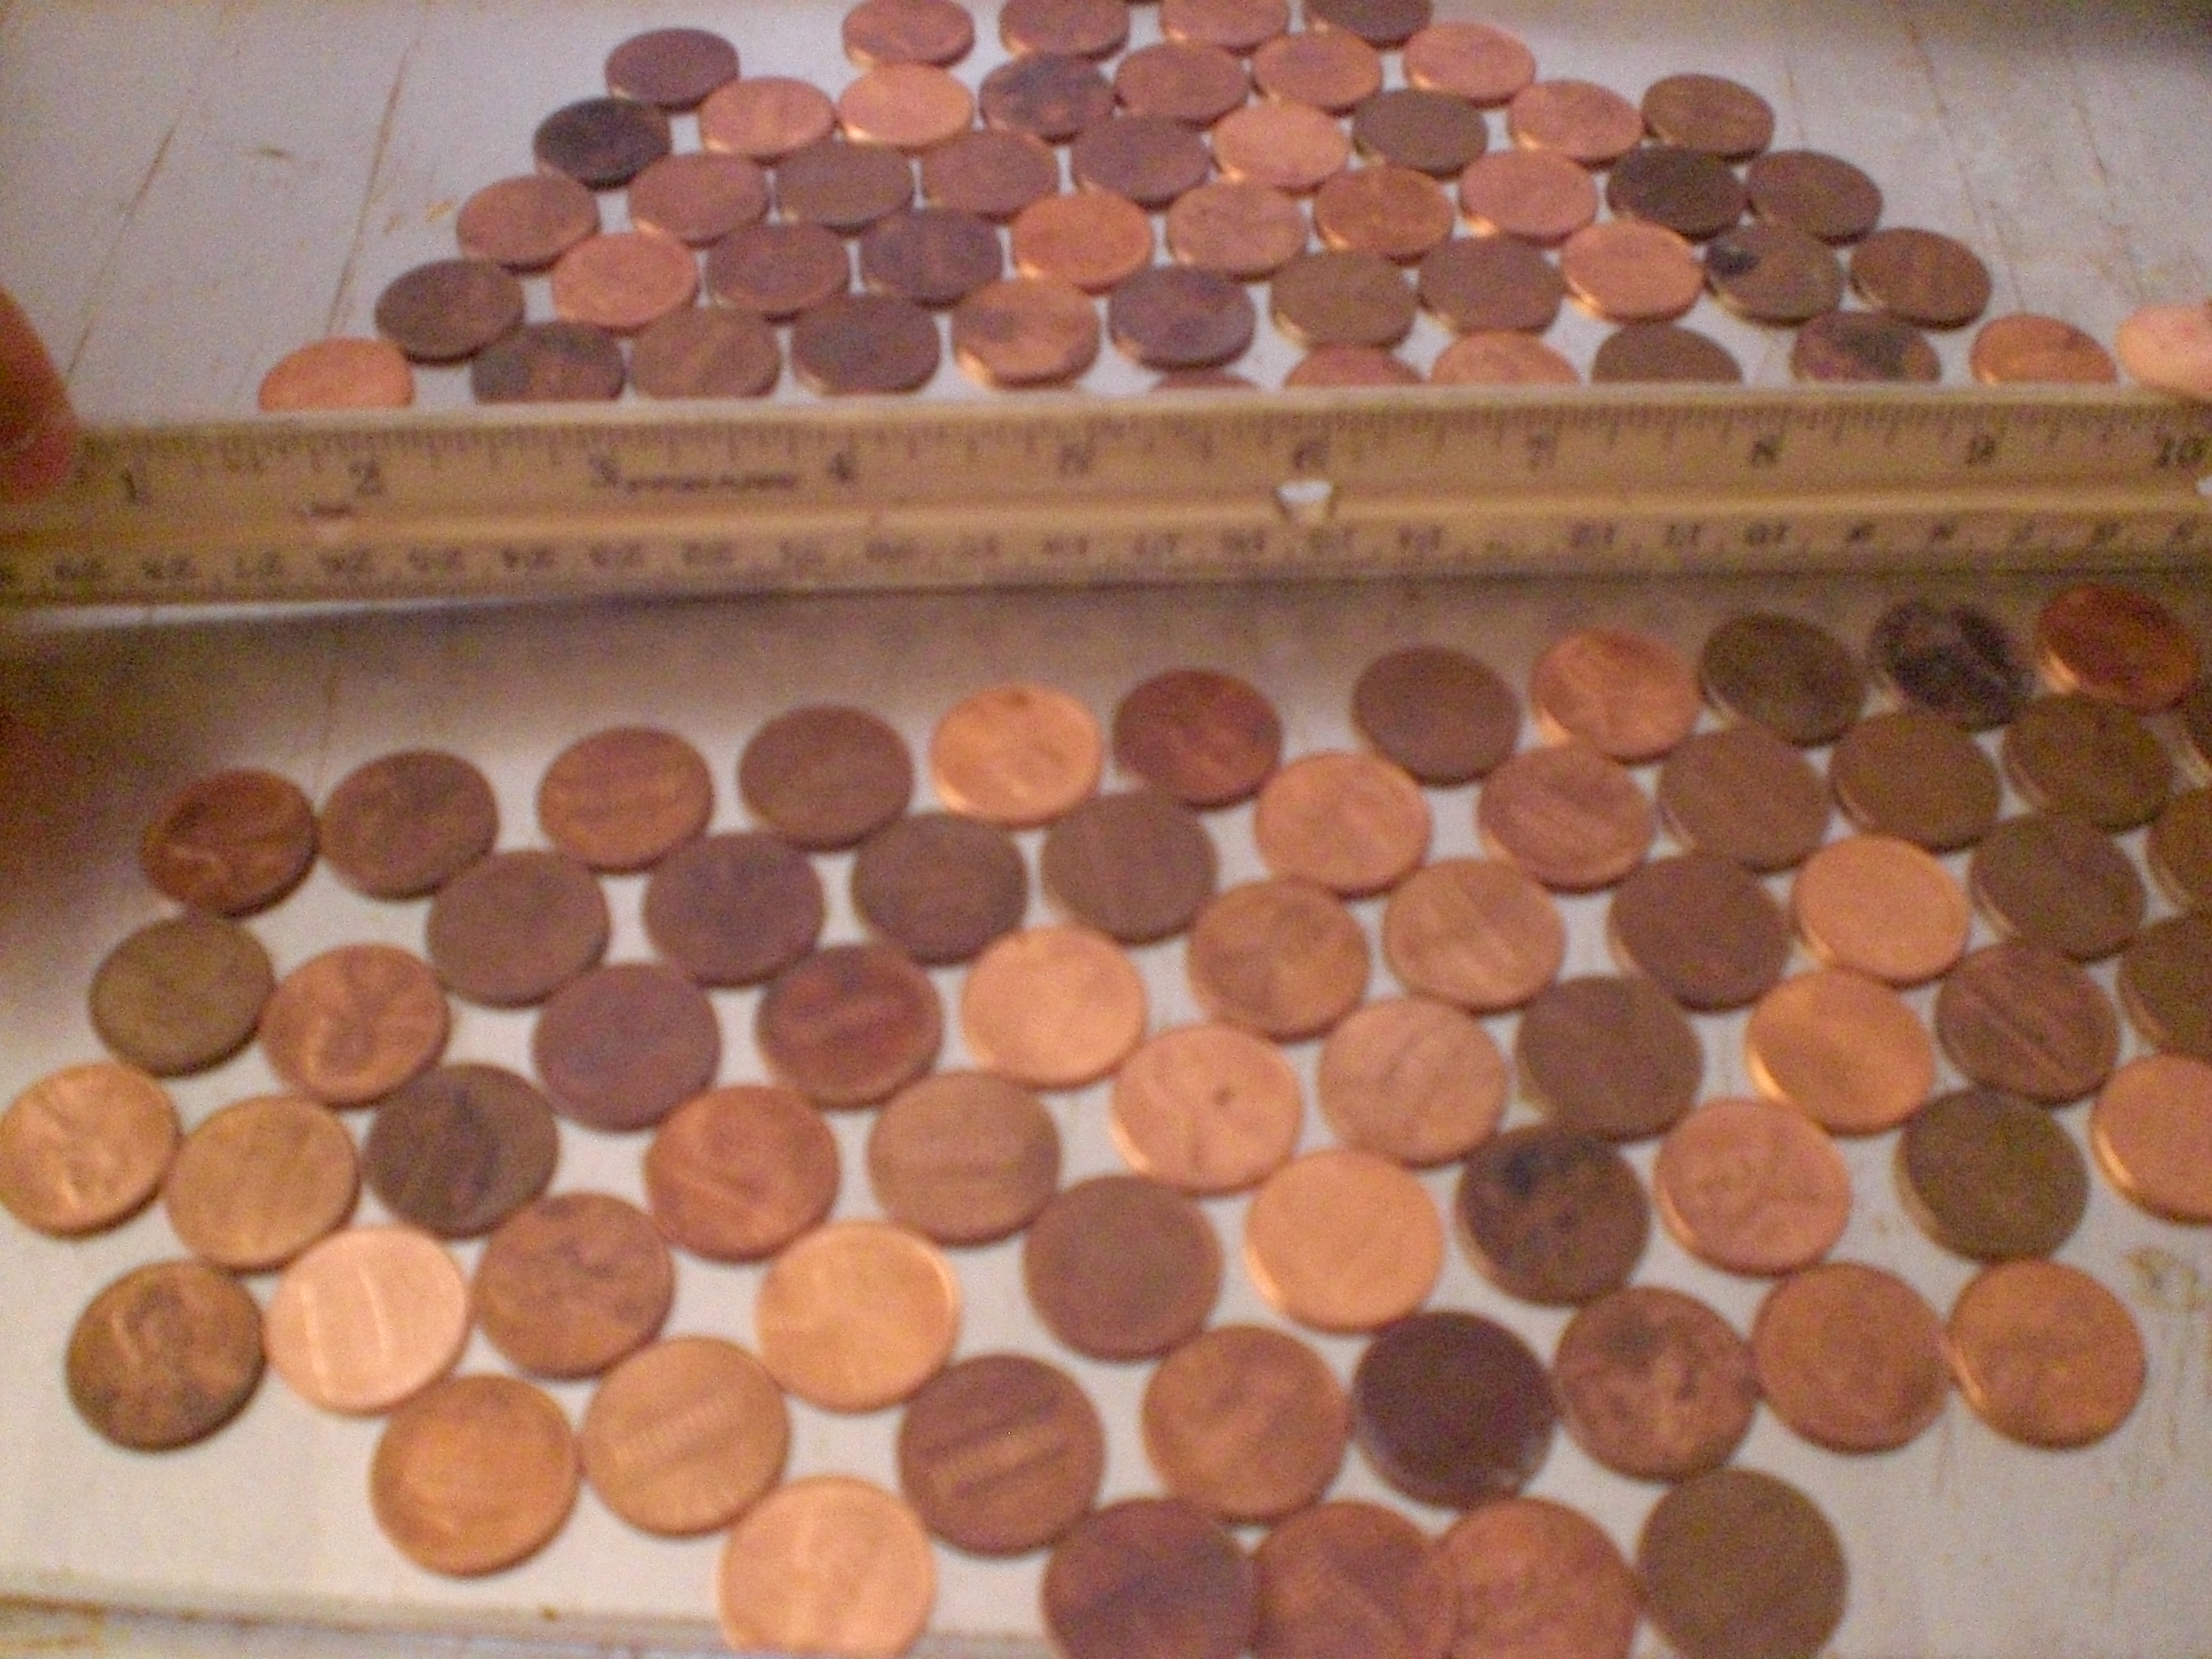
1. Observe: look at the penny. How big is it? is it clean, dirty, in between? is it heads or tails? Basically, we wrote down in our notebook the size of the penny (yes, we actually measured the diameter, LOL), we wrote that it was relatively clean, and that we were using it heads up.
2. Make our hypothesis: here, we each made a guess as to how many drops of water we could put on the penny, before it would overflow. Our guesses were, “The Batman” – 20, “The Artist” – 35, “Mr. Loquacious” – 24, “The Puzzler” – 15, and Mom – 10.
3. Conduct our test (experiment): we each had a turn with the medicine dropper, to see how many drops we could put on the penny before it would overflow.
4. Collect our data: we kept careful count, drop by drop, on each person’s turn, writing them down beside each person’s name. Then, we added all the totals together, and divided that number by five (because that’s how many tests we did) to arrive at our average amount of drops on the penny before it overflowed.
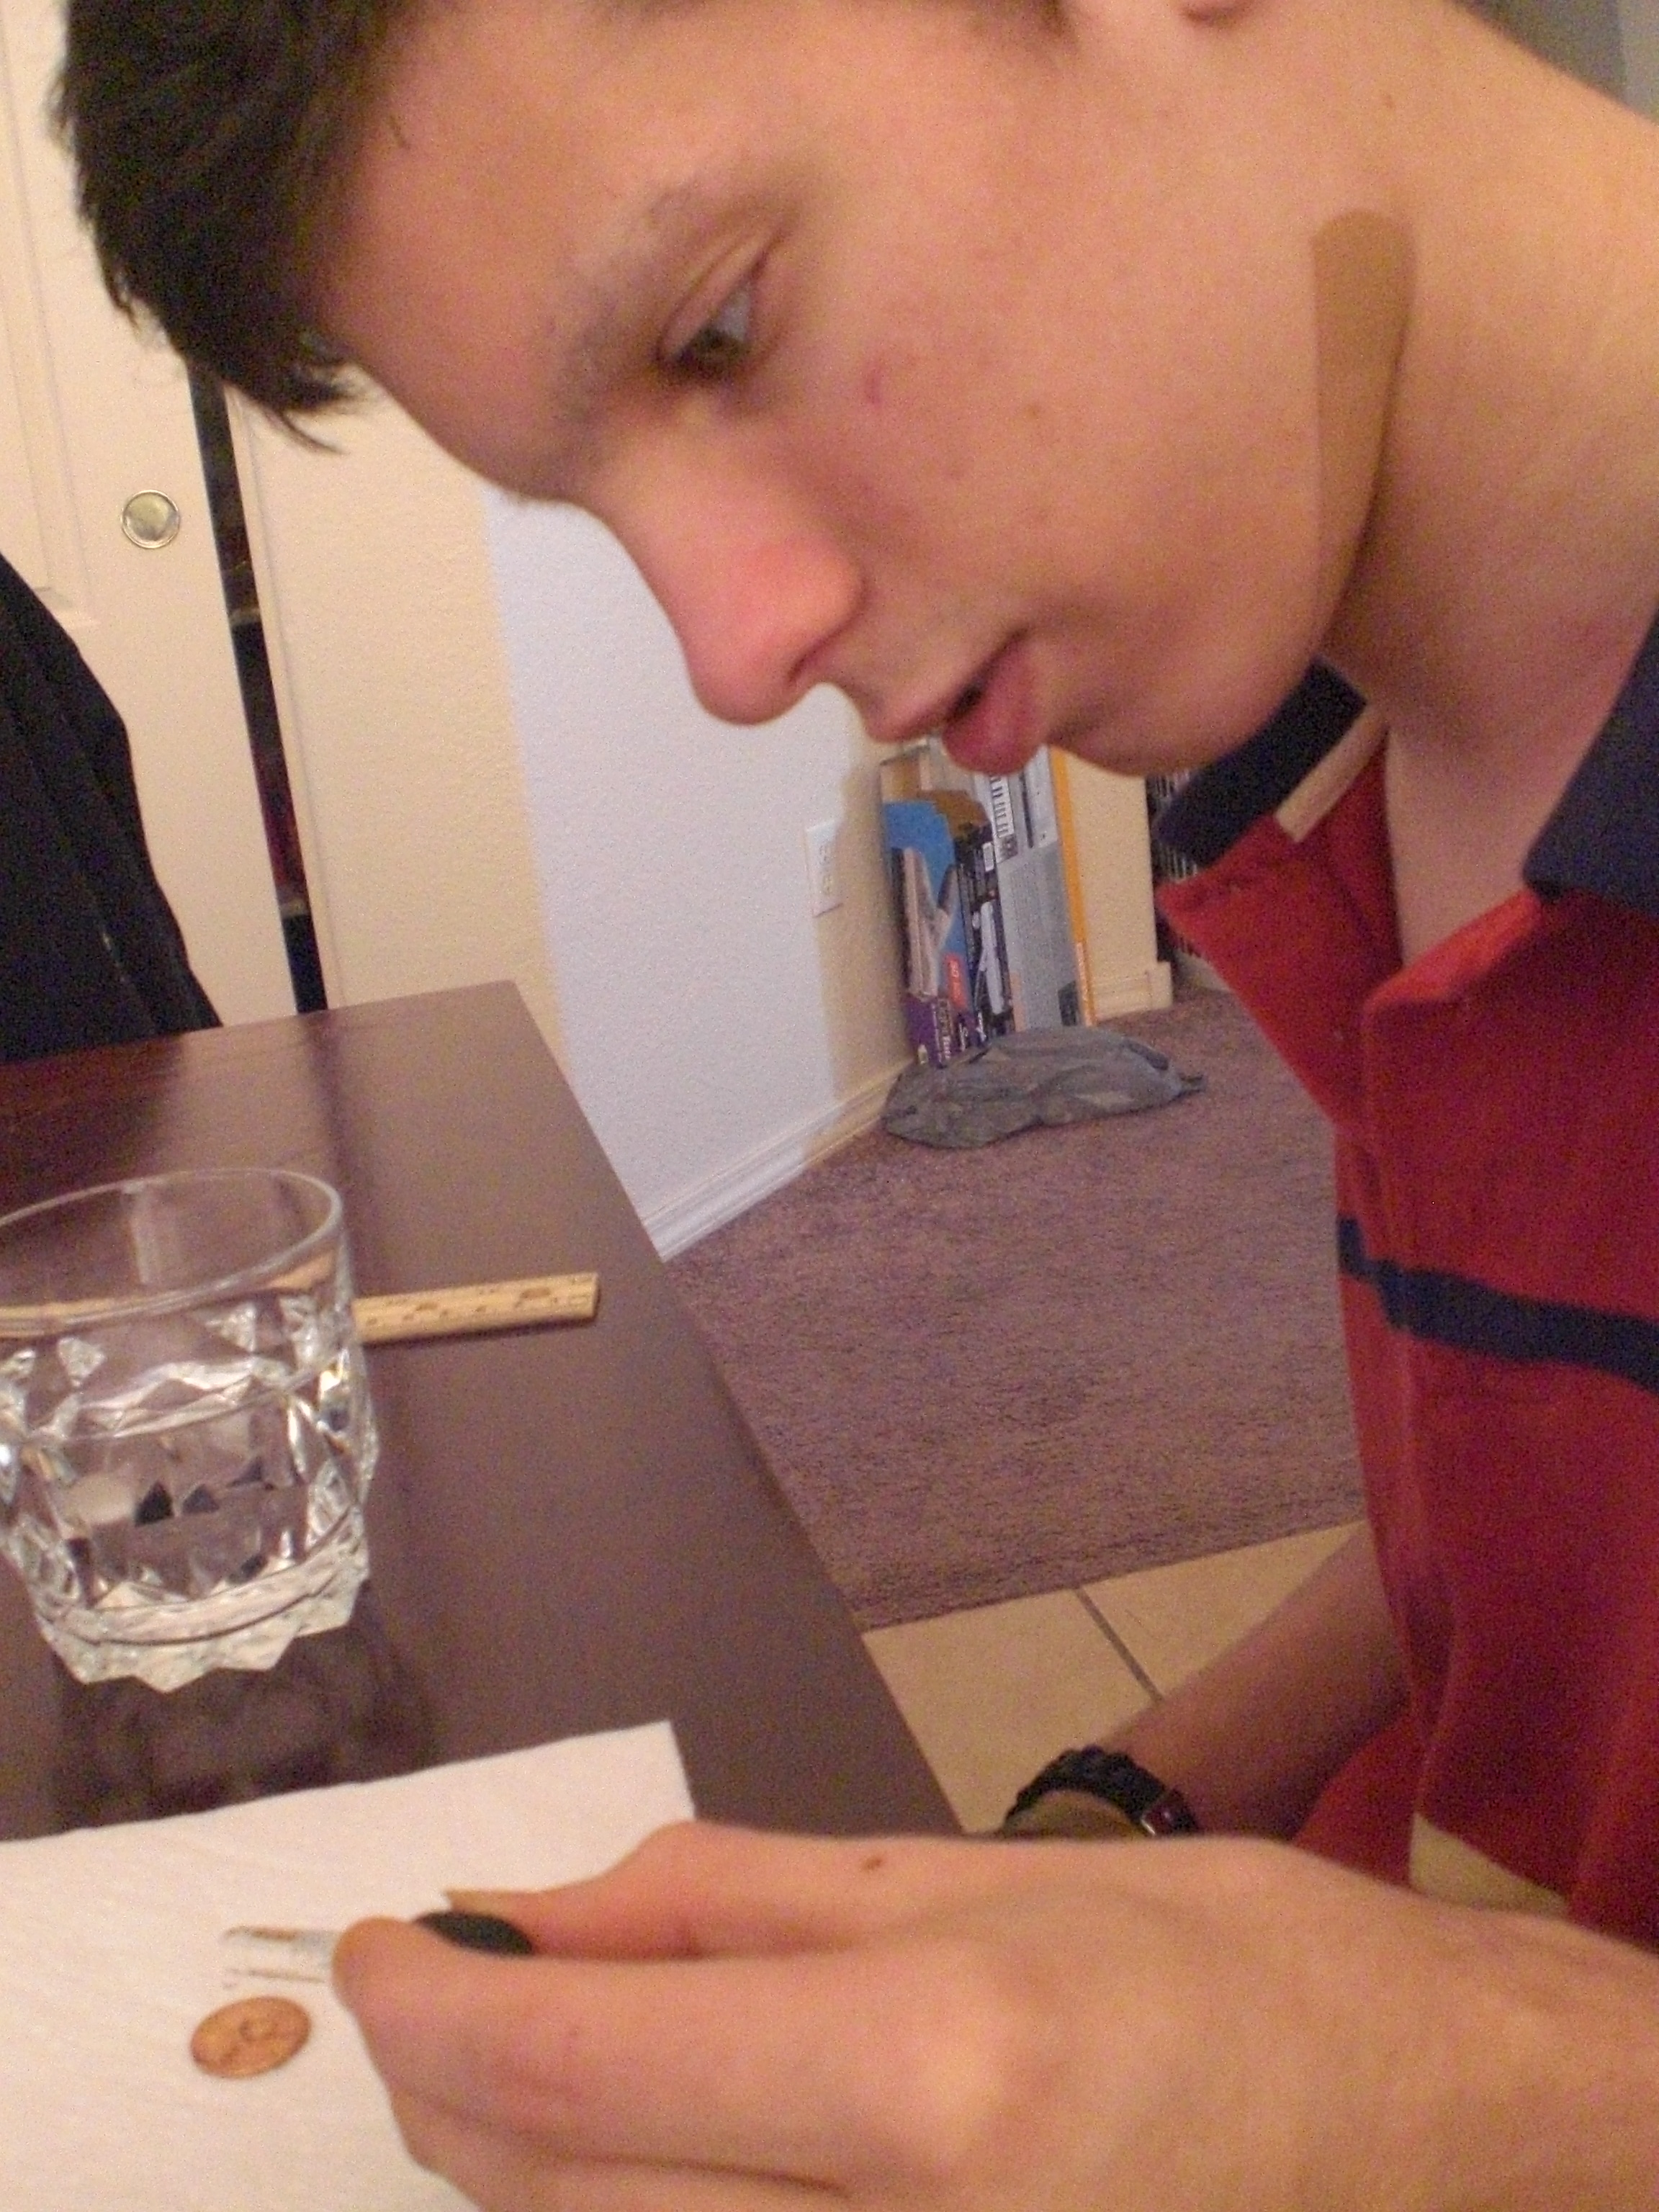
5. Report the results: Here is where we wrote in our notebook what happened. In test 1, I had my turn, and got 18 drops on the penny before it overflowed. In test 2, “The Artist” beat me out by getting 33 drops to stay on the penny. “The Batman” did test 3, and he managed to get 29 drops to stay put. “Mr. Loquacious” got 18 drops in test 4, and “The Puzzler” got 25 drops in test 5. We added them together, for a total of 123 drops, and then divided that by five, the number of tests we conducted. Our average came out to 24.6 drops which stayed on the penny before the next drop would overflow.
“The Batman” is putting drops of water onto his penny . . .
And finally, “The Artist” is seeing how many HE can get on there!
OK, so now, we were getting a little more confident, and my kids were wanting to get moving on to “more real experiments, Mom”! So, it was time to decide what unit we were going to work in.
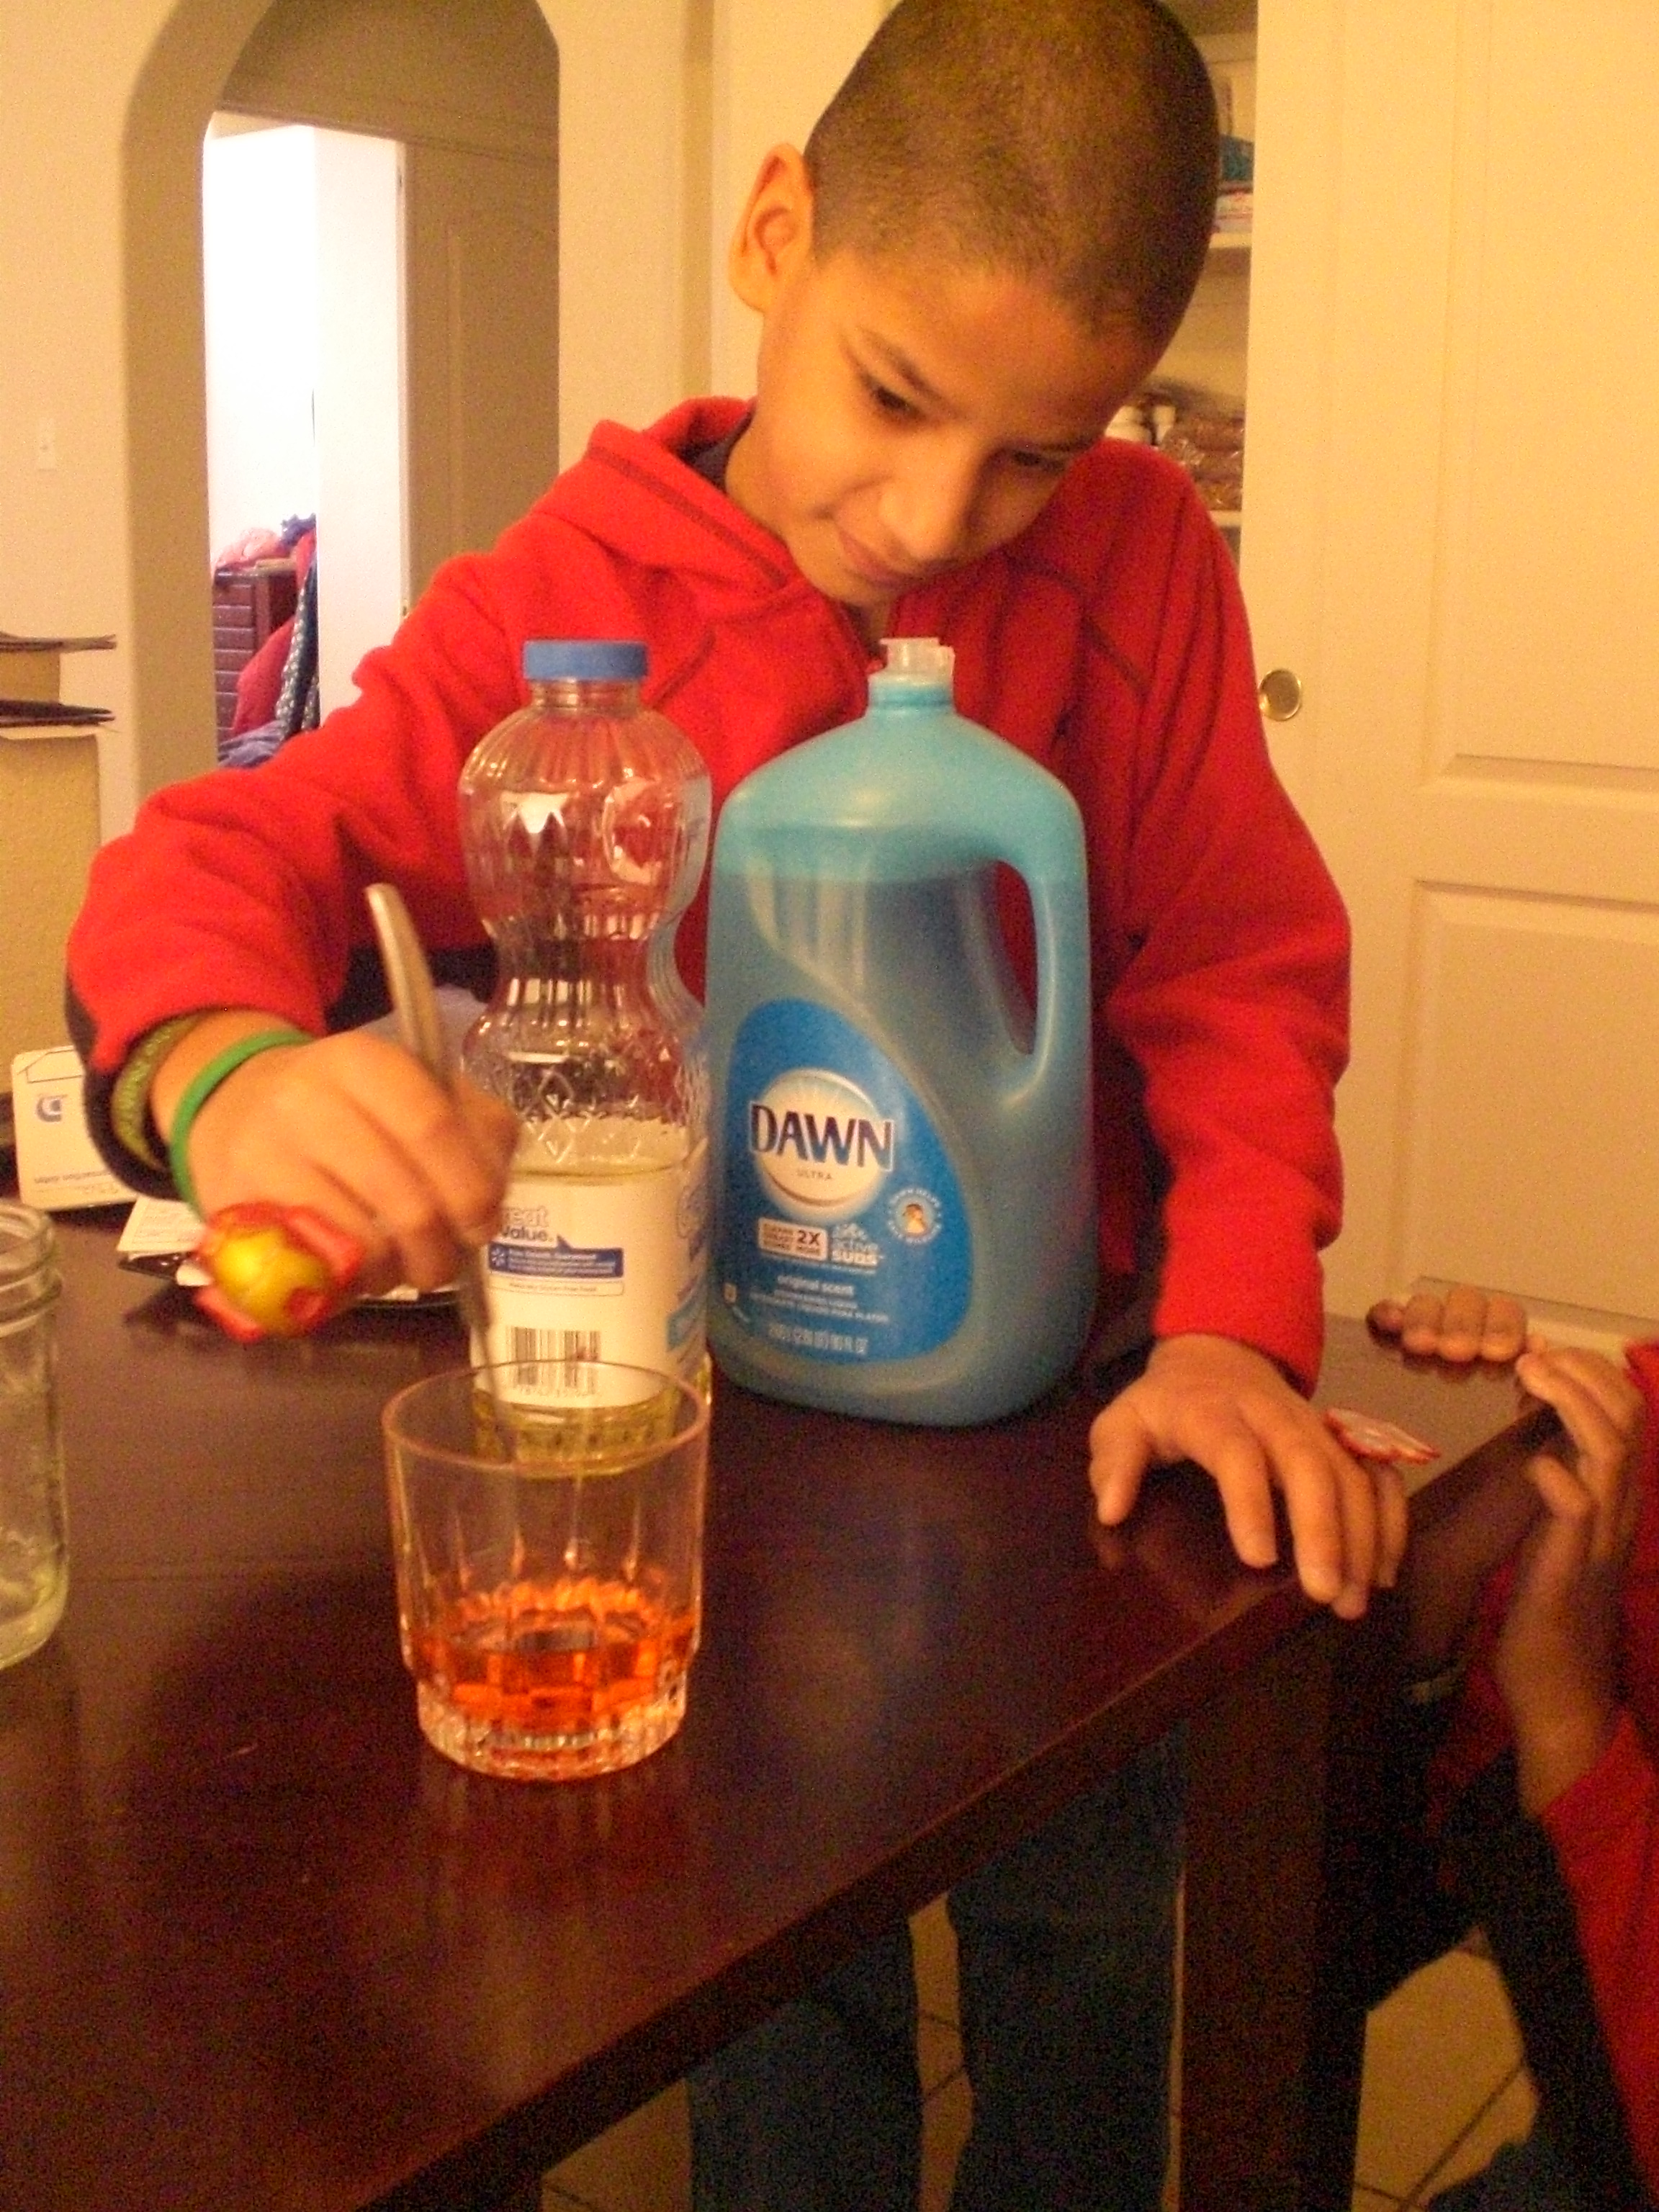
After looking over the abundance of topics provided, we chose to go with Unit 3, which is “Matter”. I’m going to be quite honest here, and admit to you that the primary reason I chose this unit for us to begin with is that we already had about half of the required materials in our house, and the remaining supplies were extremely easy to find with one quick stop at Wal-Mart. In fact, if I had more time the day I went out, I probably could have gotten many of the supplies at the dollar store. The other reason for my choice was simply this, it all looked so interesting, and when I was reading to them what kinds of things we would be doing, my kids thought it was a cool unit to go with, as well.
In unit 3, “Matter“, we first watched a seven and a half-minute long video in which Aurora gave us information about the different forms of matter. After that, we were ready to jump in and DO STUFF!
Here are just SOME of the cool experiments that we did in this unit (we will be completing as many of the remainder as we can get the supplies for, as we find time to fit them in around other studies):
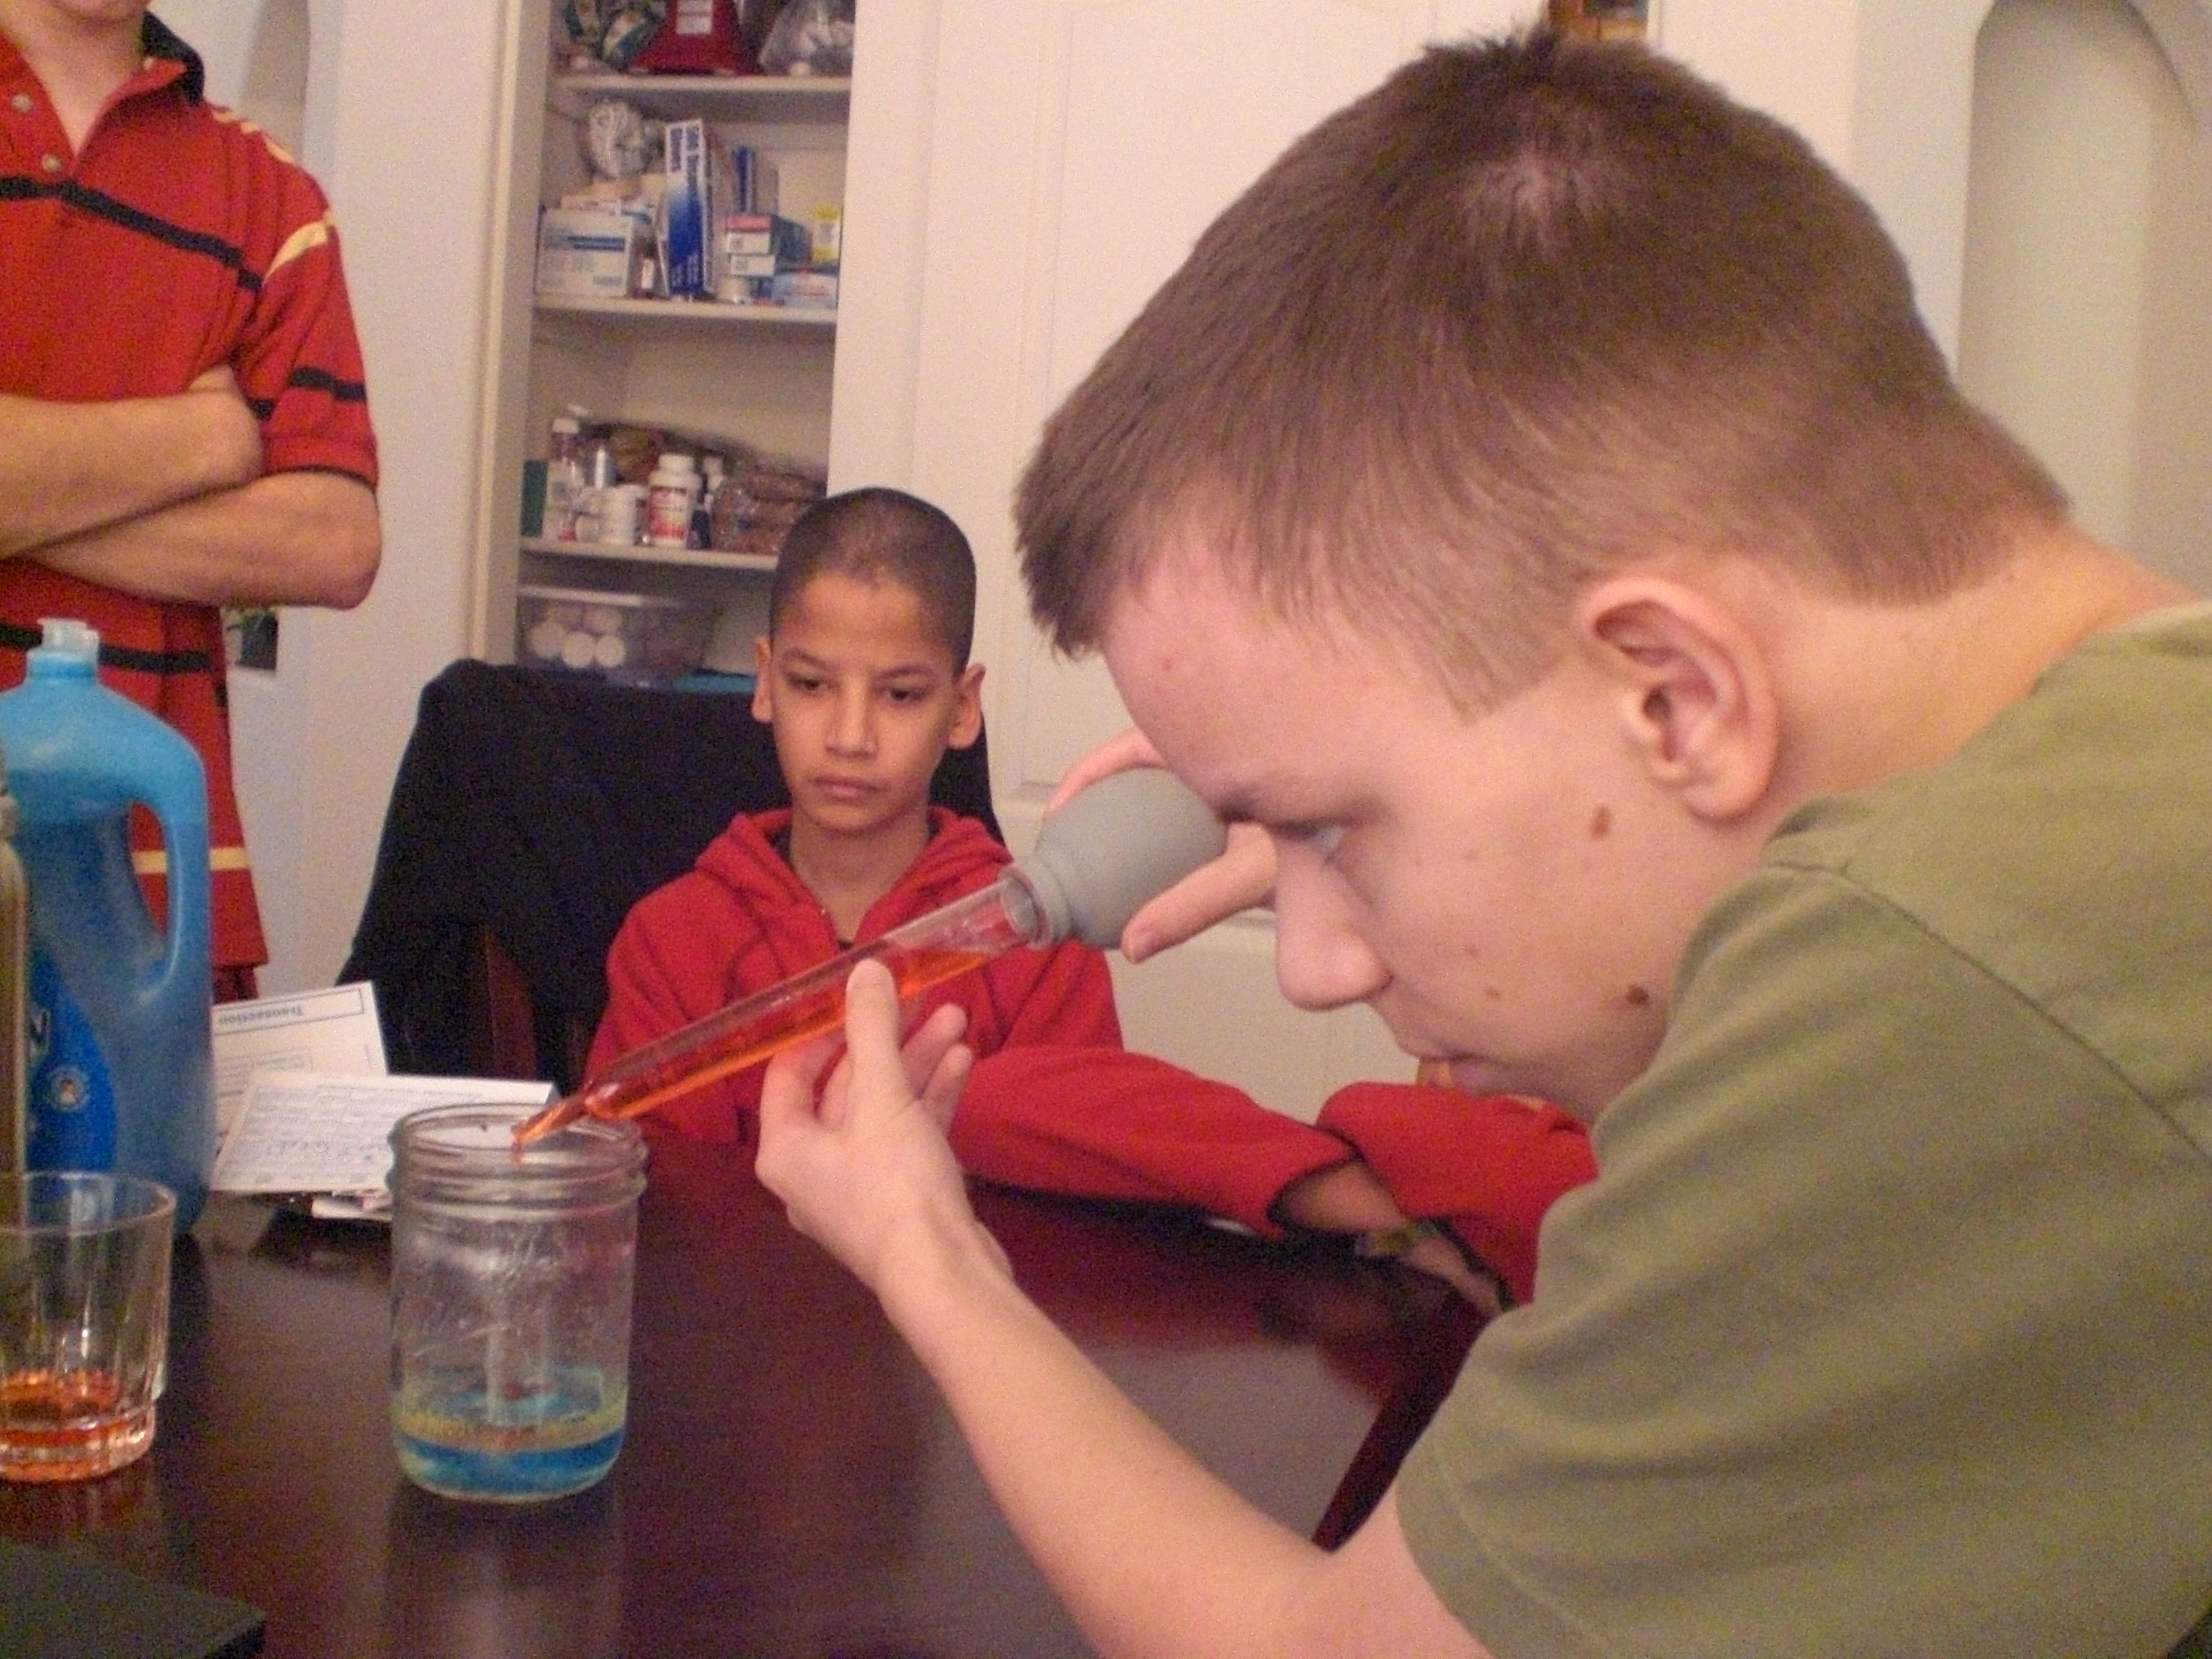
We also made plasma gas. I was not able to get a good video of OUR experiment, so here is one of Aurora doing it . . .
As you can see, we found so much to keep us interested in science! We will continue using e-science on the Supercharged Science web site for the next year, and I can see already that just doing this we will learn so much!
As a reviewer, I was given access to everything all at once, specifically so that we could choose which portion we would use during the review period. When you subscribe to e science, you will receive immediate access to the first seven units, along with units such as “The Scientific Method“. Each month after that, you’ll get one or two more units, but if there is a unit you want that hasn’t yet been opened to you, all you need to do is send an email requesting it, because Aurora wants you to be able to follow your interests, or to be able to use a unit which goes along with what you are currently studying.
This program is great for homeschooling families, particularly if you have multiple children.
If you want to use e-science along side another home school curriculum, there is a conversion chart on the website to show you what to use, when.
If you go here, and scroll down, you will see another chart giving you a comparison of e-science to 13 home school curriculum providers that charge more, and still don’t include everything the e-science program gives you.
One thing that is important to me is whether or not a science curriculum covers evolution. As a Christian, I prefer that it not. From the website . . .
“The e-science program does not cover creation or evolution so all families may participate with our program. We focus on how to build the robot, take data and measurements, work a microscope, launch the rocket, why a laser works…basically sticking to the physics of what’s going on and how to build the projects. Of course, you can always add to it in any way you see fit. Our curriculum is fully compatible with any religious perspective and has been used by thousands of Christian, secular, and others”.
The only down-side I can see is the price. I think it’s a wonderful program, and I hope my family can continue to use it after our review membership is over, but I think many homeschooling families will be priced out of using e-science. Most homeschooling families are one income families, and on pretty tight budgets. It would be nice if a substantial discount were offered for paying a whole year at once.
We reviewed the K – 8 section of e-science. The e-Science K-8 Membership (Standard) is available for $37.00 per month. If you would prefer to go with the e-Science 9-12 & Advanced 5-8 grade plus K-8 Membership (Premium), you can get that for $57.00 per month. You can try it for one month, with a full money-back guarantee.
There is a free sample offered for you on the Supercharged Science website.
Overall, I think this is an awesome program, and Aurora Lipper does a fantastic job of getting kids AND parents involved and excited about what they are doing.
Some crew members reviewed grades K – 8 of Supercharged Science, while others reviewed grades 9 – 12. Sail on over to see what they all thought of his program!
Jumping up and down in excitement, which my kids were doing today, first, this morning, when we did another fun experiment for the “Matter” unit in the online science program we have been reviewing (post on that program coming within the next couple of days, people!), and second, because we went to our first home-school park day In I’m not even sure how many weeks! Between my husband’s TWO back surgeries within FIVE weeks, coupled with some sort of plague stomach virus that has been going through our family, and our church . . . add all that to the fact that I hurt my own back a couple of weeks ago, and was hobbling about on a cane until last night . . . well, we’ve not made it to park day in quite a while. So today, my kids were just about JUMPING for JOY, because we did go, finally, to park day, and if I could have, I would have been JUMPING for JOY myself, because I got to spend time with the other homeschool parents who come to park day. YAY! 🙂
So today, the kids and I watched some science how-to videos for a curriculum we are evaluating. One of them told us how to do the Plasma GRAPE experiment, which was so cool, we decided to wait and actually do it this evening when their dad would be home to see it. Also, we needed it to be darker than it is during the day, even with all the lights off and the blinds closed, LOL! So, we just did it, it was, in fact, really neat, although my camera doesn’t seem to be quite good enough to get a clear video of it. But, we did it, we used a grape, a knife, and the microwave to make plasma GAS. So, there are two things for “G”, the GRAPE, and the plasma GAS. And, you’ll hear much more about this, and other science things, when I post my review of Supercharged Science in a couple of weeks! 🙂
We’ve grudgingly admitted recently that, as part of their continuing education in today’s electronic world, we’re going to have to teach our kids how to do more with a computer than just hit the power button and push the mouse around. My husband is the techie of the family, but his last computer programming class was 25 years ago. While we were considering what route to take to show our kids just how those games they play are actually made, we received the opportunity to review Computer Bible Games for Microsoft Small Basic from Computer Science For Kids.
Note: For those who are interested, there is a secular version of this program as well.
The Christian version of this course, which is the one we reviewed, is currently available and priced as follows:
Option #2
Single User License
Digital E-Book Download Only
Item #104-DL $59.95
$34.95 – SALE PRICE!
“Computer Bible Games for Microsoft Small Basic is designed to help beginner Christian middle-school students understand Small Basic programming concepts while developing “fun and simple” learning games and Computer Bible Games. Microsoft Small BASIC is a simple BASIC programming environment designed specifically for kids to help prepare them for more complex programming languages like Visual Basic, Visual C# and Java. Small Basic also includes a “graduate code” button which automatically converts the student’s source code into Microsoft Visual Basic”.
While you don’t need to be a computer programmer to take or teach this course, it is recommended you have some familiarity with navigating the Windows environment. You don’t have to know how to write a program, but you do need to know how to find them in your computer! Knowing how to move and re-size windows is a plus. You’ll also want to be able to print Microsoft Word files and download Microsoft Small Basic. There’s a “Start Here” file included that outlines all this and tells you where you can find Small Basic.
Once you’ve installed Small Basic and Computer Bible Games, you’ll find yourself looking at a step-by-step guide to learning Small Basic. There are over 400 pages of documentation included with this course, so I asked my husband to help me get everything printed out, collated and 3-hole-punched into a large binder (it was at this point that I gave in to temptation and purchased a heavy-duty hole puncher from our local warehouse club, along with a couple of bulk packages of three-ring binders in different sizes!). He opted to print it out a class at a time for me, as he is stingy about ink and was running low.
Here’s a quick look at the Table of Contents:
• Class 1: Introducing Small Basic – gives you a brief history of the BASIC programming language, plus download and installation instructions for the Microsoft Small Basic Program
• Class 2: Small Basic Program Basics
• Class 3: Your First Small Basic Program
• Class 4: Small Basic Program Design, Input Methods
• Class 5: Debugging, Decisions, Random Numbers
• Class 6: Small Basic Looping, Subroutines
• Class 7: More Small Basic Looping, Arrays
• Class 8: Small Basic Graphics, Mouse Methods
• Class 9: Timers, Animation, Keyboard Methods
• Class 10: Noah’s Ark Project
• Class 11: Daniel and the Lions Project
• Class 12: Elijah and the Ravens Project
• Class 13: More learning Games and Computer Bible Games
“The Artist” volunteered to be the student for this review. He has a favorite computer game that he “invents” characters for (on paper). And while I am game to try anything to further my children’s education, I was very happy to have my husband to fall back upon for technical support!
The “Start Here” file states: “Computer Bible Games is a self-paced course.” It’s recommended for anyone age 10 and up, and is designed in bite-sized chunks that the student can run with, asking questions as needed. This turned out to be a good thing. In spite of some non-fatal form of plague that hit our household, we managed to get through the first five classes during the review period.
Computer Science for Kids recommends one class per week and 3 to 6 hours of study for each class. There were a couple of weeks where first Dad, then Mom, then “The Artist”, were in no shape to work. In fact, whatever this virus was, it hit just about every member of the family one right after the other, even necessitating a trip to the emergency room one night! Fun times, right? And here’s where a compliment to the course developers comes in: the course is written in such a manner that, if you do need to take a break for any reason (Ebola virus, vacation, life interference, etc.), it is incredibly easy to pick up where you left off! When my husband or I were down, “The Artist” read the material and did the class project alone. When we were healthy enough to help, The Artist was down for a few days. I was able to use the time to get back up to speed and then check The Artist’s work while awaiting his recovery.
We asked “The Artist” how he liked taking the Computer Bible Games for Small Basic course. His response? “I like it . . . it’s fun! It’s teaching me how to create my own programs. At some point, I’d like to write my own computer games, and I think this is a good beginning.”
Here is “The Artist”, studying and learning to program small things at this point . . .
If I didn’t make it clear earlier, I am NOT a techie. But I do like the way the class is formatted, and I did manage to pick up some programming education along the way. The important thing is that “The Artist” is enjoying learning computer programming, and is able to do so without a huge amount of parental support. He is looking forward to writing his own computer games, and his brothers are looking forward to playing them in the near future!
I’ve mentioned before, and my home-schooling friends know, that our youngest boys, “Mr. Loquacious” and “The Puzzler” have long struggled with reading. They came into our family at the age of 8, unable to read, and given all of the other issues they had, instruction in reading never went very well. But recently, I was given the chance to review a reading program from the ABeCeDarian Company for the Schoolhouse Review Crew.
The ABeCeDarian Reading Program is different from any other reading program we have tried in the past. This program features (from the website):
•Explicit, comprehensive, multisensory phonics instruction
•Sound blending and segmenting explicitly taught and practiced
•Letter/Sound correspondences taught in the context of reading and spelling words
•Letter sounds taught before letter names
•Code knowledge organized by sounds with engaging sorting activities
•No rules!
•Precise practice routines and error correction procedures
•Integrated handwriting and spelling instruction
•Expert oral reading fluency practice
The teacher’s manual instructed me to read a lot of material which was meant to teach me how to use this program. At first, it seemed a bit overwhelming going through it all, but eventually it began to make sense. Our past experience had me teaching consonant and vowel sounds first, and then moving on to putting them together.
I used a combination of having them do the free placement assessment, along with having them try to read the initial story books for Level A to decide where in the program they should begin. Now, “Mr. Loquacious” and “The Puzzler” have, apparently, gotten a lot further along in reading than I expected, because we were able to zip right through all of the story books for levels A1 and A2.
Using these two things together helped me to see that they needed to begin with Level B1.
With ABeCeDarian, we started right in with decoding specific sounds. For example, in Level B1, we jumped right in with learning the “o” sound, and sorting words according to the different ways the “o” sound is spelled. I did have to keep stressing for the boys that each word in this section had the “O” sound, but that there were six different ways to spell that sound. From there, we moved on to breaking the words apart, and underlining each separate sound in the word. Basically, this program is set up in such a way that letters are presented in an organized way, according to sound. The idea is that your child will practice this material not just to mastery, but become a fluent reader.
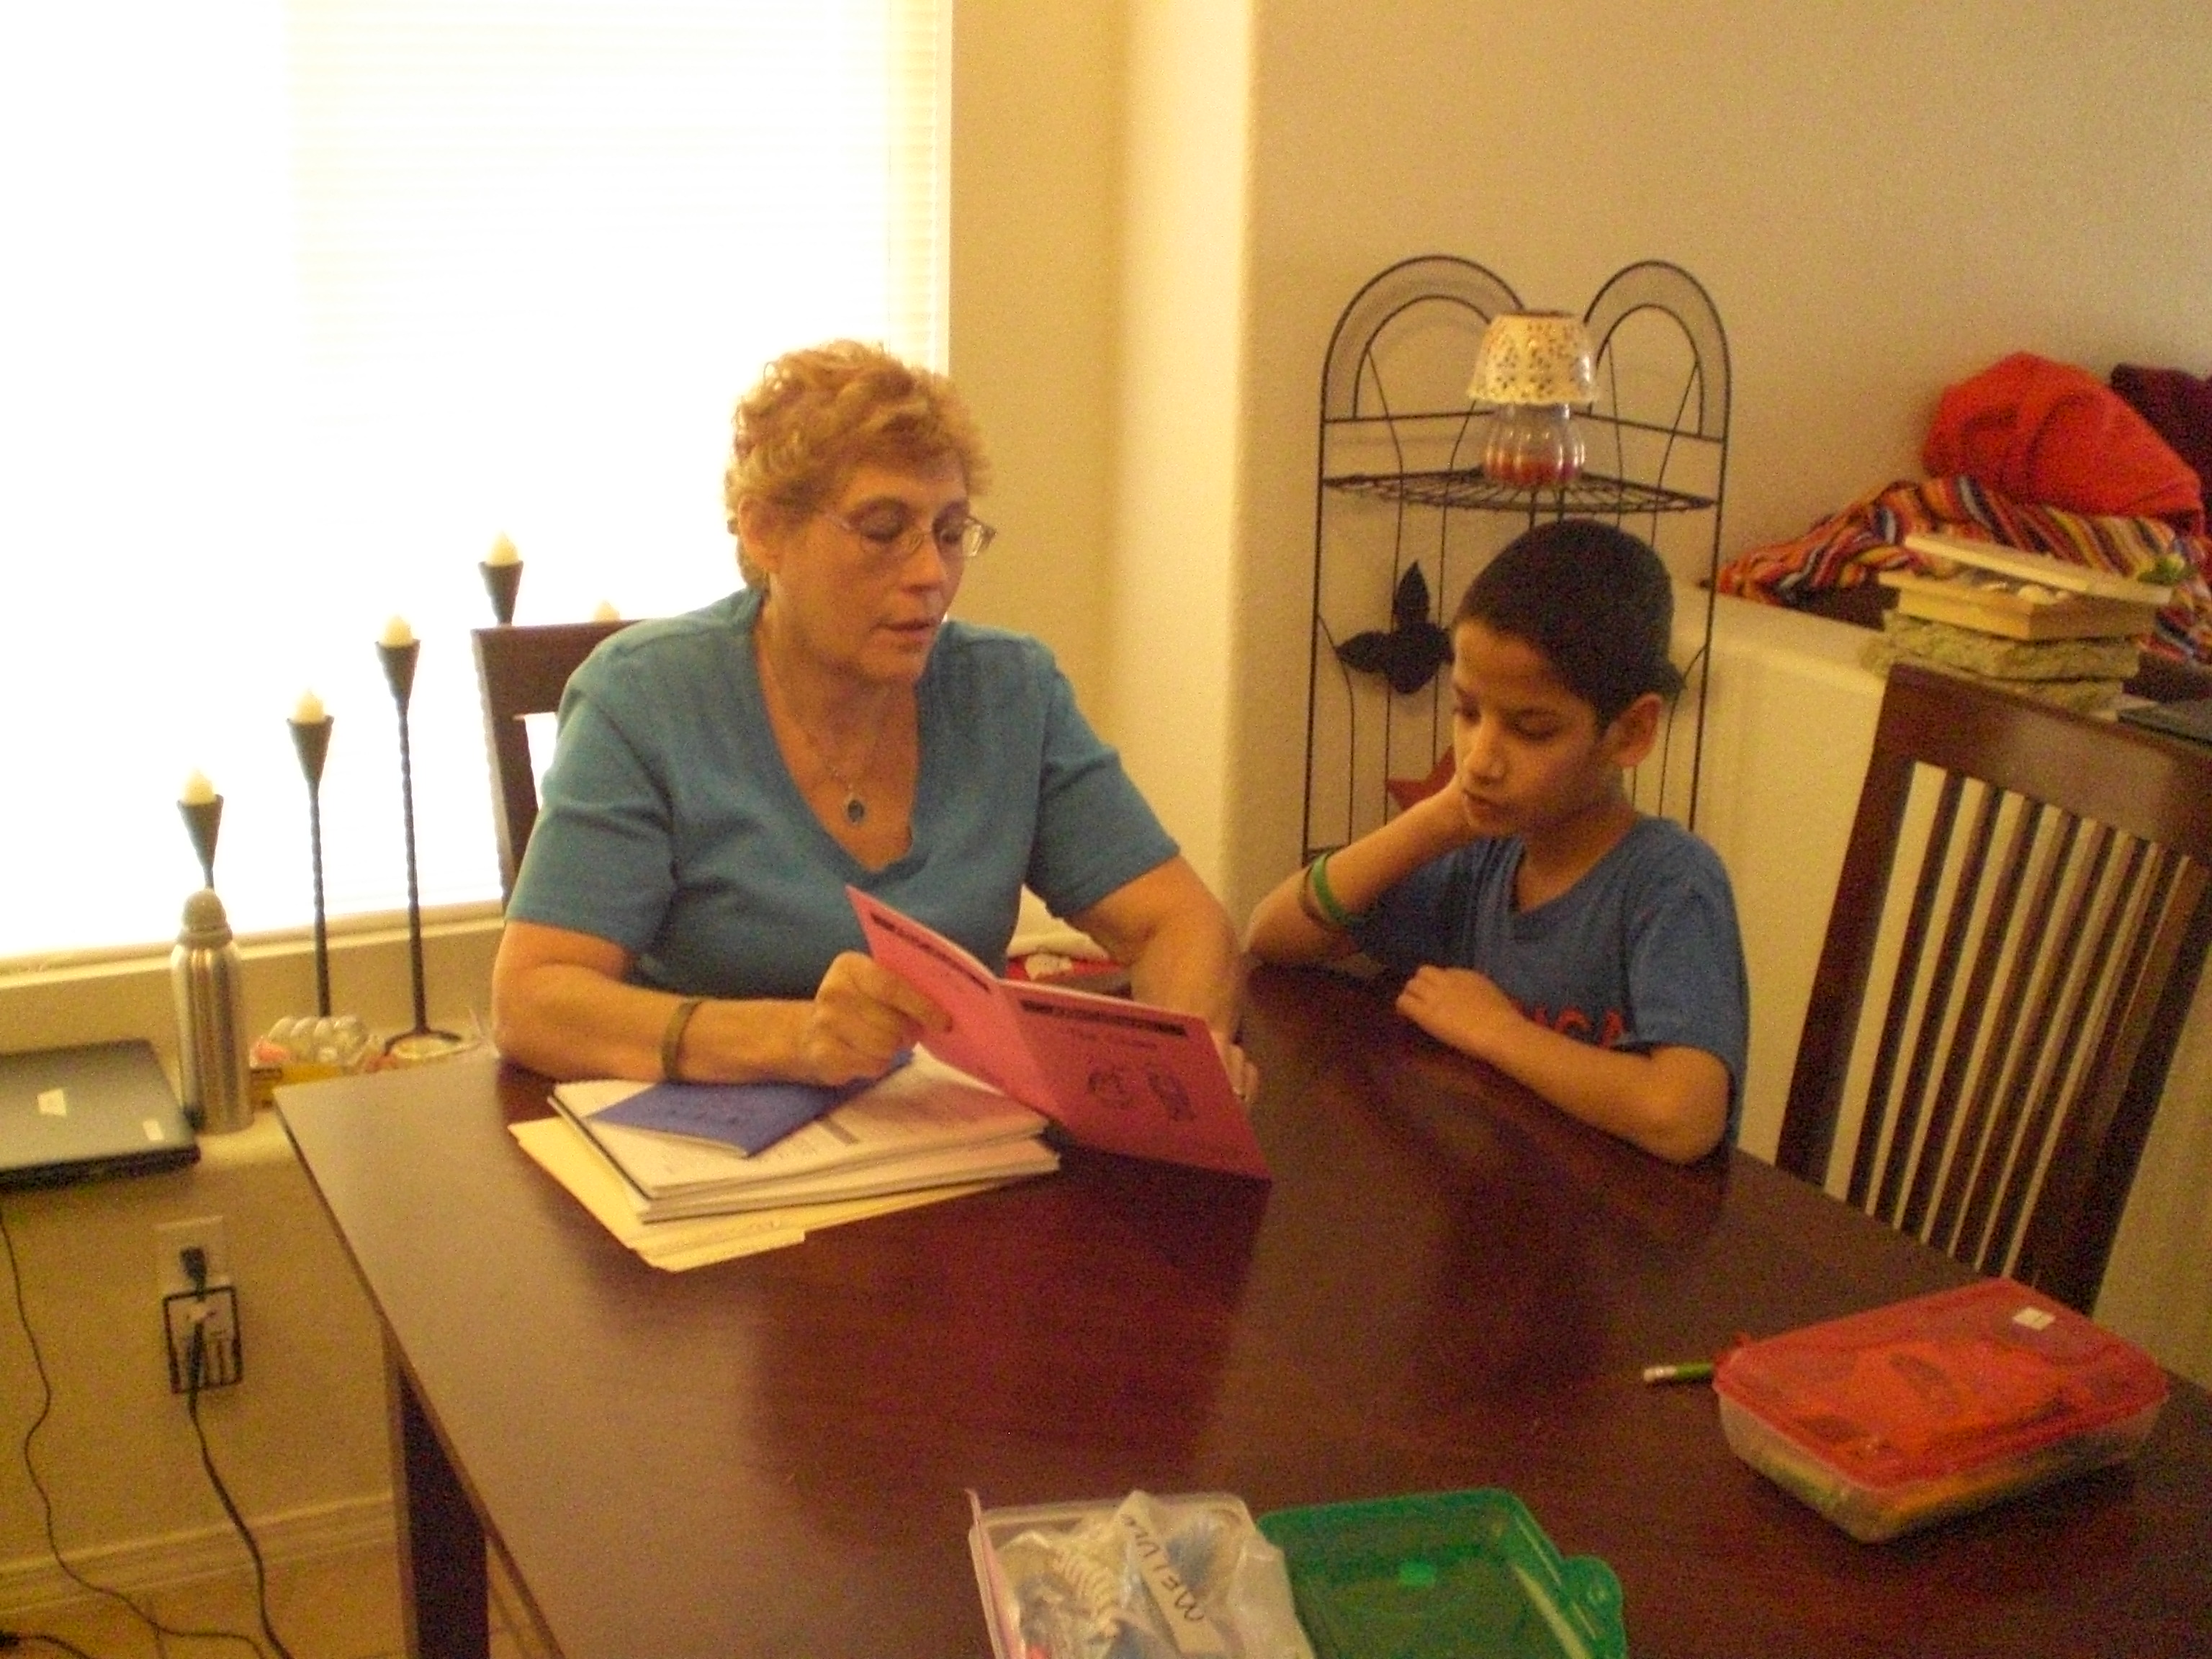
Here is “The Puzzler”, reading “The Quest” which is storybook number 10 . . .
. . . and here is “Mr. Loquacious” reading the same book.
In level B1 there are 12 units, which are completed in 24 lessons. Among the many things covered in this level are the following:
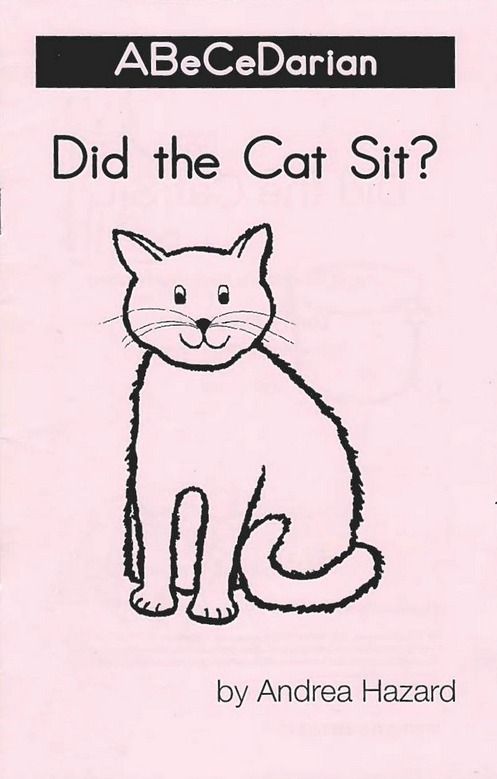
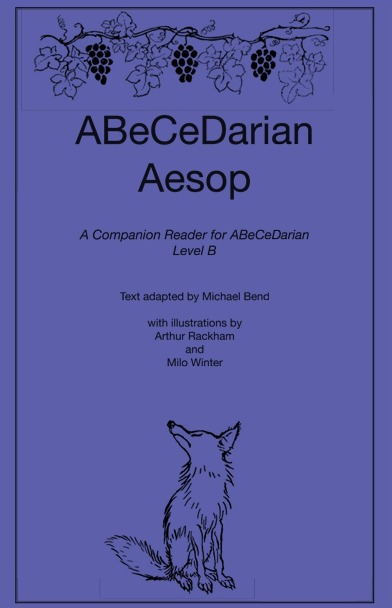
Sorting words, special instructions for recording words with o-e, breaking words apart, word reading practice, reading chains (a list of words in which one letter has been changed in each word to make it into a different word), completing sentences, completing the storybook “The Quest”, key words and letter sound practice, reading multi-syllable words, and reading all of the fables in the ABeCeDarian Aesop book.
The teacher’s manual is spiral bound, so I can keep it flat. It is completely scripted, which would be very helpful for the new home-school mom, or any home-school mom who is not comfortable going “off book” and doing her own thing. The instructional material in the beginning of the teacher’s manual will teach you how to properly correct your child’s errors.
There are things that you WON’T be doing in this program, which are part of the reason it took me a little while of reading and re-reading the instructional material, given that my only experience was with a phonics based program, just as it was with my children.
There is no teaching of long and short vowels, sight words, or silent letters. It did take some time for me to get used to that, and for a while I had to constantly correct myself, as I would automatically go to those things.
Because their earlier experience with reading instruction was all strictly phonics based, the decoding process was confusing for “Mr. Loquacious” and “The Puzzler” at first. When working on the word sorting activities, “The Puzzler”, who actually reads better than his brother, had a lot of problems at first, and told me it was very confusing and hard to do. However, “Mr. Loquacious” caught on to the decoding idea right away. I think this just shows that it is true that children learn in different ways, and that perhaps “The Puzzler” simply has an easier time learning with a phonics based program. In fact, when I think back to when we were working with phonics, “The Puzzler” was “getting it”, while “Mr. Loquacious” was not.
The student workbook is very nice, there are no distracting colors or pictures, which is a big plus in our family, since our children have extremely short attention spans. The lessons are fairly short, which is also helpful with distractable children. The lines for copying words and sentences are nicely spaced, with plenty of room for them to print. The workbook is spiral bound, which I like, as it lays nice and flat. It is in landscape format, which I think is easier for my kids to write in.
I think that ABeCeDarian is turning out to be a good fit, at least for “Mr. Loquacious”. I’m not so sure it will work as well for “The Puzzler”, but we do intend to keep going and see how well they both do. I would recommend this program, especially if you have a struggling reader.
Be sure to click below and read what other crew members thought of ABeCeDarian!
On this, the fourth day of the Blogging From A to Z April Challenge,
I’m talking a little bit about delight- directed education. As a home-schooling mom, I really believe it’s important to try to make learning fun. I don’t believe there’s a necessity for “drudgery” when it comes to learning, if one has the option of making it enjoyable. That doesn’t mean my kids ONLY learn with fun things, or that they NEVER experience drudgery while learning something, it just means that whenever I am able, I try to find ways to make their learning be something fun, engaging, and often-times, stealthy, so that they don’t even realize they ARE learning something!
When any of them expresses an interest in a particular topic, we can find resources like books, games, TV shows, movies, all kinds of things that are related to that topic. That, in a nutshell, is delight-directed learning! 🙂
We were given three different lapbooks and one unit study in pdf form to choose from:
The one my children decided to complete was the Earth Lapbook, which is available here, in two different forms. You may purchase the printed version for $21.00, or you may get the pdf instant download version, for $13.00. The download version is my favorite, because then I can use it for multiple children (and I have four of them!), either at the same time, or as each child reaches the level of ability needed for your chosen lapbook.
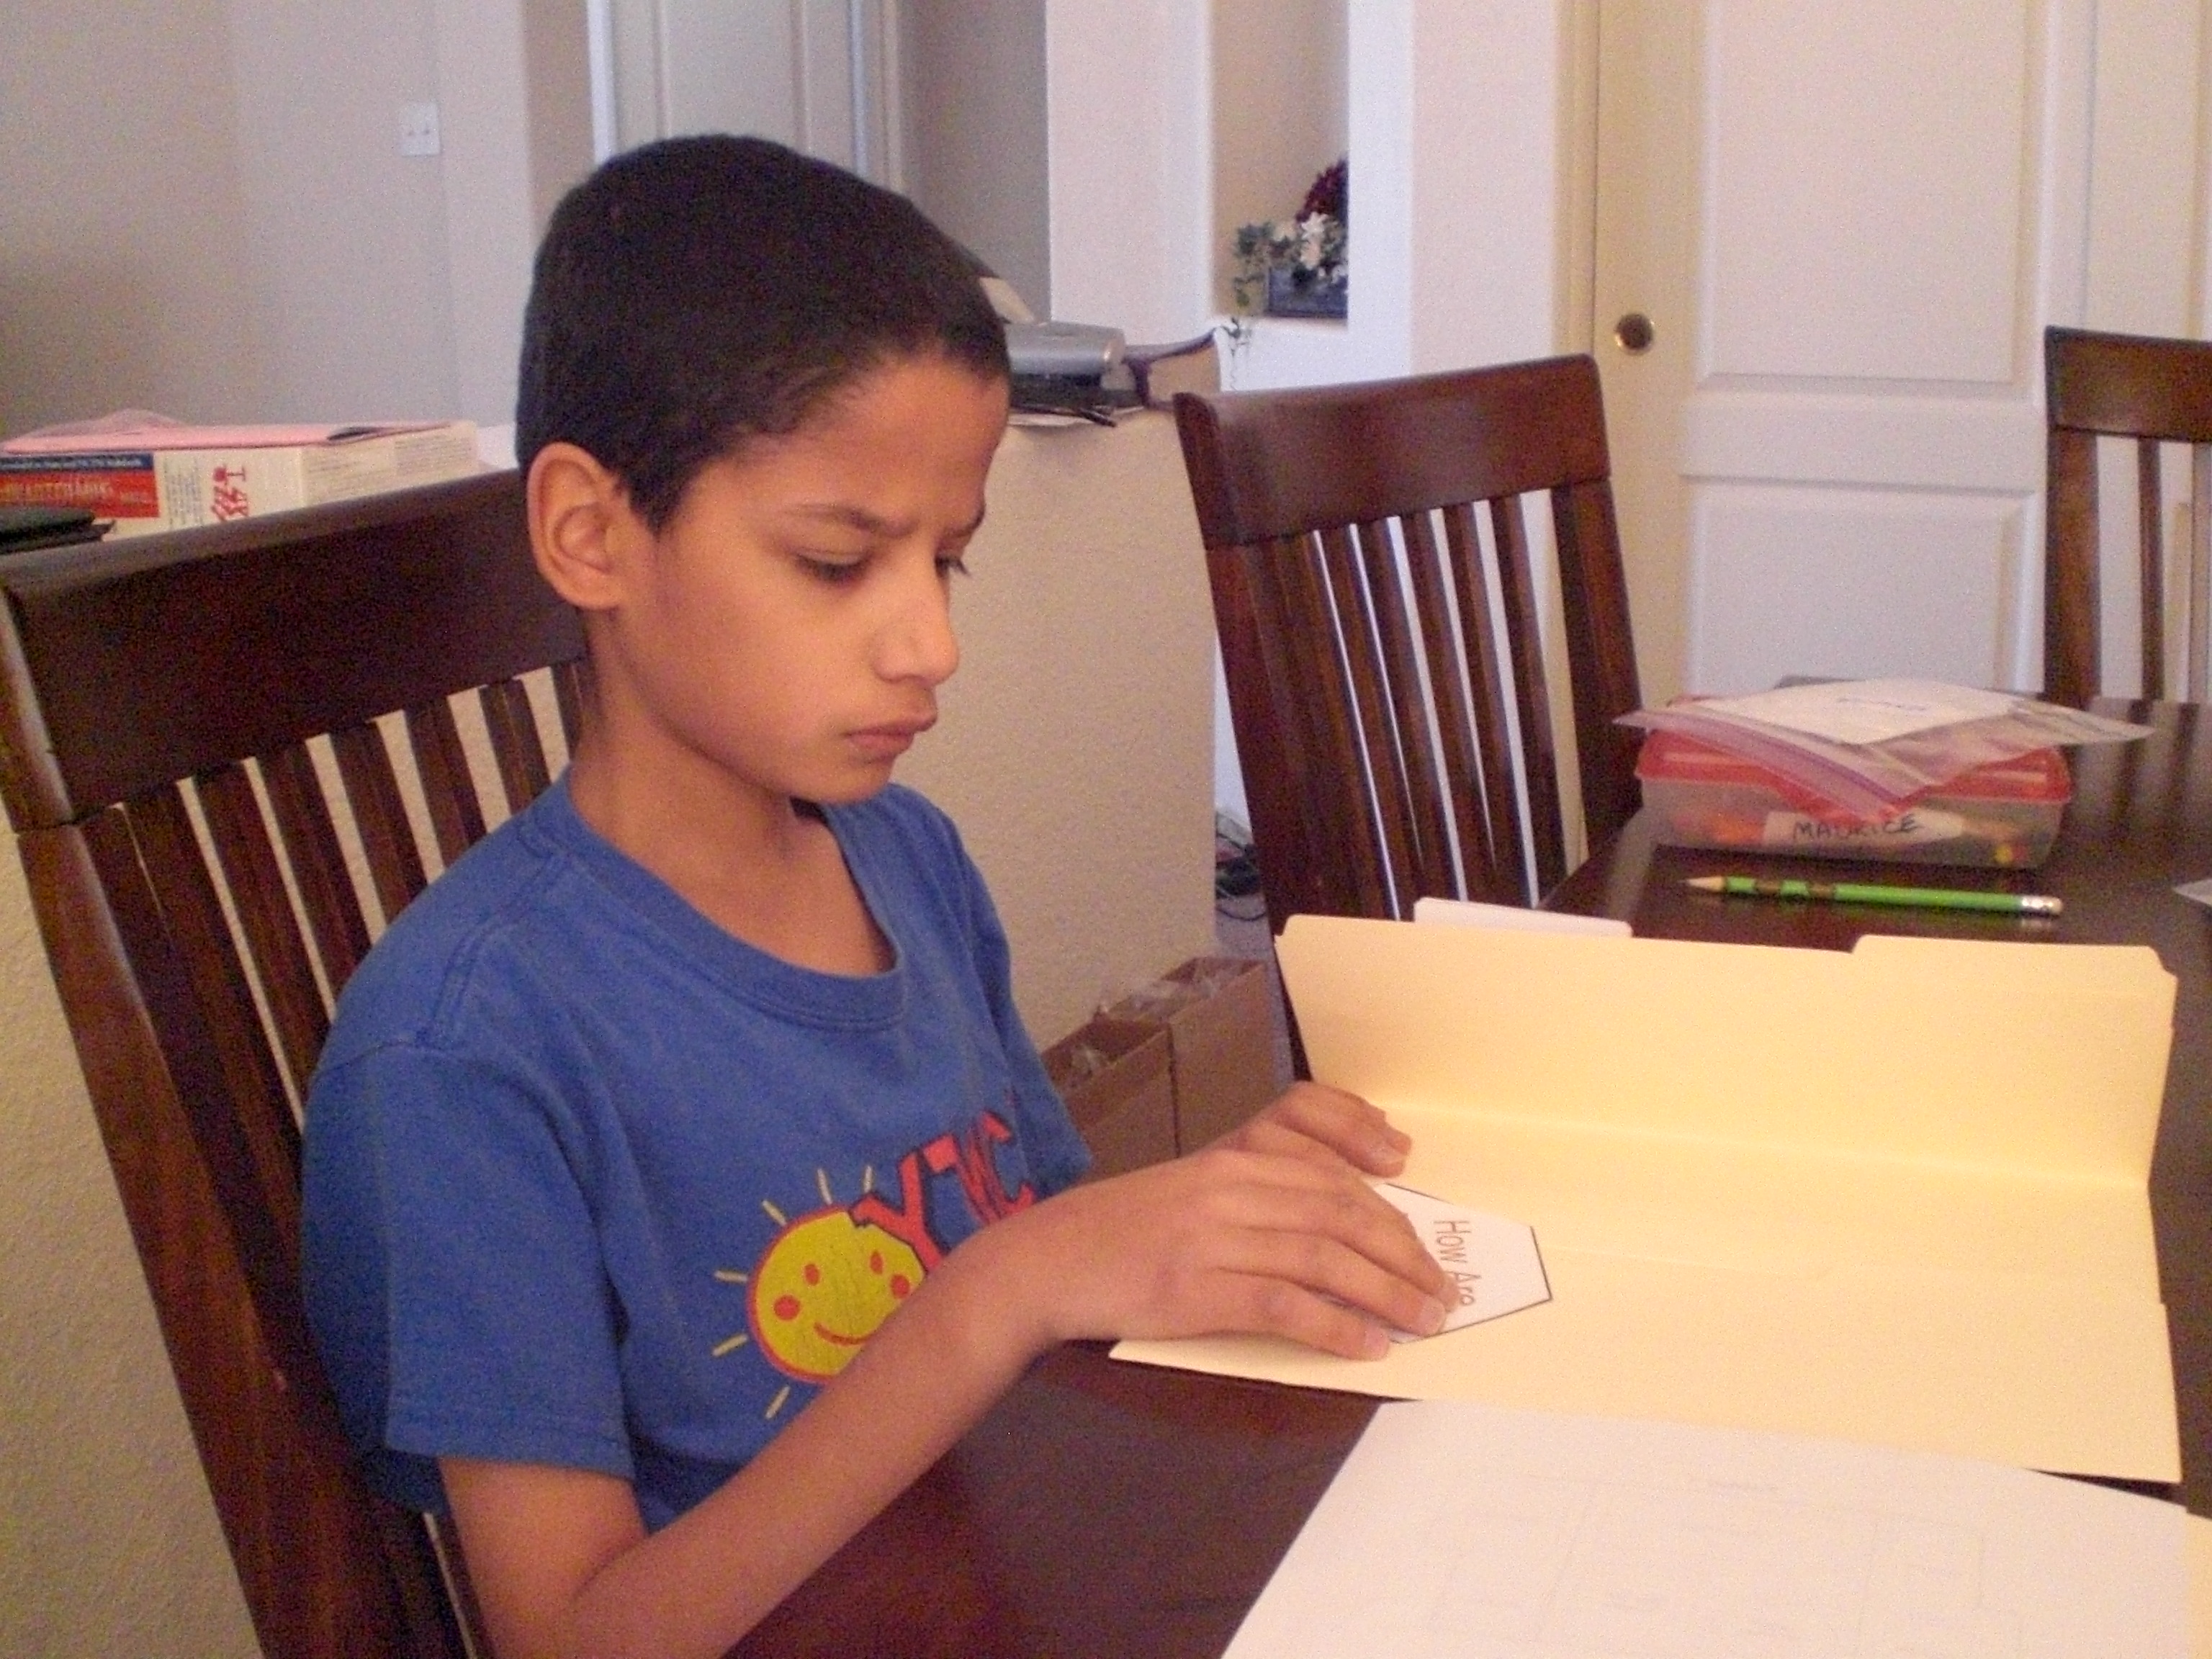
The Earth lapbook comes as a 42 page download, and requires two file folders to put together. In this lapbook, your child will:
“Learn about the Earth, what the Earth is made of, the Earth’s crust, sedimentary, igneous, and metamorphic rocks, the Earth’s 4 spheres-lithosphere, hydrosphere, biosphere, and atmosphere, how the Earth moves-the days and the seasons, parts of the Earth, landforms-continents, mountains, valleys, and plains, how mountains are formed, the atmosphere, the water cycle, ocean zones- photic, abyssal, disphotic, hadal, the ocean floor- continental margin, continental shelf, abyssal plain, ocean trenches, and volcanoes.”
This is our very first experience with A Journey Through Learning Lapbooks, and it has been wonderful discovering just how easy the creators of this company make it for children to create a very nice, educational keepsake! When I opened my pdf file for the Earth lapbook, I found everything we needed. There were print outs of each activity, along with a page of information to go along with each one. My children chose to have me read the information to them, and do the little booklets, etc . . . as we went along. One of the nicest things was the placement guide page, which was like a map showing us where each little booklet was to go. At the bottom of each activity print out was a mini placement guide showing just that one item.
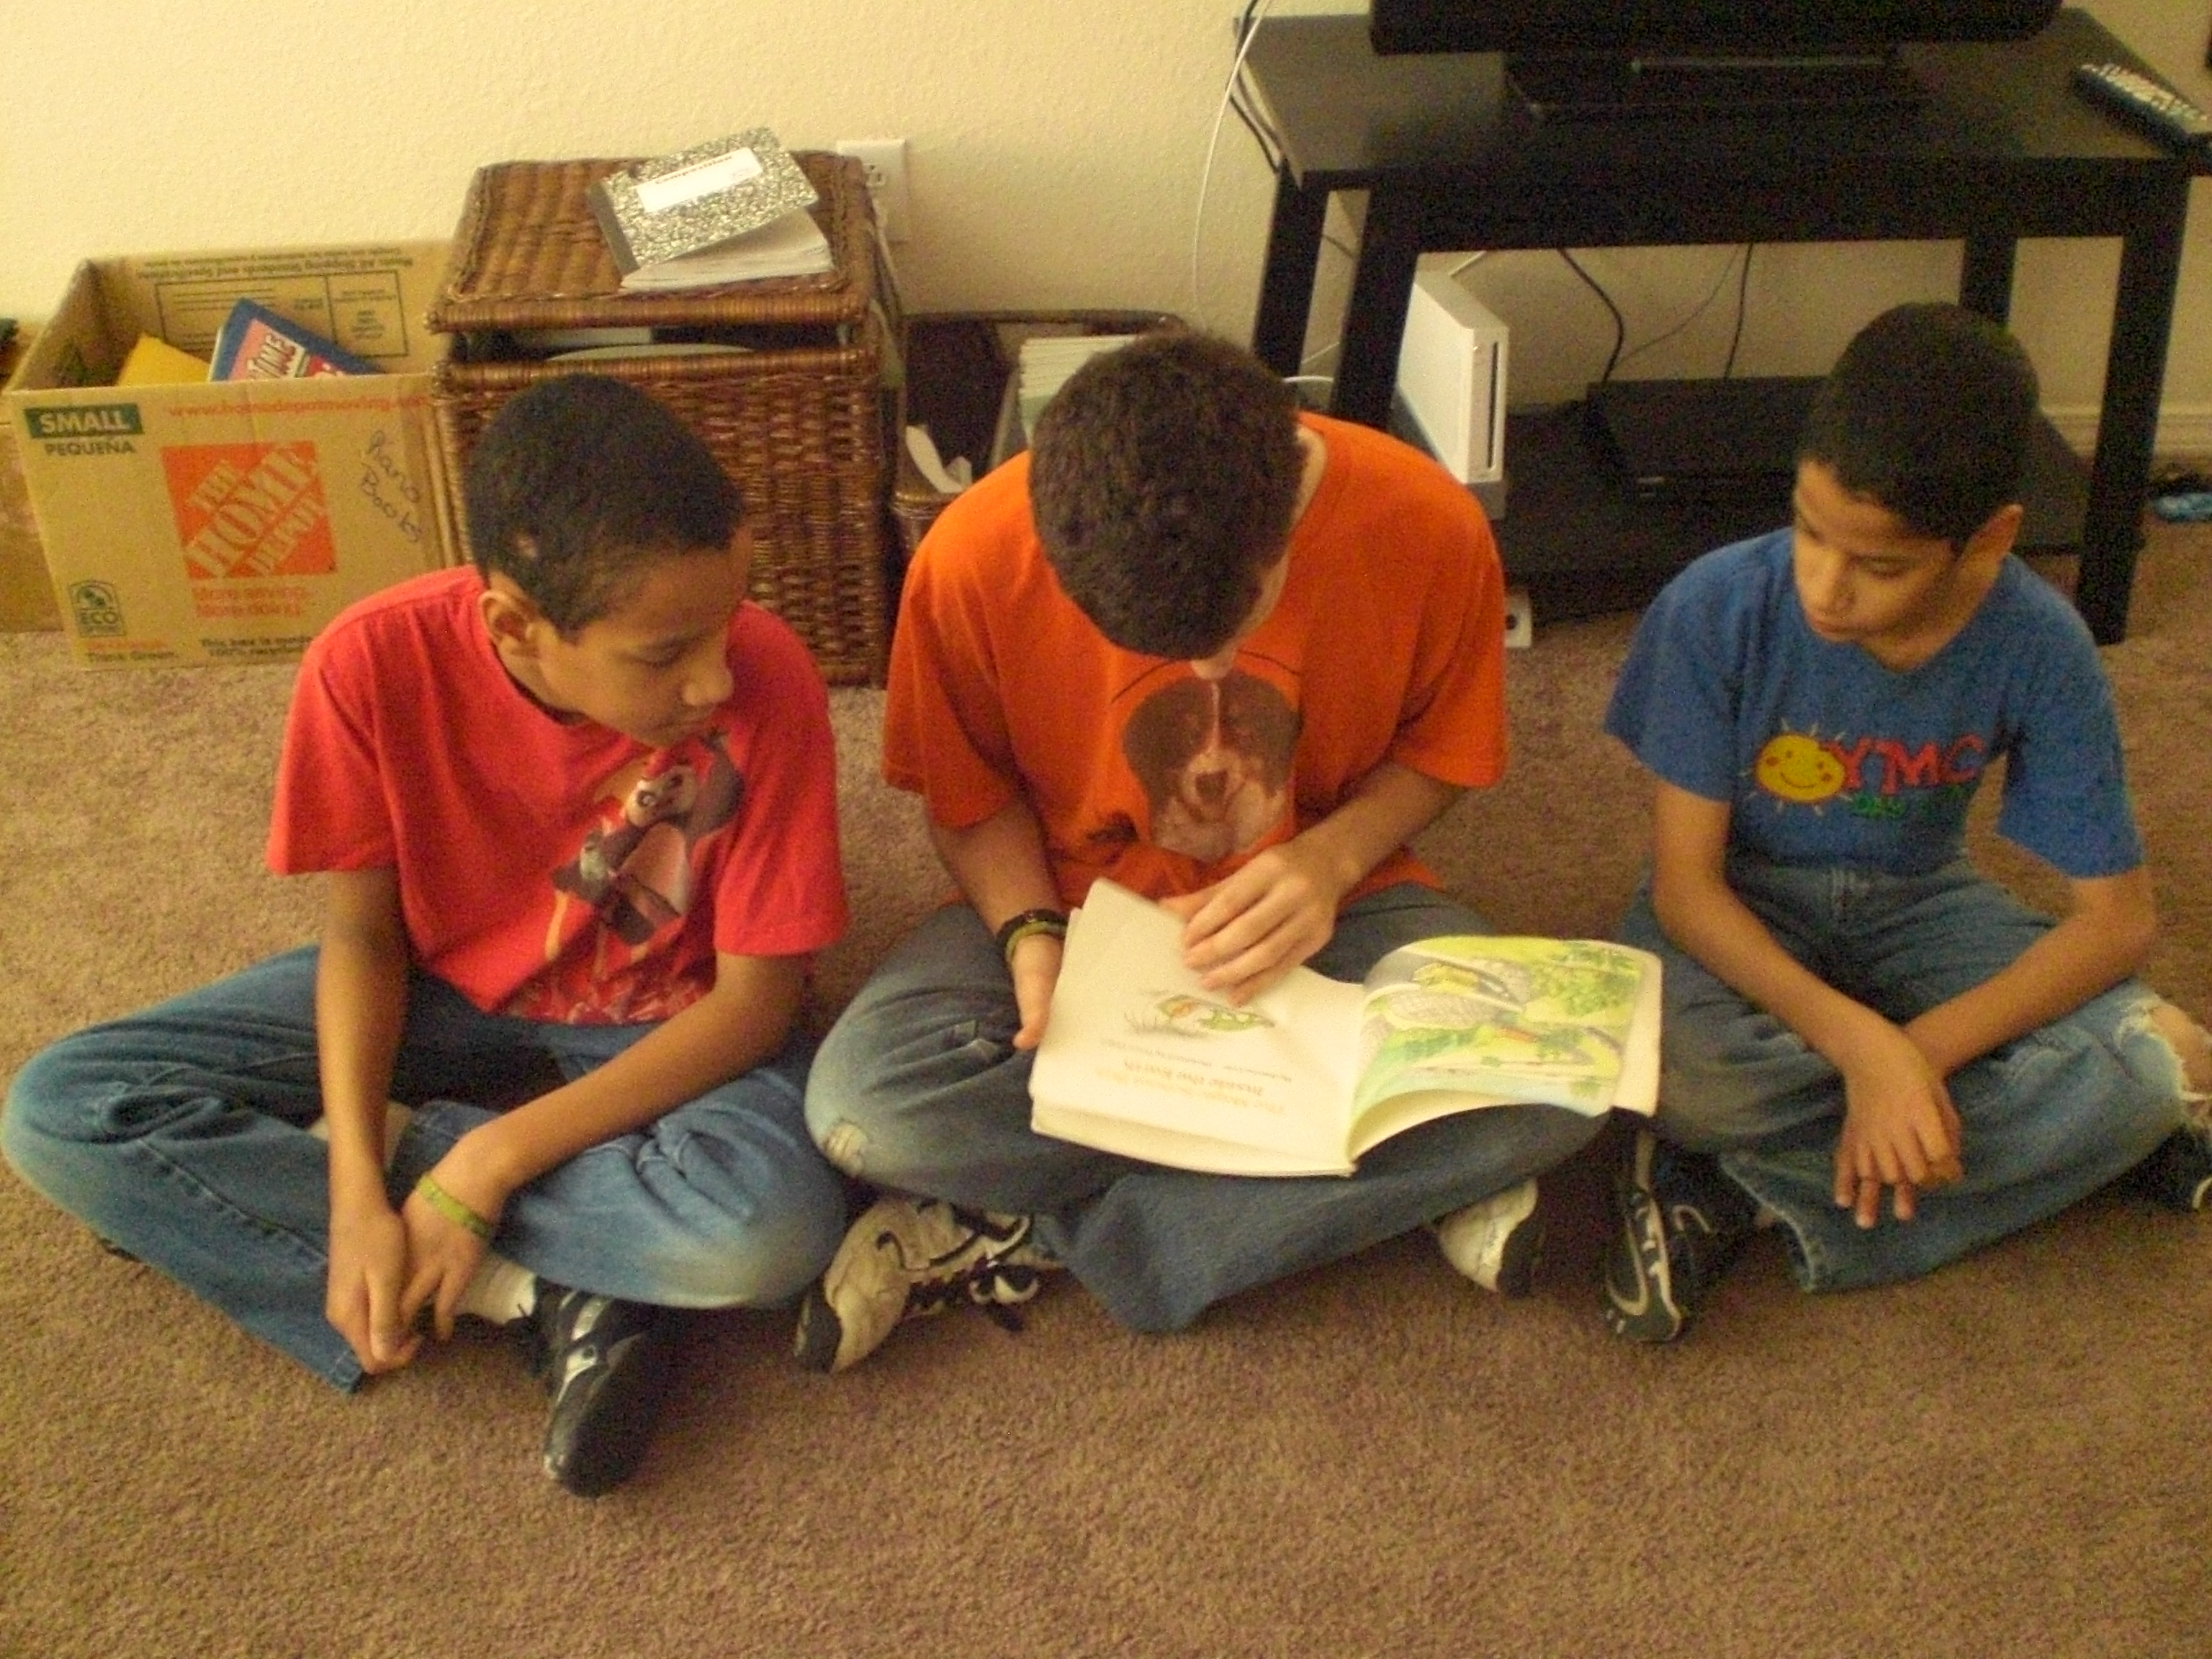
As you can see in the picture above, there is also a list of suggested books if you’d like to add one or two into your study. My children saw the list and reminded me that we own one of the books, A Magic School Bus book titled “Inside The Earth”, by Joanna Cole and illustrated by Bruce Degen. You can see “The Batman” reading it to “Mr. Loquacious” and “The Puzzler” below, as part of their study.
You really need very little in the way of supplies to create your own lapbook. You will need your pdf file of whichever lapbook you have chosen, two or three file folders, scissors, pencil to write with, crayons or color pencils (for the most part, A Journey Through Learning Lapbooks are printed in color, with some graphics in black and white which will satisfy the child who wants to color), and they recommend either zip dry glue or Elmer’s Xtreme glue. I did not find either of those glues local to me, so I chose to use strong, double-sided tape, which I purchased at my local warehouse club. I think it was a worth while investment, even though it was a bulk package, because we do a lot of lapbooks.
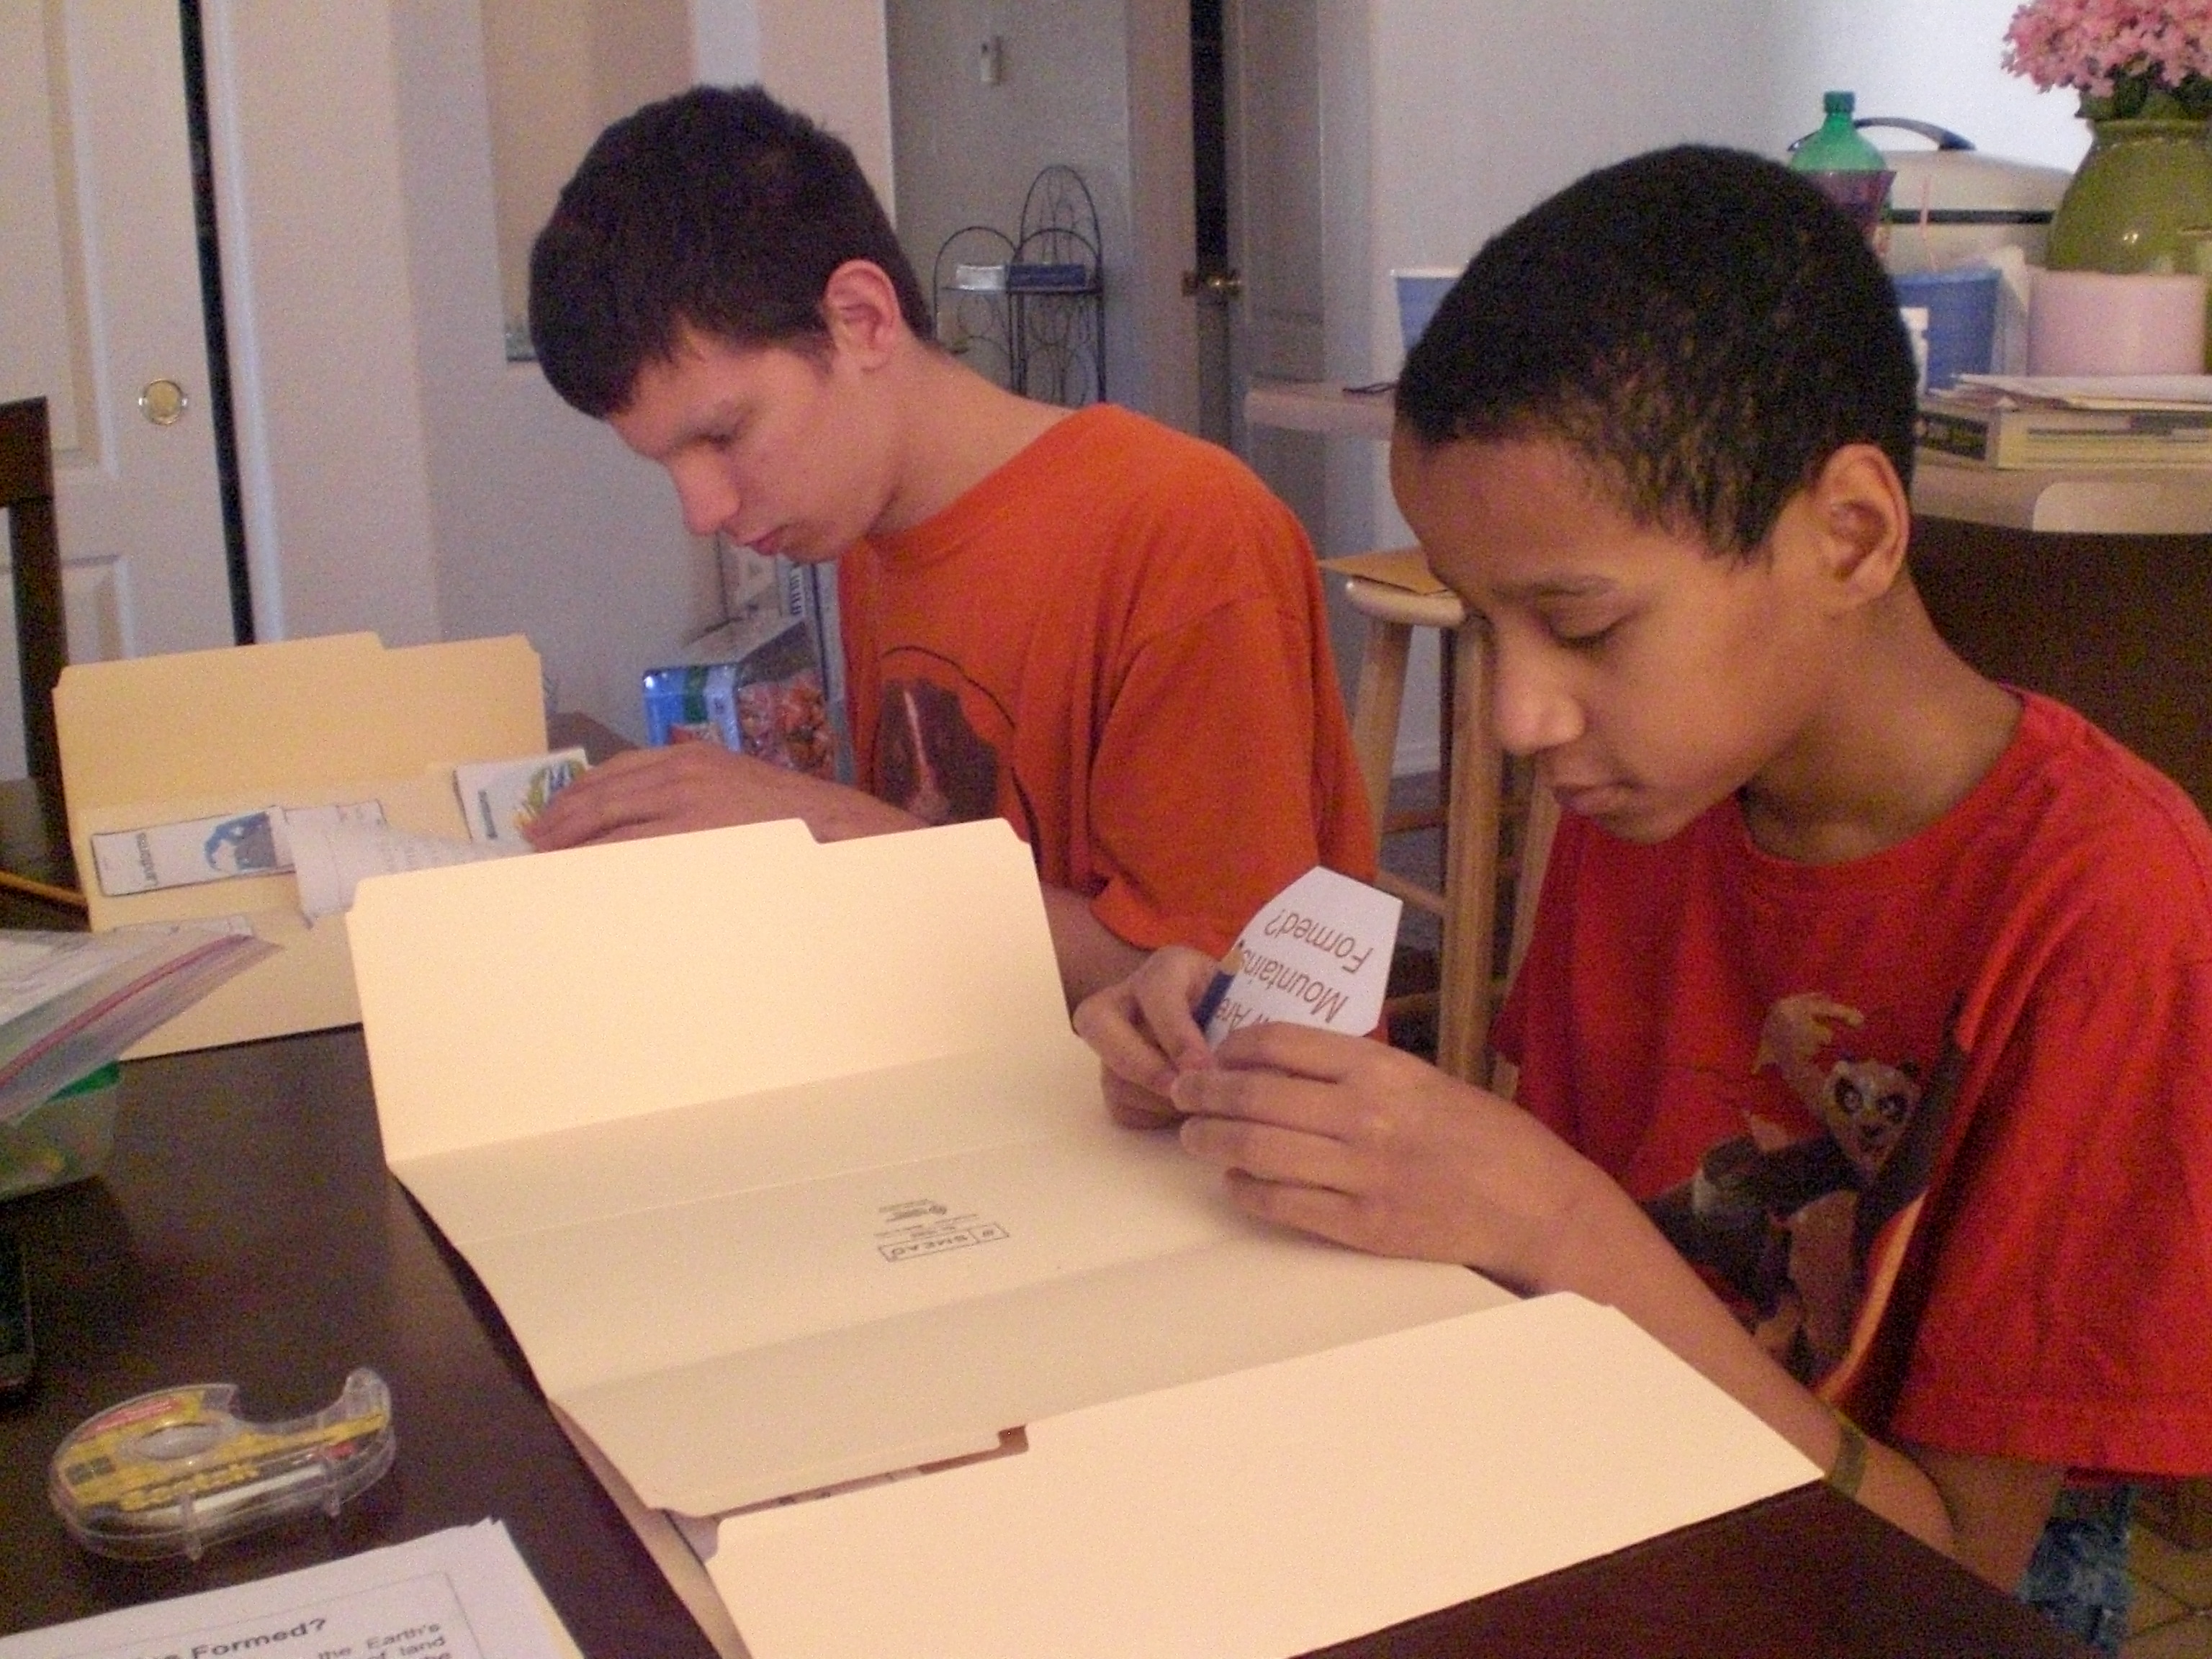
Here is “The Puzzler” working on one of his activities . . .
. . . and here we have “The Batman” and “Mr. Loquacious” working on theirs.
This is what my kitchen table looked like when they took a break to watch a couple of educational programs that they really enjoy. We chose to pre-cut everything, and each boy had his projects in a zip baggie with his name on it. This way, the cutting was done and out-of-the-way, and they could simply move on to learning and putting together!
The whole idea is that the children will have a keepsake that they can learn from, and that it will be portable, and easy for them to look through it as often as they wish, so it made me very happy when they were done, that they all asked if they could keep them in their own bookcases, in their own rooms. Again, as my husband likes to say, “stealth learning”!
One of the things I like best about this company is that it was created by two home-schooling moms, and best friends. I very much enjoyed reading their story of how A Journey Through Learning Lapbooks came to be.
We have done several different lapbooks over the years, and have a lot of fun with them. I think that what originally drew me to lapbooking was how similar it is to scrapbooking, and I am an avid scrapbooker. My kids enjoy everything I do in my scrapbooking time, often asking me to show them what new pages I’ve done, so I knew they would love doing something that is kind of the same thing, but with little informational booklets, etc . . . as opposed to photographs. Well, I was right, they really do enjoy making them!
A Journey Through Learning Lapbooks has so many different topics to choose from, including Veggie Tales, the Little House books by Laura Ingalls Wilder, sports lapbooks, math, Spanish, history and geography, to name just a few. In addition, there are lapbooks to go along with some of your favorite curricula, such as Apologia and Jeannie Fulbright curricula. They even have state approved or charter school lapbooks, which might be helpful if you are home-schooling in a state with strict regulations.
A Journey Through Learning Lapbooks has a wealth of free information on their website, including several “how to” videos which will teach you everything you need to know about creating your lapbook! There are also several FREE lapbooks here for you to download and create with your children.
You will find a number of Express Lapbooks here, for only $1.00 each, and they also have $5.00 lapbooks of the month, such as the current choices for April, one about horses, the other about spring.
If you join their email newsletter, A Journey Through Learning Lapbooks will send you a FREE “Overview of the 17th Century” lapbook. I signed up for it, and plan to use a lot of their other lapbooks in the future!
Schoolhouse Review Crew Members reviewed this and other lapbooks or the unit study, please go take a look and see what they all thought, too!
This is day 2 of the Blogging from A to Z April Challenge,
and I’m touching on several “B” words. First, an update on yesterday’s word “agony”, because of my “Back” injury. It’s no better at all, in fact my husband took me to a work in appointment at our doctor, who gave me a prescription for a very strong pain medication. I took the first one 15 minutes ago, and it’s definitely working, so . . . YAY! Along with that, the doctor told me to go ahead and take my prescription muscle relaxer. My back is now feeling MUCH better, at least until the meds wear off, but the hope is that it will allow me to relax enough to actually sleep tonight, and that it will help my back recover from whatever happened when I was cleaning off the ottoman yesterday. Unfortunately, because of this, I was unable to attend Ladies Bible Study at church tonight :-(, but it is absolutely my intention to go to church tomorrow night. After all, I won’t have to drive, Mike can do that! 🙂 Which brings me to my next “B” word . . .
. . . “Bible”. As a matter of faith and practice, our family, and our church, uses only the KJV Bible. We believe it to be God’s preserved word for English speaking people. My Bible . . .
. . . which of course, anyone who knows me well would immediately know it was mine even if it didn’t have my name on the cover, given that it is purple, is extremely important to me. My Bible reminds me that no matter what happens in my life, the Lord is still in charge, and even if for some reason I get to feeling that He doesn’t care, well, He really does, and everything, even things I may think are bad at the time, will work to God’s glory at some point. My Bible can answer any spiritual questions I really need answered. The words contained within are at times a comfort, at times an encouragement, at times they are instruction, and always there to show me God’s love. My Bible is the manual for the human race, and it is God’s love letter to us.
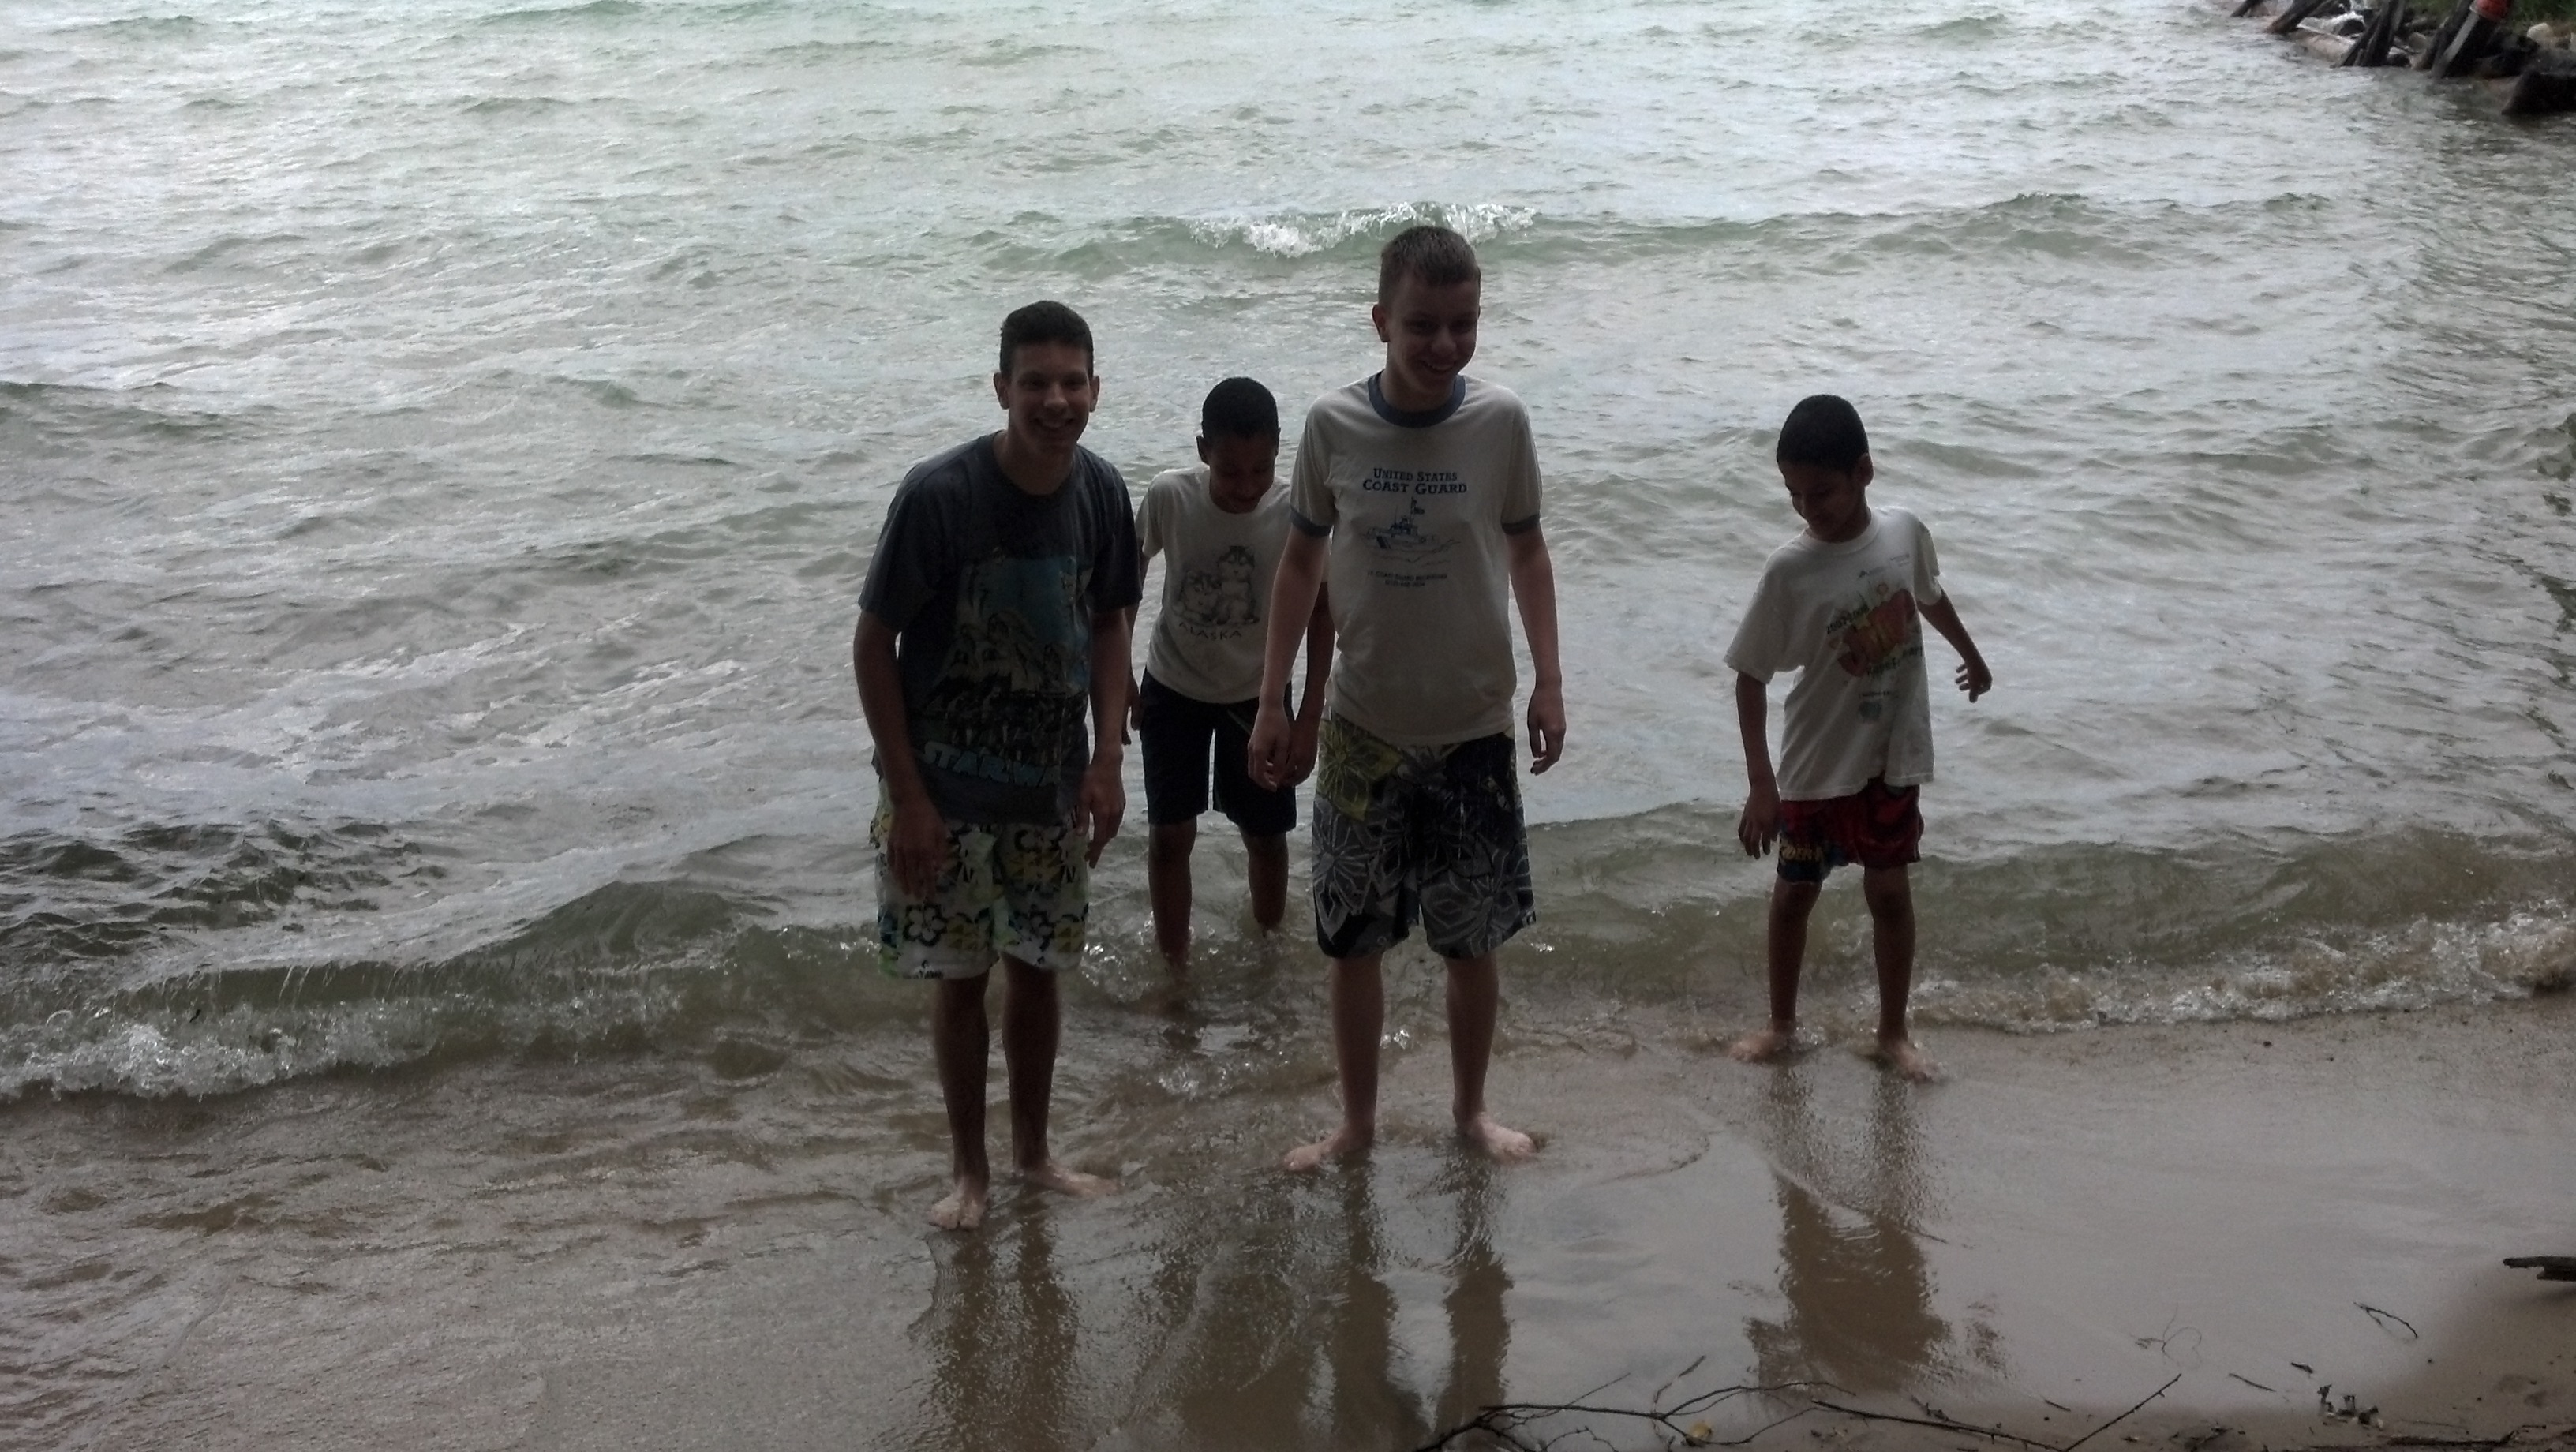
“Boys” . . . of which my husband and I have four, four boys who we love beyond reason, and would willingly give our lives for, if necessary.
This was taken right before we left Michigan, on our big move across the country to New Mexico. The boys (“The Batman”, “Mr. Loquacious”, “The Artist”, and “The Puzzler”) are playing in Torch Lake, which is between Kalkaska and Traverse City, Michigan, a lake I grew up going to, and where we wanted to go one last time before moving away. Our boys are very much the joy of our lives, second only to God. We home-school, so I get to spend LOTS of time with them. I have known lots of moms who say they couldn’t stand to spend so much time with their kids. Sometimes I feel sorry for those moms . . .
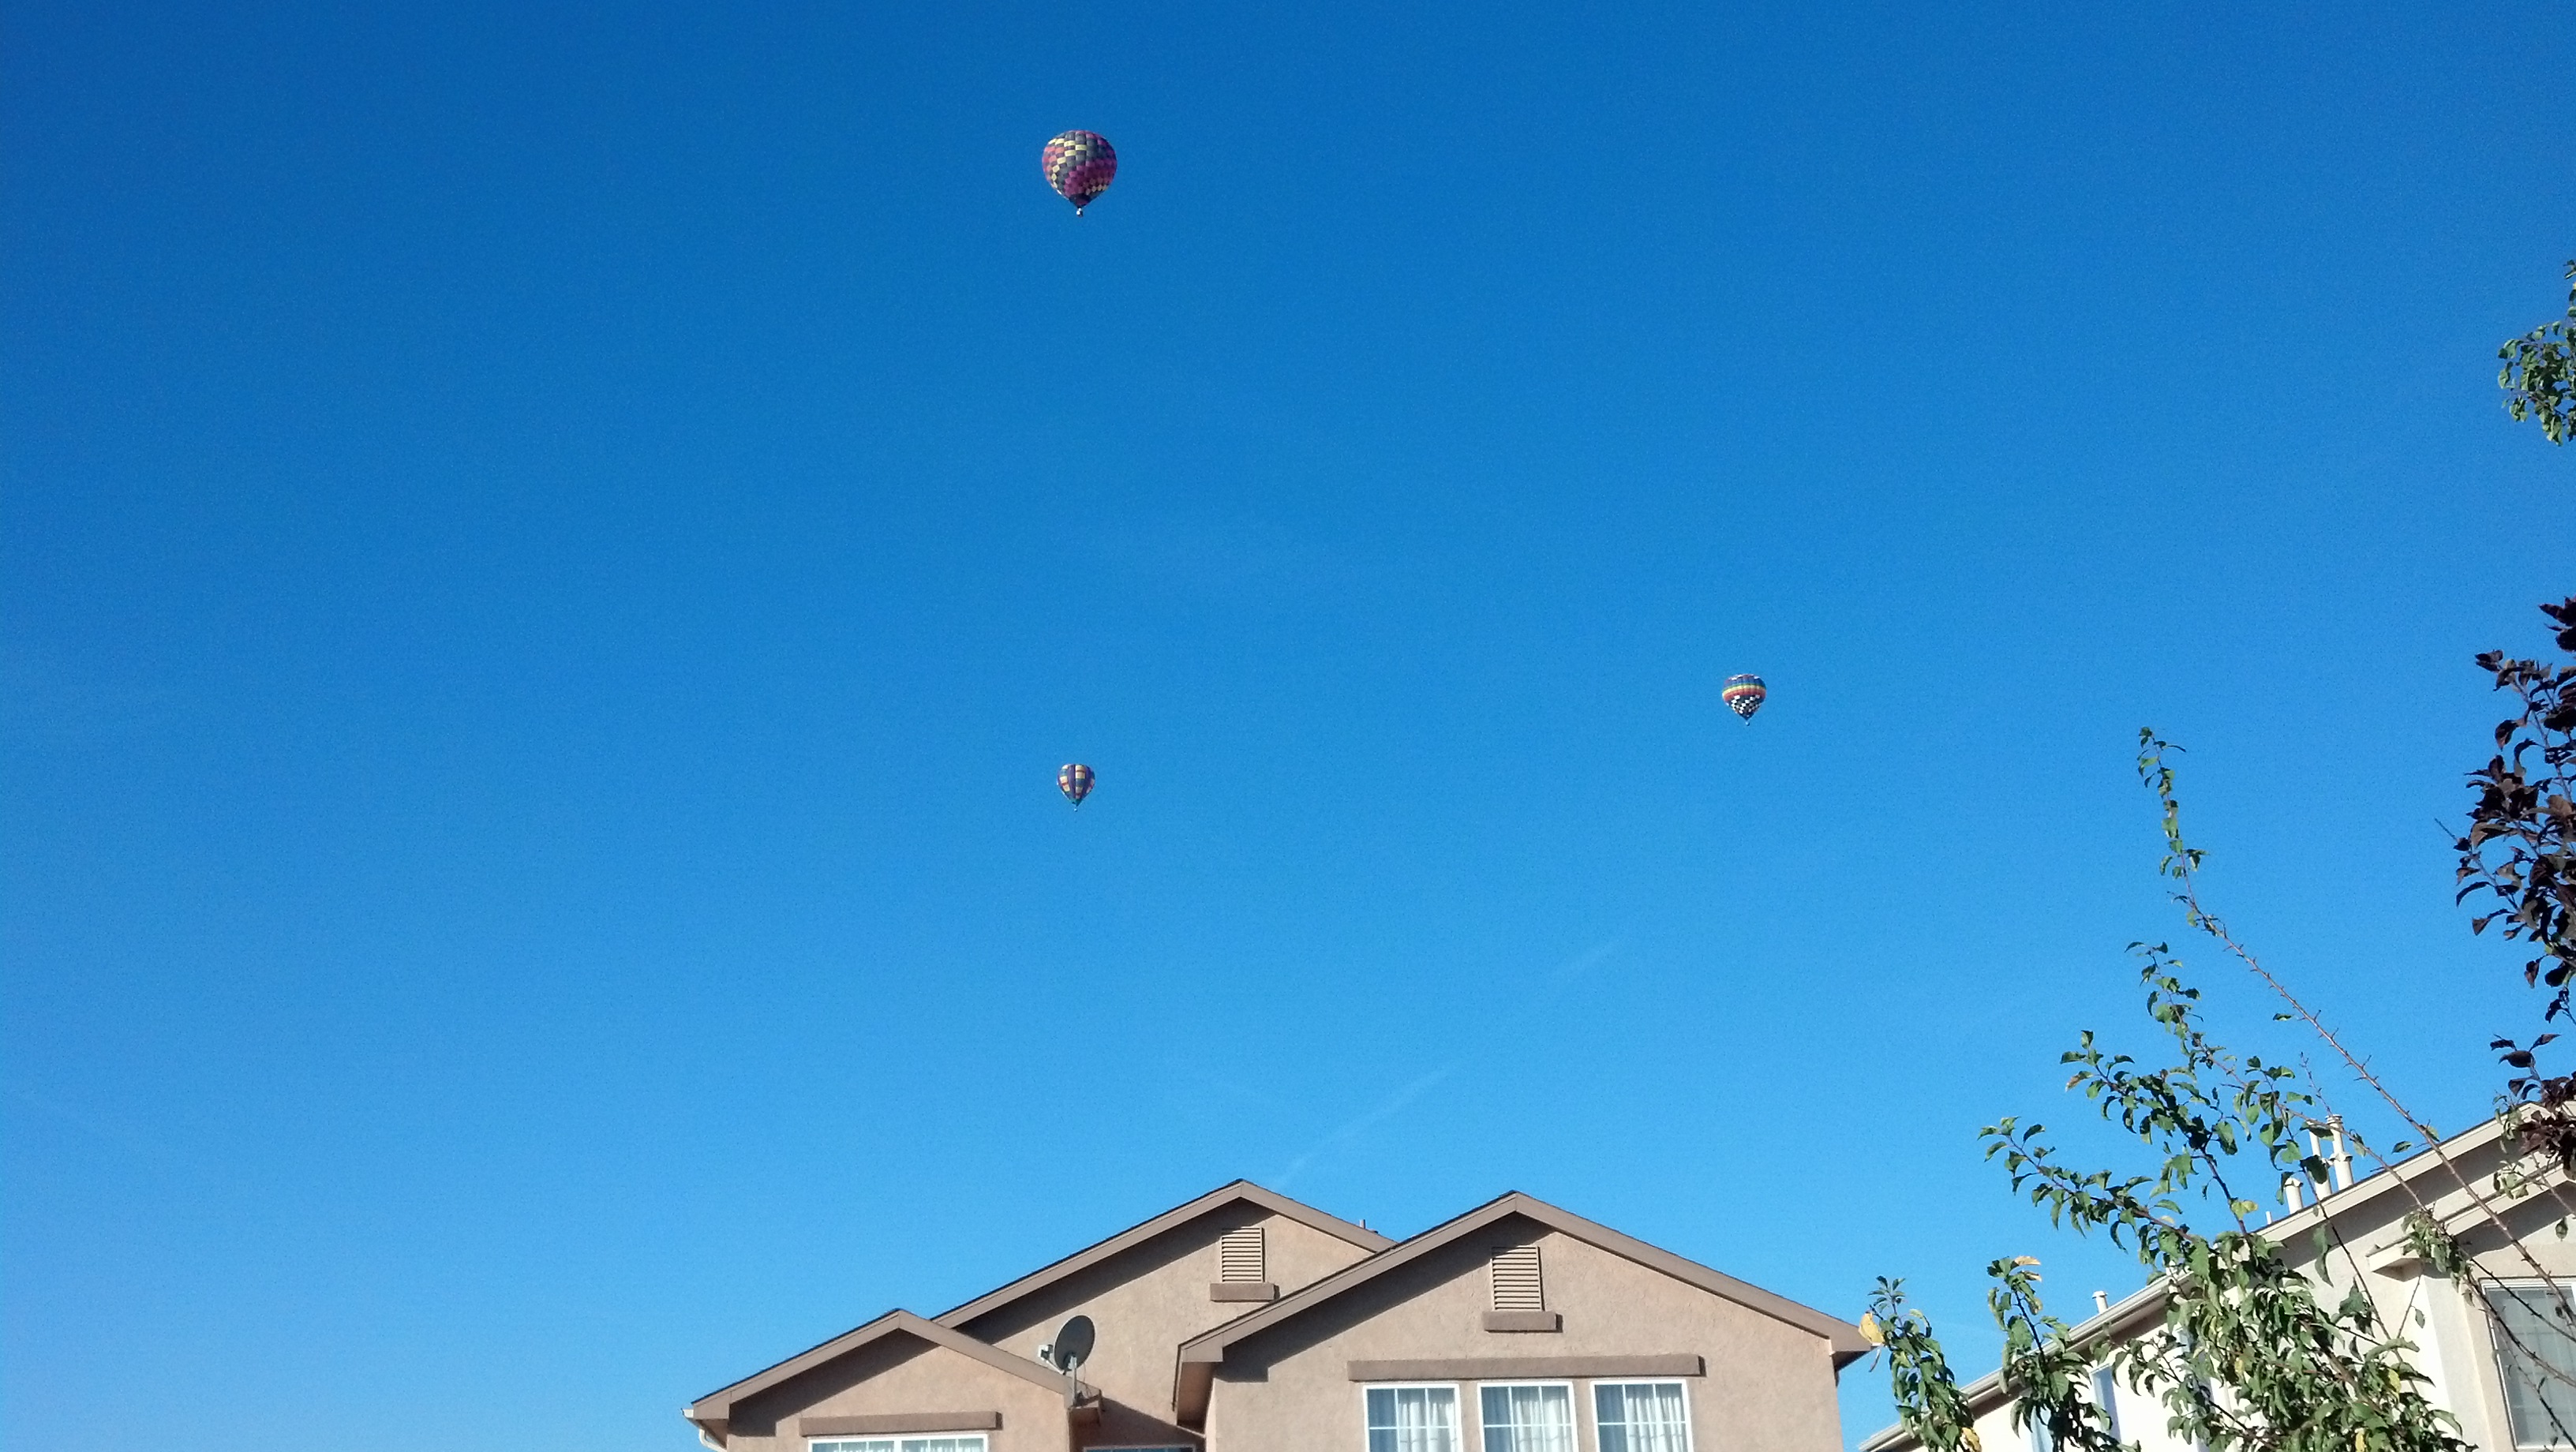
Having moved to Albuquerque, NM, we see a LOT of my next “B” word, “balloons”, as in hot air balloons!
This picture was taken from right outside out front door, after my youngest came running to get me after going out to bring in the newspaper one morning. Aren’t they beautiful? We often see several hot air balloons when we have errands to run in the morning, as early morning is when they generally take off. Our city is home to the International Hot Air Balloon Fiesta, which we were fortunate enough to get to attend for the first time last October. It is awesome, seeing so many hot air balloons all at once! Until we moved here, I had never seen one in real life, only in pictures, movies and TV shows.
Another “B” word, “Bed”. Doesn’t go with the other words, but I’m proud to say that for the most part, I’ve gotten into the good habit of making ours look pretty every day . . .
Our bedroom furniture was a gift from my mother before she passed away, and we purchased it at Emory’s Furniture in Port Huron, MI, in their used furniture department. Isn’t it pretty? I just love it! As you can see once again, proof that my favorite color is purple, LOL!
One final “B” word for the day, “Baptism”.
Here is “The Puzzler” being baptized in our church back in Michigan, shortly before we moved to New Mexico. He asked the Lord for salvation on the final day of VBS, and was baptized the Sunday right after that. I’m so grateful that he finally understood what salvation was, and that now I can know for sure that all four of our kids will be with us in Heaven when the time comes. 🙂
So, there you have it, just some of the words which begin with the letter “B”, that have importance in my life for one reason or another.