Tag Archives: kids

Relaxed Homeschooling . . .

So today was a good example of one of those “relaxed homeschooling” days . . . as you know, I am currently recovering from surgery on both of my feet, five toes total, three on the right foot, 2 on the left, and am coming to truly realize just how much your toes are involved in supporting the weight of your body. Yes, they still hurt.

Lately, we’ve been working on a unit study from Moving Beyond the Page which I am reviewing. this is actually fitting into our “relaxed” homeschooling we’ve been doing, especially during my recovery, because as is usual with many professional curriculum, I am adapting to fit my special needs kids. So, we do a bit of this each day, and the kids are enjoying it, so far.

This morning, after breakfast, the boys watched a couple of educational shows on pbs (Super Why and Dinosaur Train), then we did a read aloud from another book I’m reviewing for the review crew (review will be posted within the next few days!). Then, they got to watch Daniel Tiger’s Neighborhood (which I didn’t at first realize was a spin off of Mr. Rodger’s Neighborhood), and then Sid The Science Kid.

After Sid, we had a simple lunch, followed by watching four more episodes of “Watch Mr. Wizard”, a DVD I am reviewing. I asked for that one because of my childhood memories of a Mr. Wizard science book from the library, in which there was an experiment using charcoal, bluing, food coloring and I don’t recall what else, to make a crystal garden in a goldfish bowl. 🙂 And now, my kids are being introduced to Mr. Wizard, which is fun for me. They are really enjoying it, too, so tomorrow we’ll finish watching the second DVD I received.

We then did more of the read aloud from the morning, while the boys colored pictures and did a word search based upon the book.

They are now watching Word Girl, and after I post this, I intend to get a couple of things downloaded, and then go get these poor sore feet back up on their pillows for a little while!

So, that’s what a “relaxed Homeschooling” day looks like around here . . . how about at YOUR house? 🙂

2 Comments

Filed under education, family, health, home education, homeschooling, Kids

Let’s Make a Web Page . . . a TOS Review

We recently had the opportunity to review “Let’s Make A Web Page” by Phyllis Wheeler, published by Motherboard Books, and available for purchase at the cost of $19.95.

motherboardbookslogo_zps225f4801

Wheeler, who bills herself as “The Computer Lady from Motherboard Books, promises this e-book for ages 8 and up “takes you by the hand and shows you how.”

The author advises that you download a free trial version of Visual Site Designer (VSD) from CoffeeCup and includes screen shots from that program in the e-book. The e-book states that it works on Windows XP and newer (we tested it with Windows 7), and also states will run on a Mac if you are running Parallels Desktop . There are no surprises; she fully discloses her reasons for recommending the program and tells you up-front you’ll need to pay for it ($49.00) if you want to use VSD past the trial period. As a result, however, most of this e-book is instructions, hints and tips for using VSD.

The lessons are written for ages 8 and up and as promised, they are easy to understand and there are plenty of screenshots to help. Later lessons provide great resources for free animations and backgrounds to add to your web page. There’s also a troubleshooting guide to help.

The Table of Contents are as follows:

Lesson 1: An Interview
Lesson 2: Download and Set Up the Program
Lesson 3: Add Text
Lesson 4: Add Photo
Lesson 6: From The Internet, Add Animations
Lesson 7: Browser Check, Backgrounds, Photos
Lesson 8: Sound
Lesson 9: Links
Lesson 10: Post Your Work
Appendix A: How to Upload to the Internet
Appendix B: Troubleshooting

Please note: The omission of “Lesson 5” is not my typo. More on this later.

Because of a recent surgery, I asked my husband to assist with this review. I have been “living better through chemistry” due to post-op pain, and I reasoned he would be (between the two of us) best suited to oversee this particular review. He chose “The Artist” as his guinea pig, test subject. Here’s how they did:

Lesson 1: An Interview – If you’re going to post a web page, you must have information to post. The author recommends having your child interview an adult and asking them five questions about themselves, their work, etc. Seeing as my husband has a standing policy of always being available to the media, “The Artist” chose him as his subject and his work (Tech Support Rep for a Wireless Communications Company) as the interview topic. They followed Wheeler’s recommendation to type the interview results into Notepad and save it for later use. She also recommends taking a digital picture of your interview subject to add later, but my husband already had several to choose from saved on the computer.

Lesson 2: Download and Set Up the Program – This step was fairly simple and straightforward. They followed the instructions provided, and had no difficulty installing the program. Wheeler also takes the opportunity here to get your web page file started by typing a small amount of text into your file, then saving the file within VSD. She also has you view the file in Notepad so you can see what VSD adds to that tiny bit of text to make it a web page! My husband was impressed by this.

Lesson 3: Add Text – Here the author has you re-open the file you’ve been working on so you can add the text of your interview. In addition to re-opening your web page file, she has you re-open the interview file you saved earlier in Notepad so you can copy and paste it into your web page.

Lesson 4: Add Photo – Here, Wheeler tells you how to add the digital photo you took earlier

Lesson 5: Mystery Lesson – I am assuming this was simply an error the editor missed; there is no Lesson 5!

Lesson 6: From The Internet, Add Animations — Great tips in this lesson! First, turn on Google Safe Search when you need to take your child out into the Wild, Wild Internet! Second, oversee your child’s trip on the net. Third, the author gives you a great source for kid’s animations, Animation Playhouse which lets you use the animations for free as long as you link back to the site (you’ll only need to do this if you post your page on the Internet). Here, “The Artist” chose a couple of appropriate animations to add to his page.

Lesson 7: Browser Check, Backgrounds, Photos – Here, the first thing “The Artist” did was check his work in Internet Explorer using the Preview function in VSD. Note: when “The Artist” tried to preview, a popup in IE said Active X content was blocked and gave us a button to allow it. Go ahead and select that button. We haven’t added any malicious code to our page (yet, anyway), so it will be safe to view. The page looked great!

The Backgrounds section of the lesson was a little confusing. Here, the author takes us on a little side trip by searching for “free background image” and going to a site that was chock-full of ads. You had to be very careful to select the icon which took you to the free backgrounds. She states she’s using this side trip to help us “learn to be wise.” If you feel your child needs this Internet lesson, then it’s a great addition. However, if you are an Internet Pro (as is my husband) and you are overseeing your student’s trip on the Information Superhighway, it might seem like an unnecessary side trip. They went straight for the “good” link the author provided, GrSites . This is another site that will let you use stuff for free, provided you link back to their site. Because “The Artist” knows I like purple, he chose a light purple background.

The author does not mention that you may need to resize your background. When “The Artist” originally downloaded the background, it showed as a tiny, little purple square on the white background of the page. However, when they went back to the web site where they selected their background and scrolled down, there was a Resize tool. The resized the background to the same approximate size of the web page they were creating.

The next step covers using images from the Internet, specifically Google Images. While Teacher and Student did go through the steps, Student didn’t find anything he wanted to add.

Lesson 8: Sound – This is another spot where “The Artist” ran into a snag that could be attributed to an editing error. After downloading a sound file and moving it to the correct folder, the e-book tells you to go to the Tools option in the Menu Bar and select “Insert HTML” to add the sound file to your web page. There has apparently been a recent change to the VSD, as it was labeled “Add HTML” in the Tool Menu. This threw off “The Artist”, as when dealing with computers, he is quite literal. Dad was able to help here and get the music file to play on the web page. However, if you do not have your own in-house tech support, I would recommend reviewing the Help PDF file or going to their Support page (both accessable in the VSD Help Menu).

Lesson 9: Links – Since the sources of the animations, background and sound files require attribution, this was a good place to add those links. “The Artist” followed the author’s instructions to copy and paste from the browser address bar to text boxes he made on the web page, then convert them using the Links icon in VSD.

Lesson 10: Post Your Work – We had no intention whatsoever of posting this page on the Internet. However, the author provides complete instructions for making it the Home Page for your browser. The Artist and my husband tested this in both Internet Explorer 10 and the Google Chrome, and they report excellent results!

Here is a picture of “The Artist” working on the project . . .

lets make a web page review 004

Here is the project in progress . . .

ccvsd

and now, the finished product!

final product

In the course of helping “The Artist” with this e-book, my husband had occasion to read the Help.pdf file included with the VSD. He is of the opinion that the author has done a very good job of taking the basic operating instructions of Coffee Cup Visual Site Designer and restating them in terms that 8-14 year olds can easily understand. She includes helpful tips (Google Safe Search) and resources for free images, animations and backgrounds. In addition, she provides examples of how the changes you make in the VSD changes your web page by viewing those changes using Notepad. There are also plentiful screen shots to assist.

However, he also feels that the editing errors in the version of the e-book given to me to review (omission of Lesson 5; not keeping up with the phrasing changes in the program’s drop-down menus so the e-book matches the program) make the product look somewhat unprofessional. Because the product is digital and not printed, it costs practically nothing except time to update the e-book to accommodate changes VSD. I do not know if the e-book has been revised in the interim. In addition, he feels that if anyone in the family is technically proficient, they could download the CoffeeCup VSD program on their own and save the cost of the e-book.

While he and “The Artist” did enjoy going through the lessons and building a webpage, my husband said it seemed like the customer is purchasing a commercial for CoffeeCup Visual Site Designer. The guide becomes virtually useless once the trial period expires, unless you spend $49.00 to purchase VSD. Once you purchase VSD, you have access to internal help files and the CoffeeCup Support Site, making this e-book redundant.

To read what other crew members thought of products from Motherboard Books, please click below.

Photobucket

 photo DisclaimerGraphic1_zpsf612f371.gif

Leave a comment

Filed under education, home education, homeschool products, homeschooling, Schoolhouse Review Crew Post

Math Mammoth . . . a TOS Review

When given the opportunity to choose from an abundance of different worktexts from a company called Math Mammoth to review with my children, I spent some time looking at all of the choices.

Rather than going with a full curriculum, I chose to focus on two worktexts which would specifically focus on areas some of my kids have problems with because of various special needs. I was actually thinking mostly of “The Batman”, who will always have problems with time and money as a result of pre-natal damage due to his birth mother having drank alcohol during pregnancy. He has Fetal Alcohol Spectrum Disorder (FASD). So, I chose two supplementary workbooks, Clock and US Money.

I chose to have “The Batman” work with these topics, but wanted “Mr. Loquacious” and “The Puzzler” to do them, as well, so when I received access to the pdf downloads, I printed three copies of each workbook.

I really like the trend lately of curriculum being made available as a pdf download. First, it’s almost always less expensive, because the vendor doesn’t have to add in the cost of printing a book, or charge you shipping to mail it to you, second, because you can generally use it for more than one child, and third, as those who know me well are aware, I don’t wait well. I like the instant gratification of getting my product as soon as it is ordered. As I have mentioned many times, my motto appears to be “instant gratification takes too long”, lol!

So, you can purchase the instant download of Math Mammoth Clock for $4.00, or a black and white printed copy for $10.85, by going here.

There are also links to sample pages here.

mm-cover-Clock-m

From the Webpage:

“Math Mammoth Clock is a worktext that covers telling time and reading the clock, telling time intervals, and understanding the calendar. It is suitable for grades 1, 2, and 3.”

The pdf worktext is fully printable, which is how I chose to use it, printing out the pages as needed and having the kids fill in the answers on the paper. However, if you prefer, this pdf is enabled for annotation. What this means is that you could, if you choose, have your student work directly on the computer, by using the typewriter and drawing tools in Adobe Reader version 9 or greater.

More from Math Mammoth Clock:

“Math Mammoth Clock covers reading the clock, figuring out simple time intervals, and using the calendar, all in one book. The topics progress starting from the first grade level to the third grade level. Therefore, you also can let your child work the pages of this book in different time periods, and not go through it all at once, depending on your child’s current level.

The lessons are divided to the grade-levels this way: reading the clock to the half-hour is first grade material; reading the clock to the five-minute intervals is second grade; and reading the clock to the minute is third grade level. I realize this is somewhat arbitrary, and there is no need to follow it exactly but I want to explain it so you can keep it in mind that the material in this book does get more difficult towards the end.”

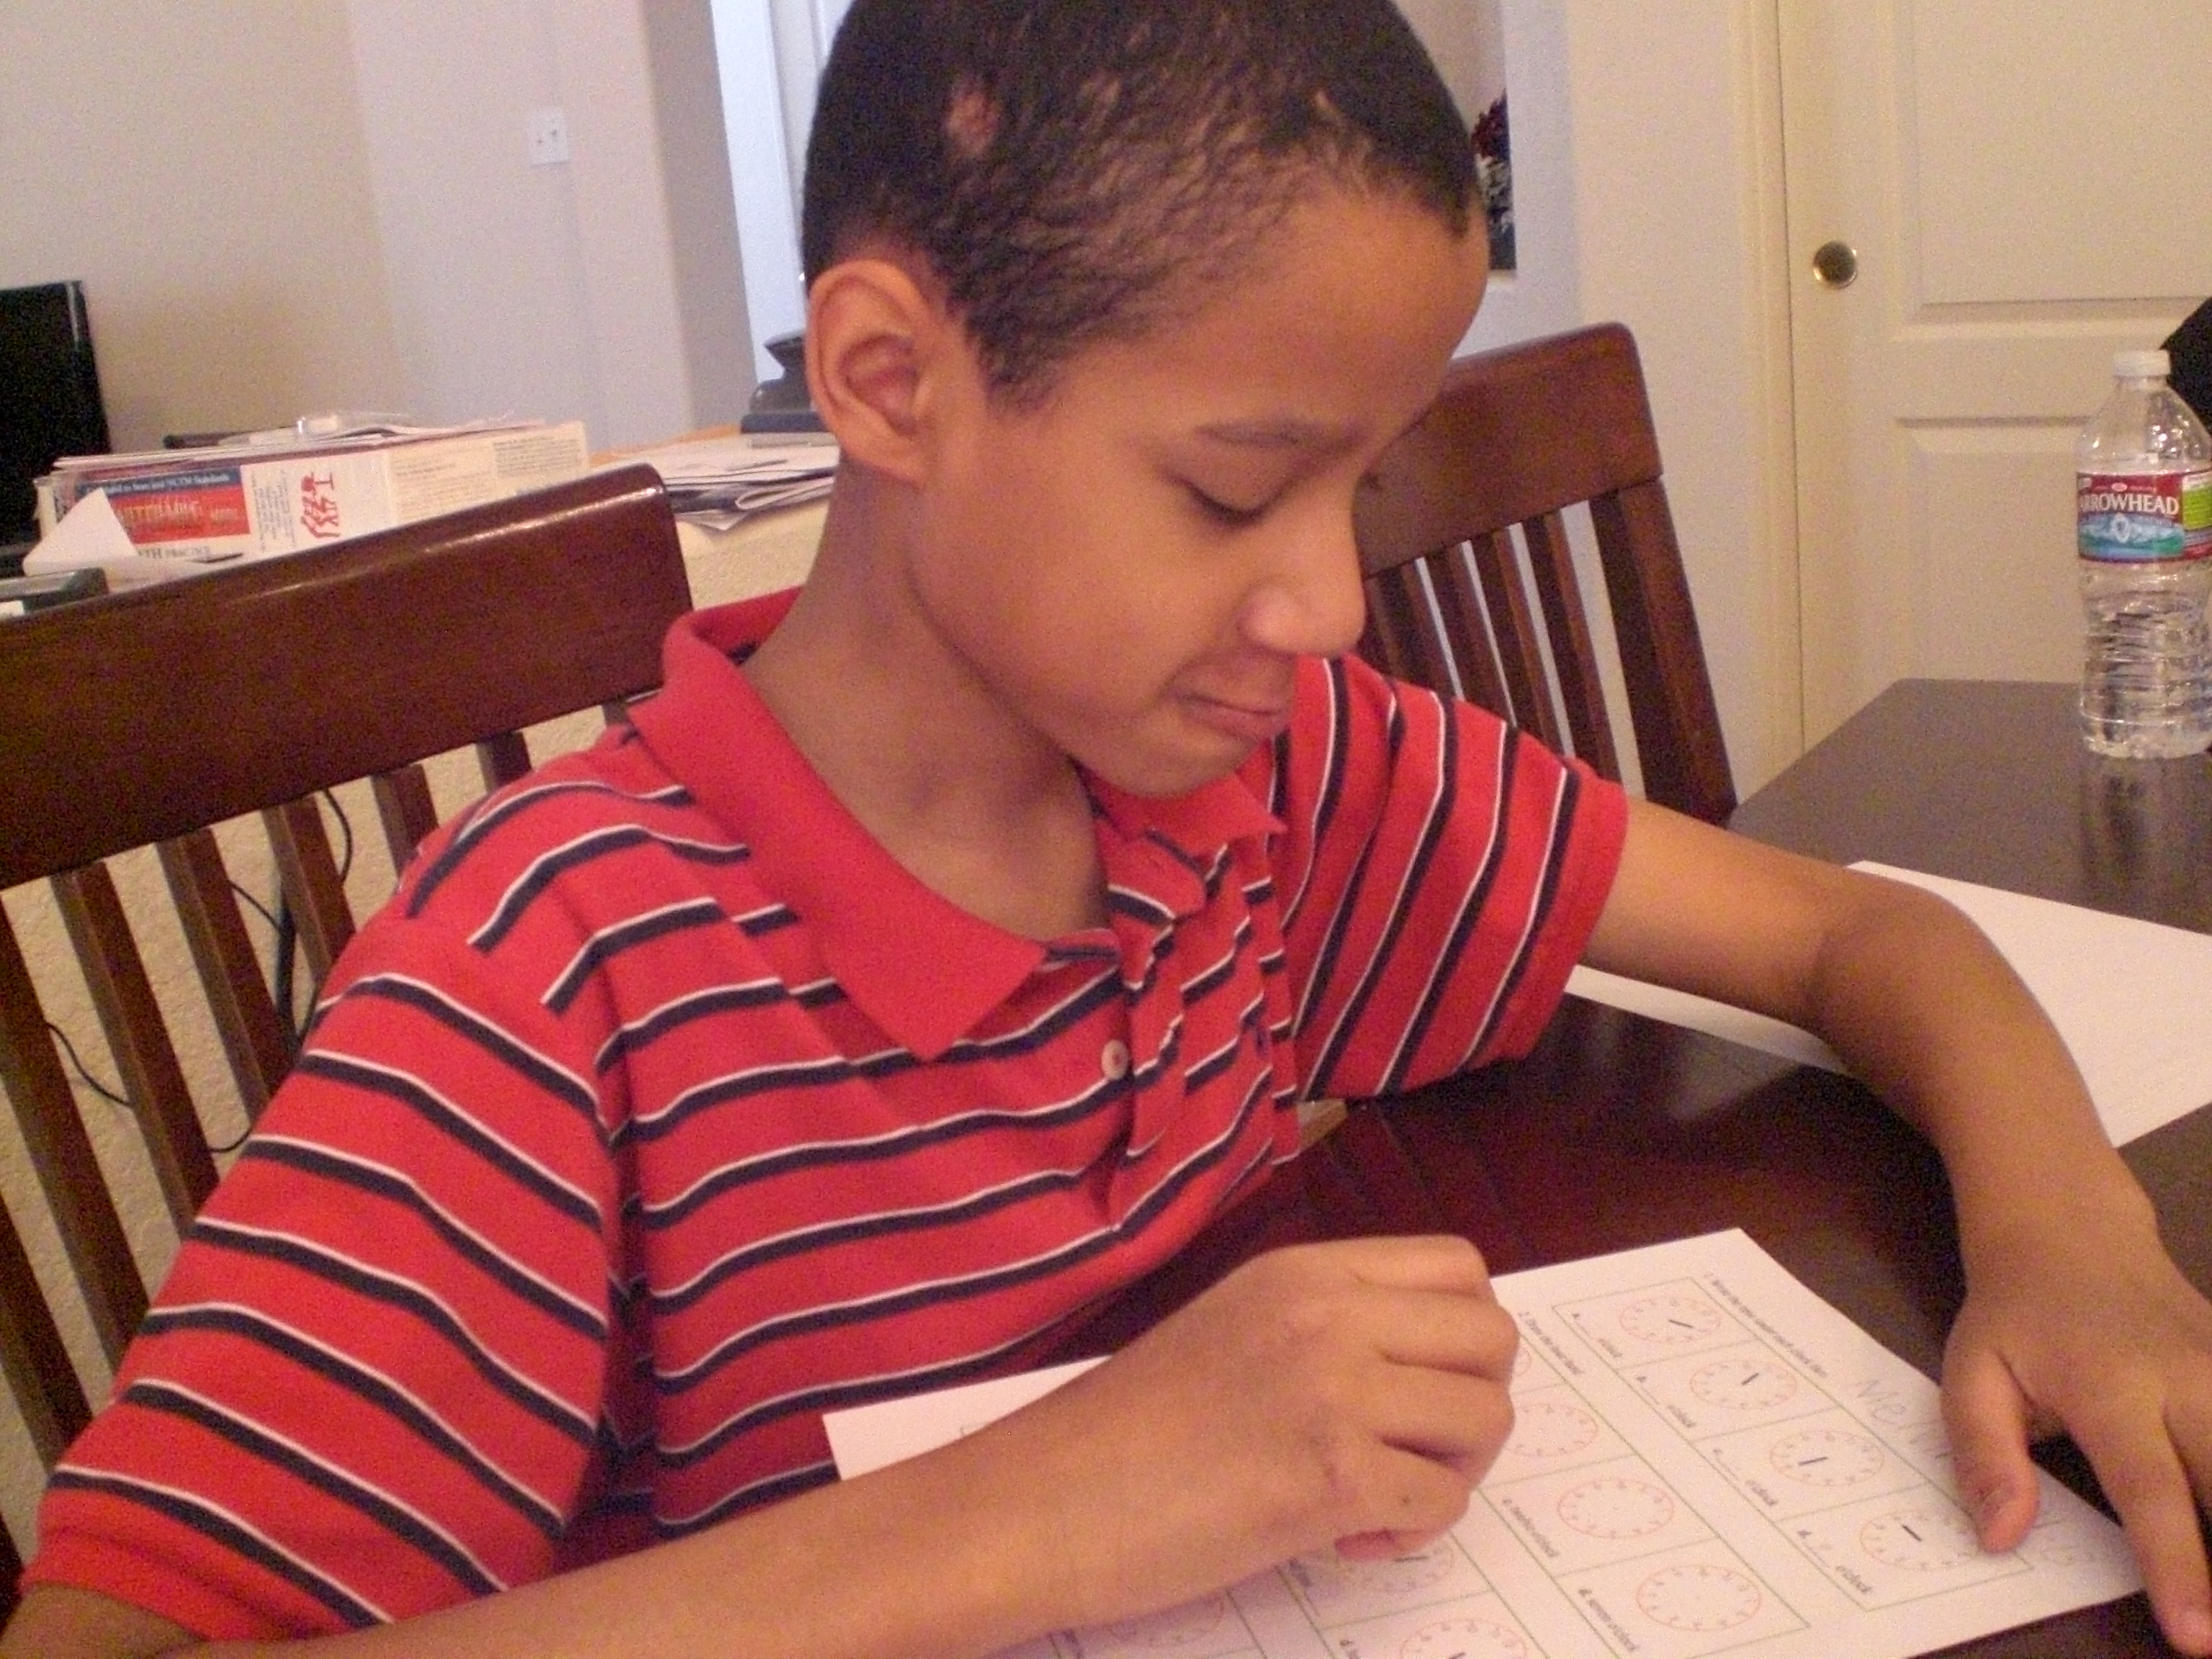
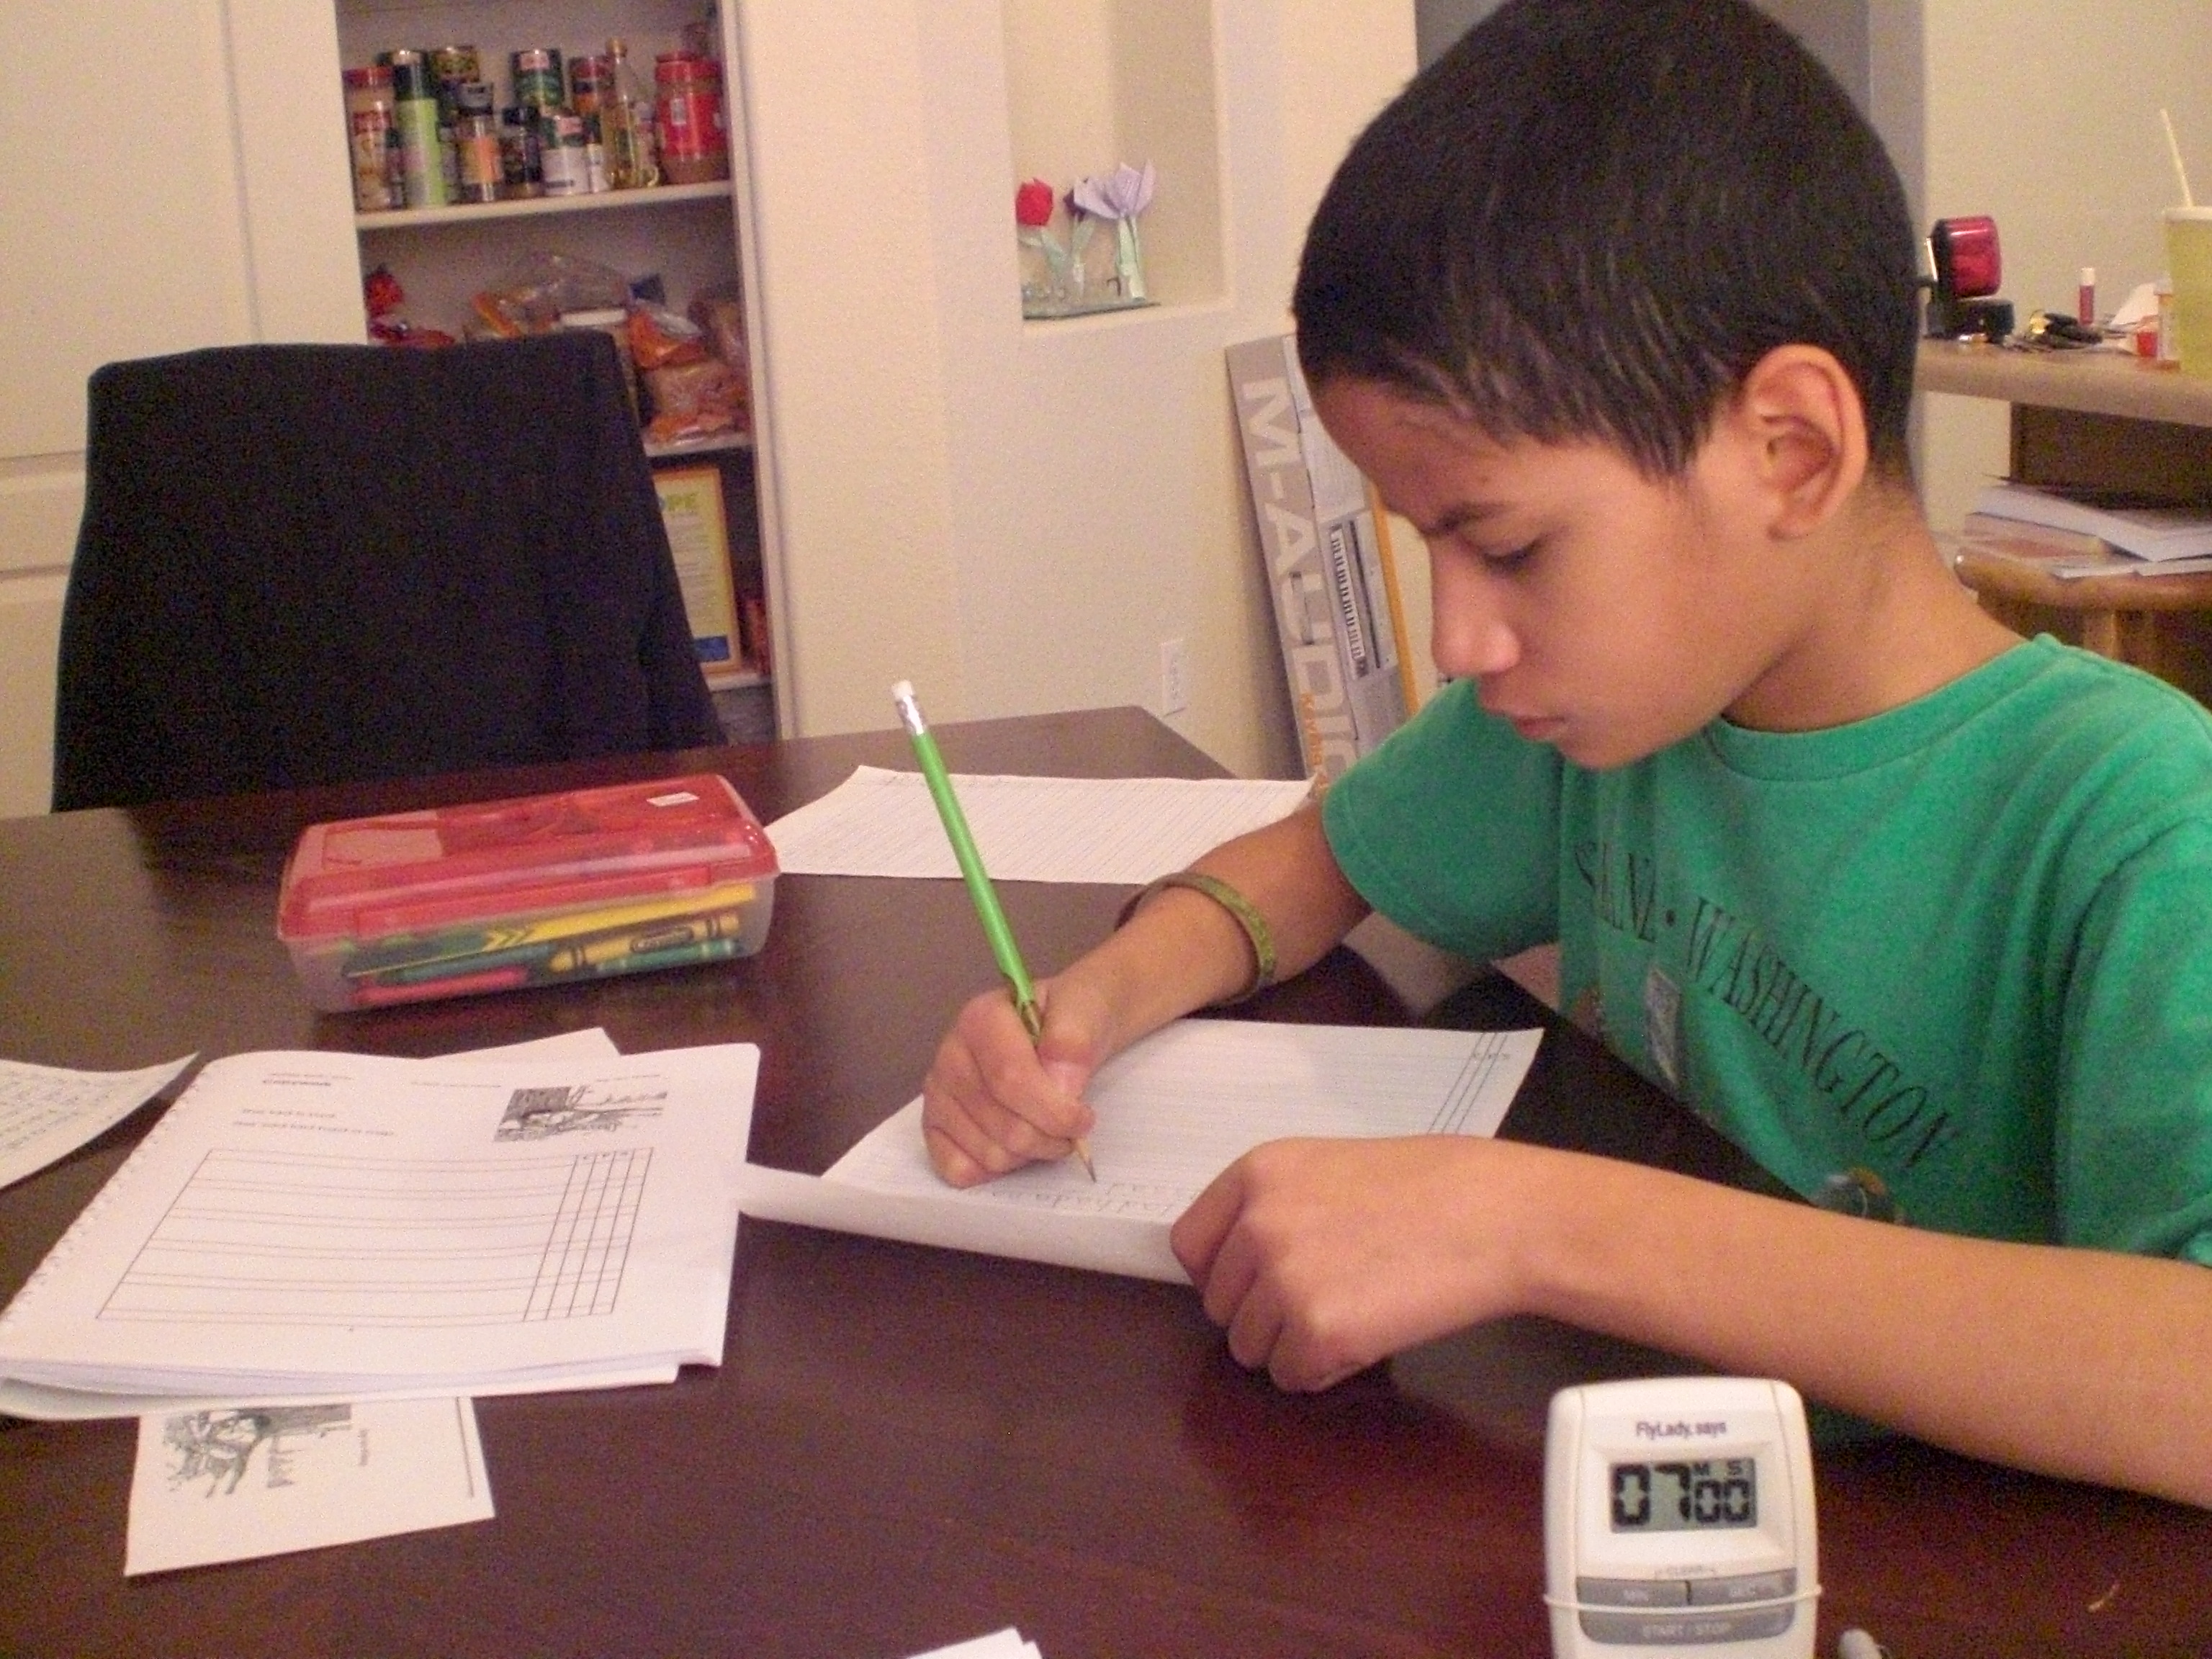
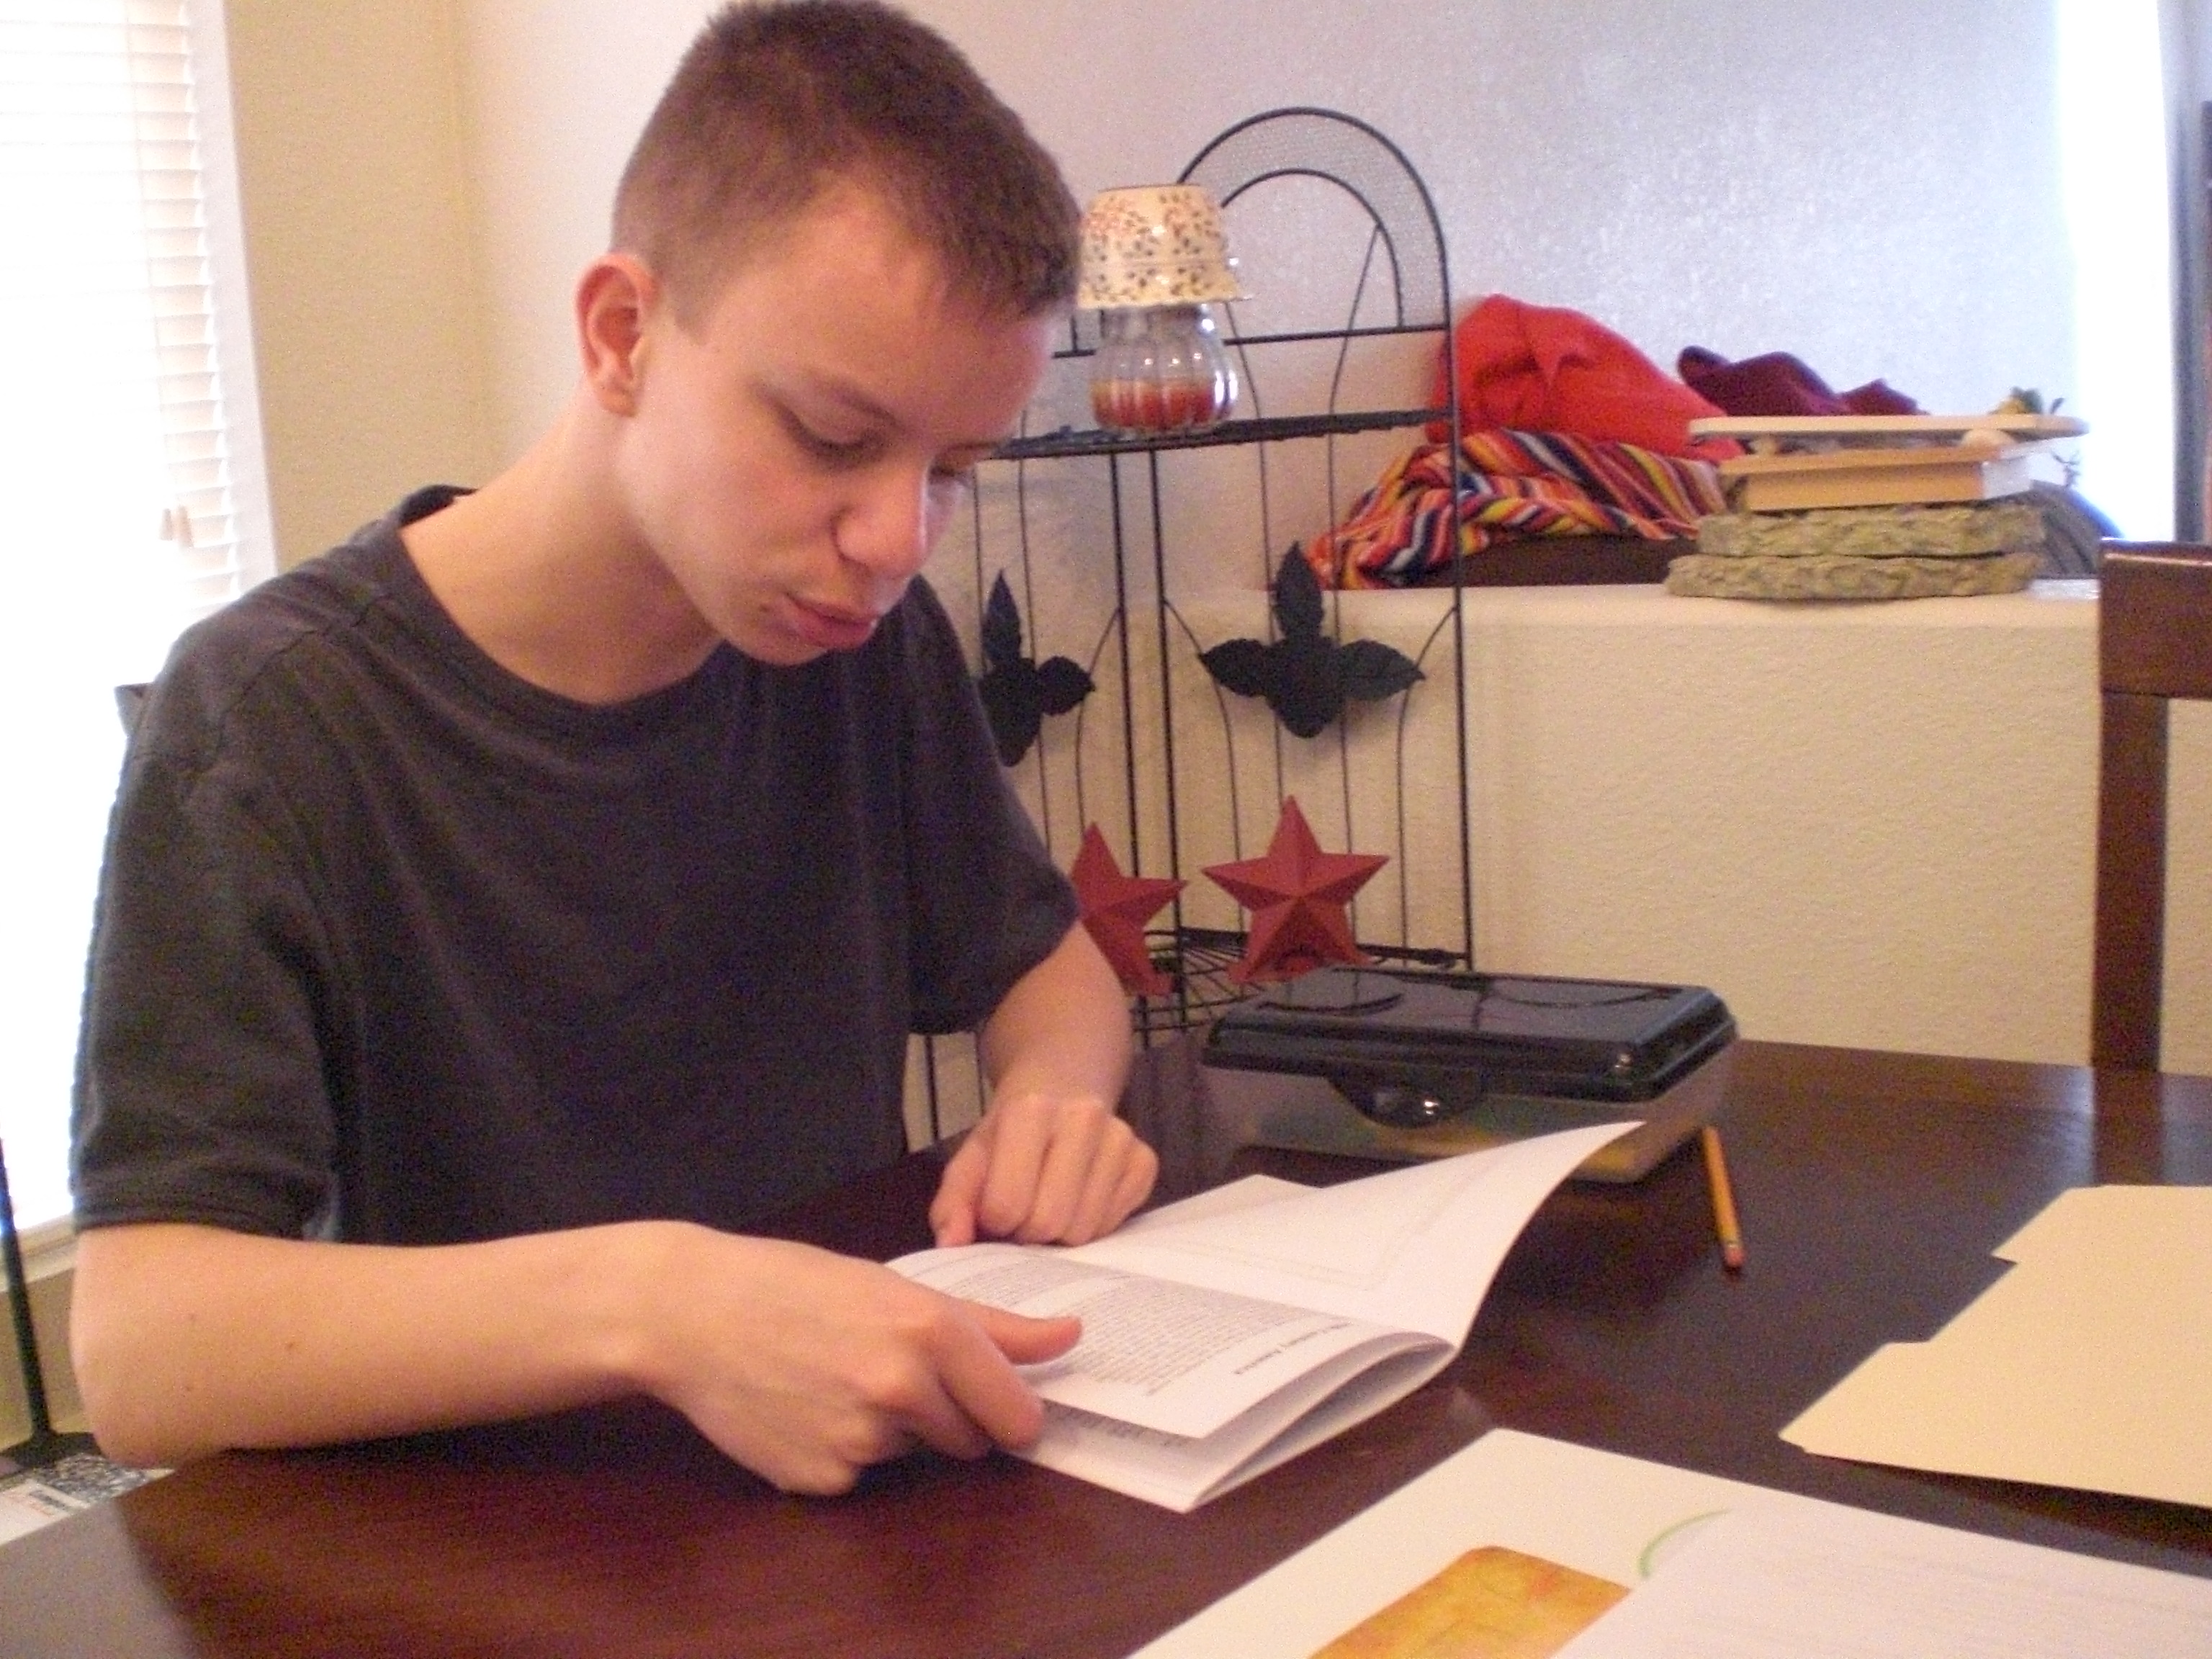
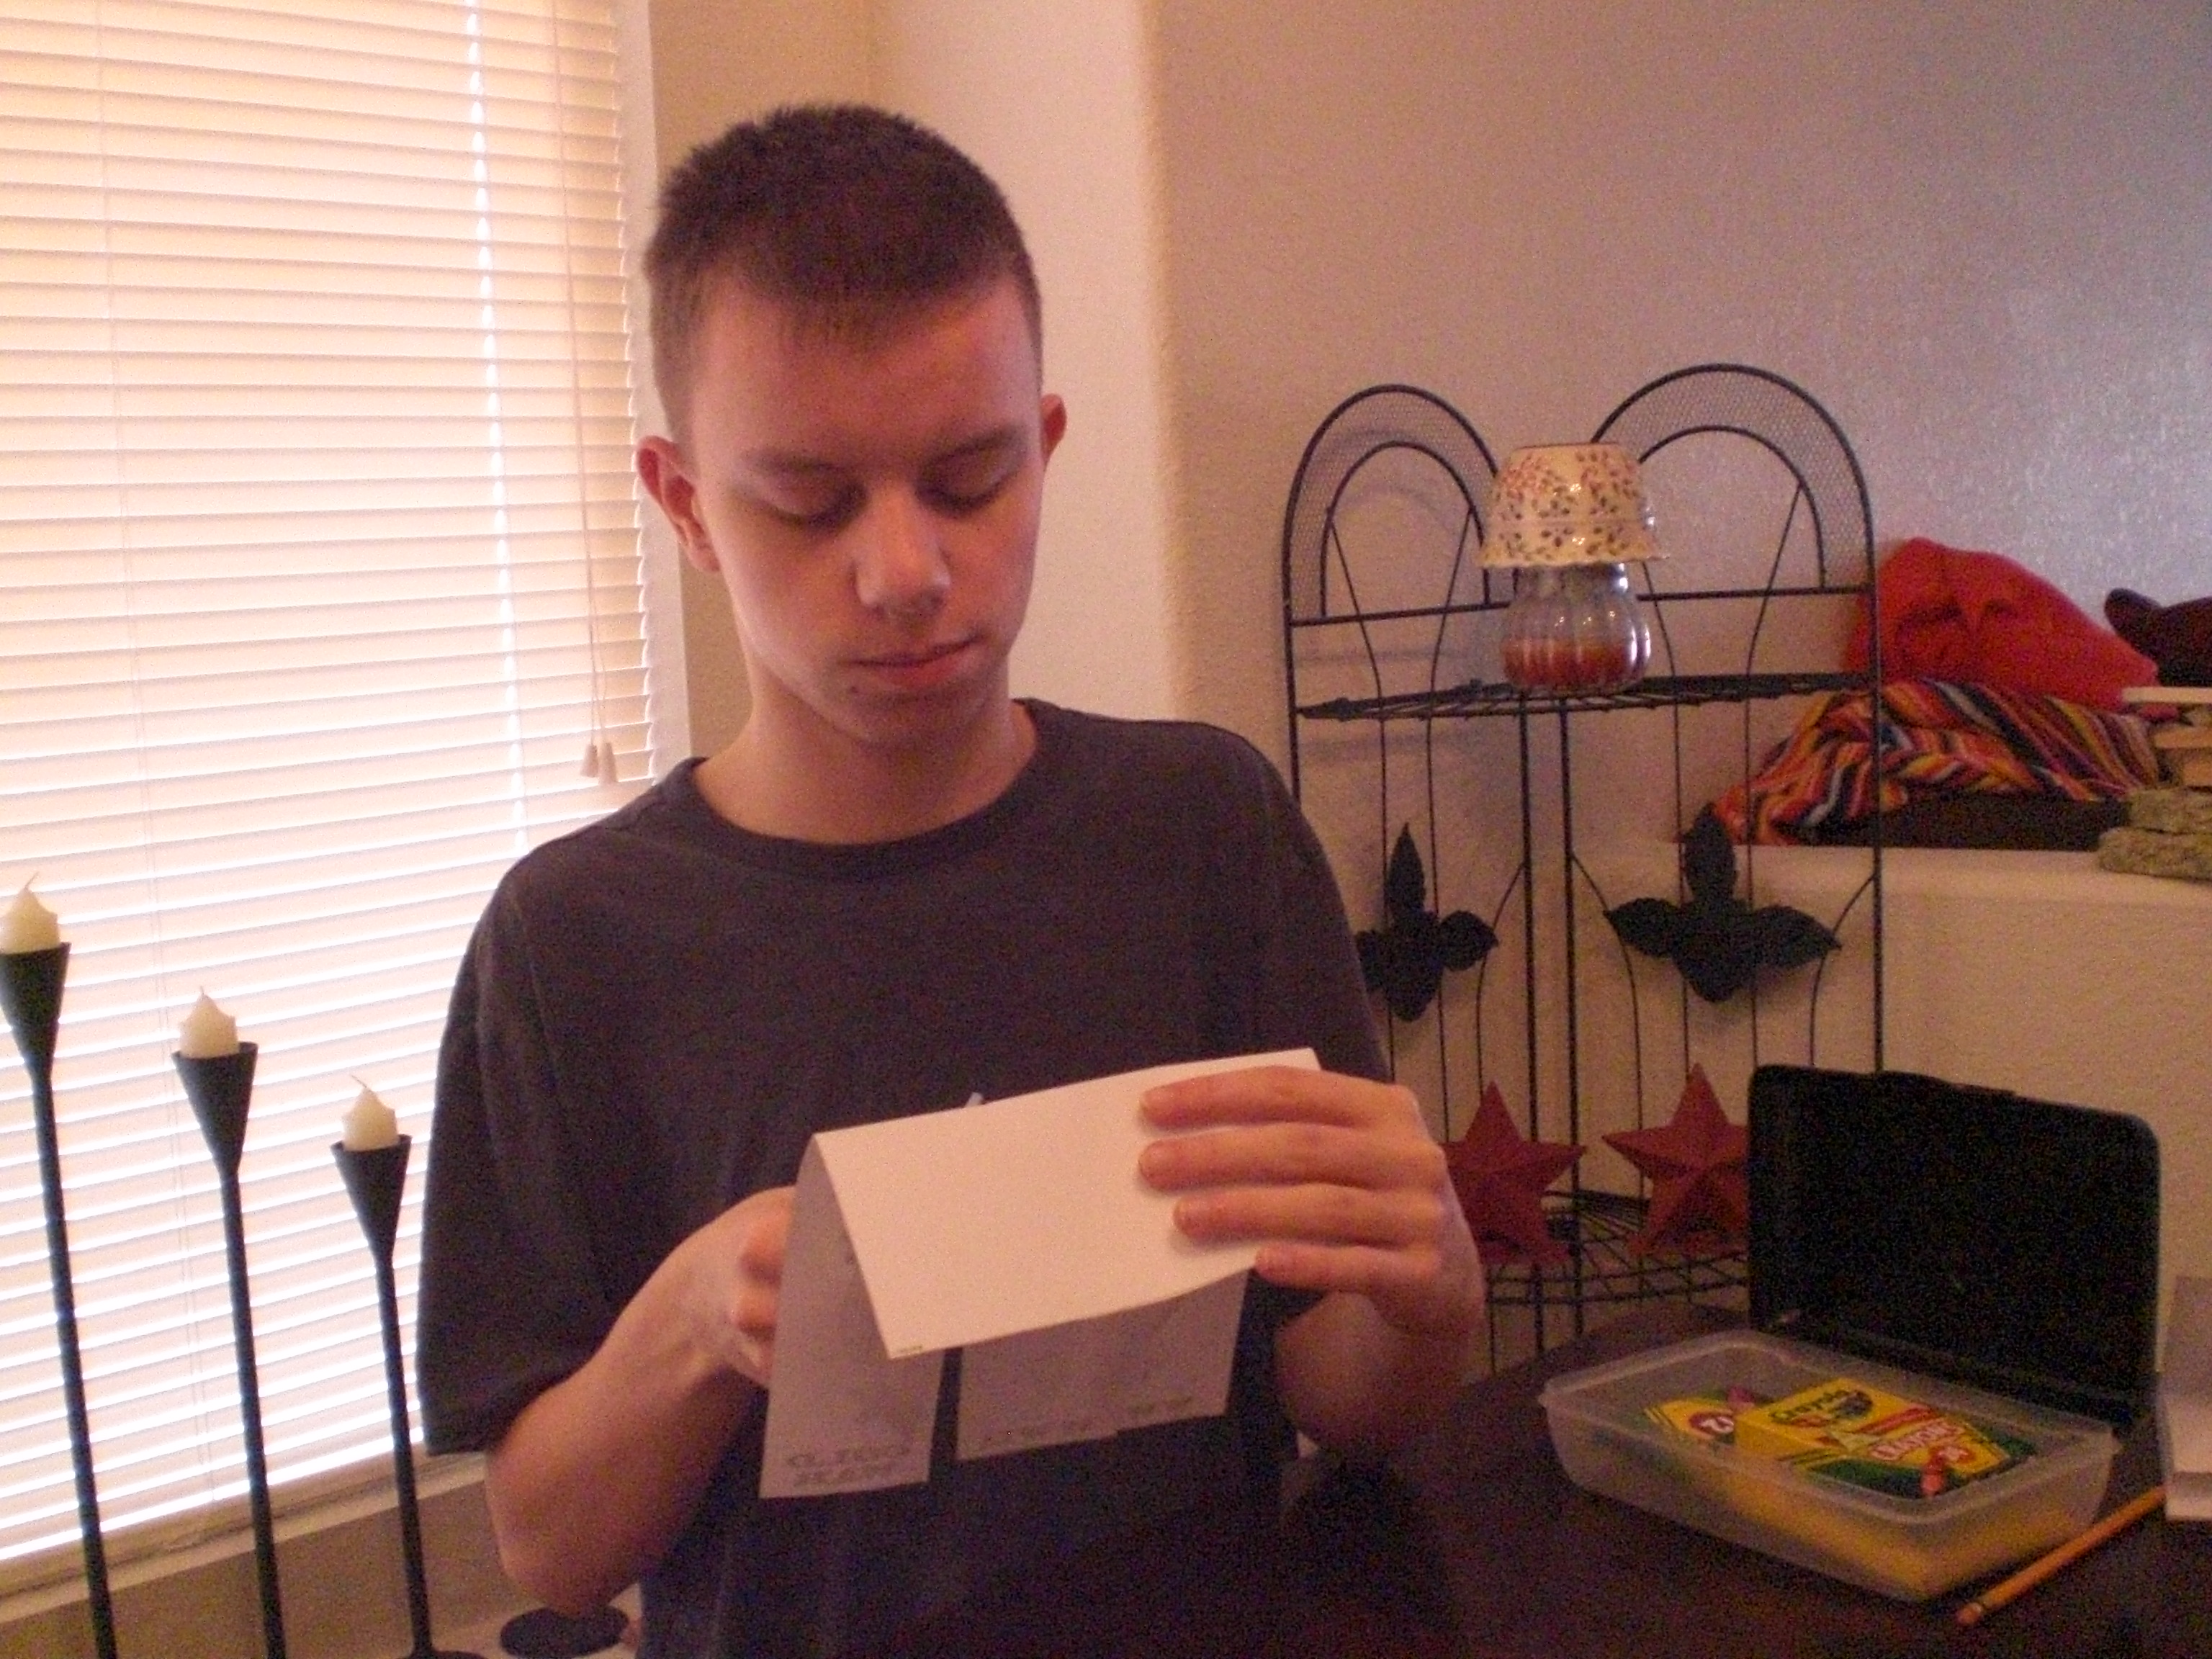
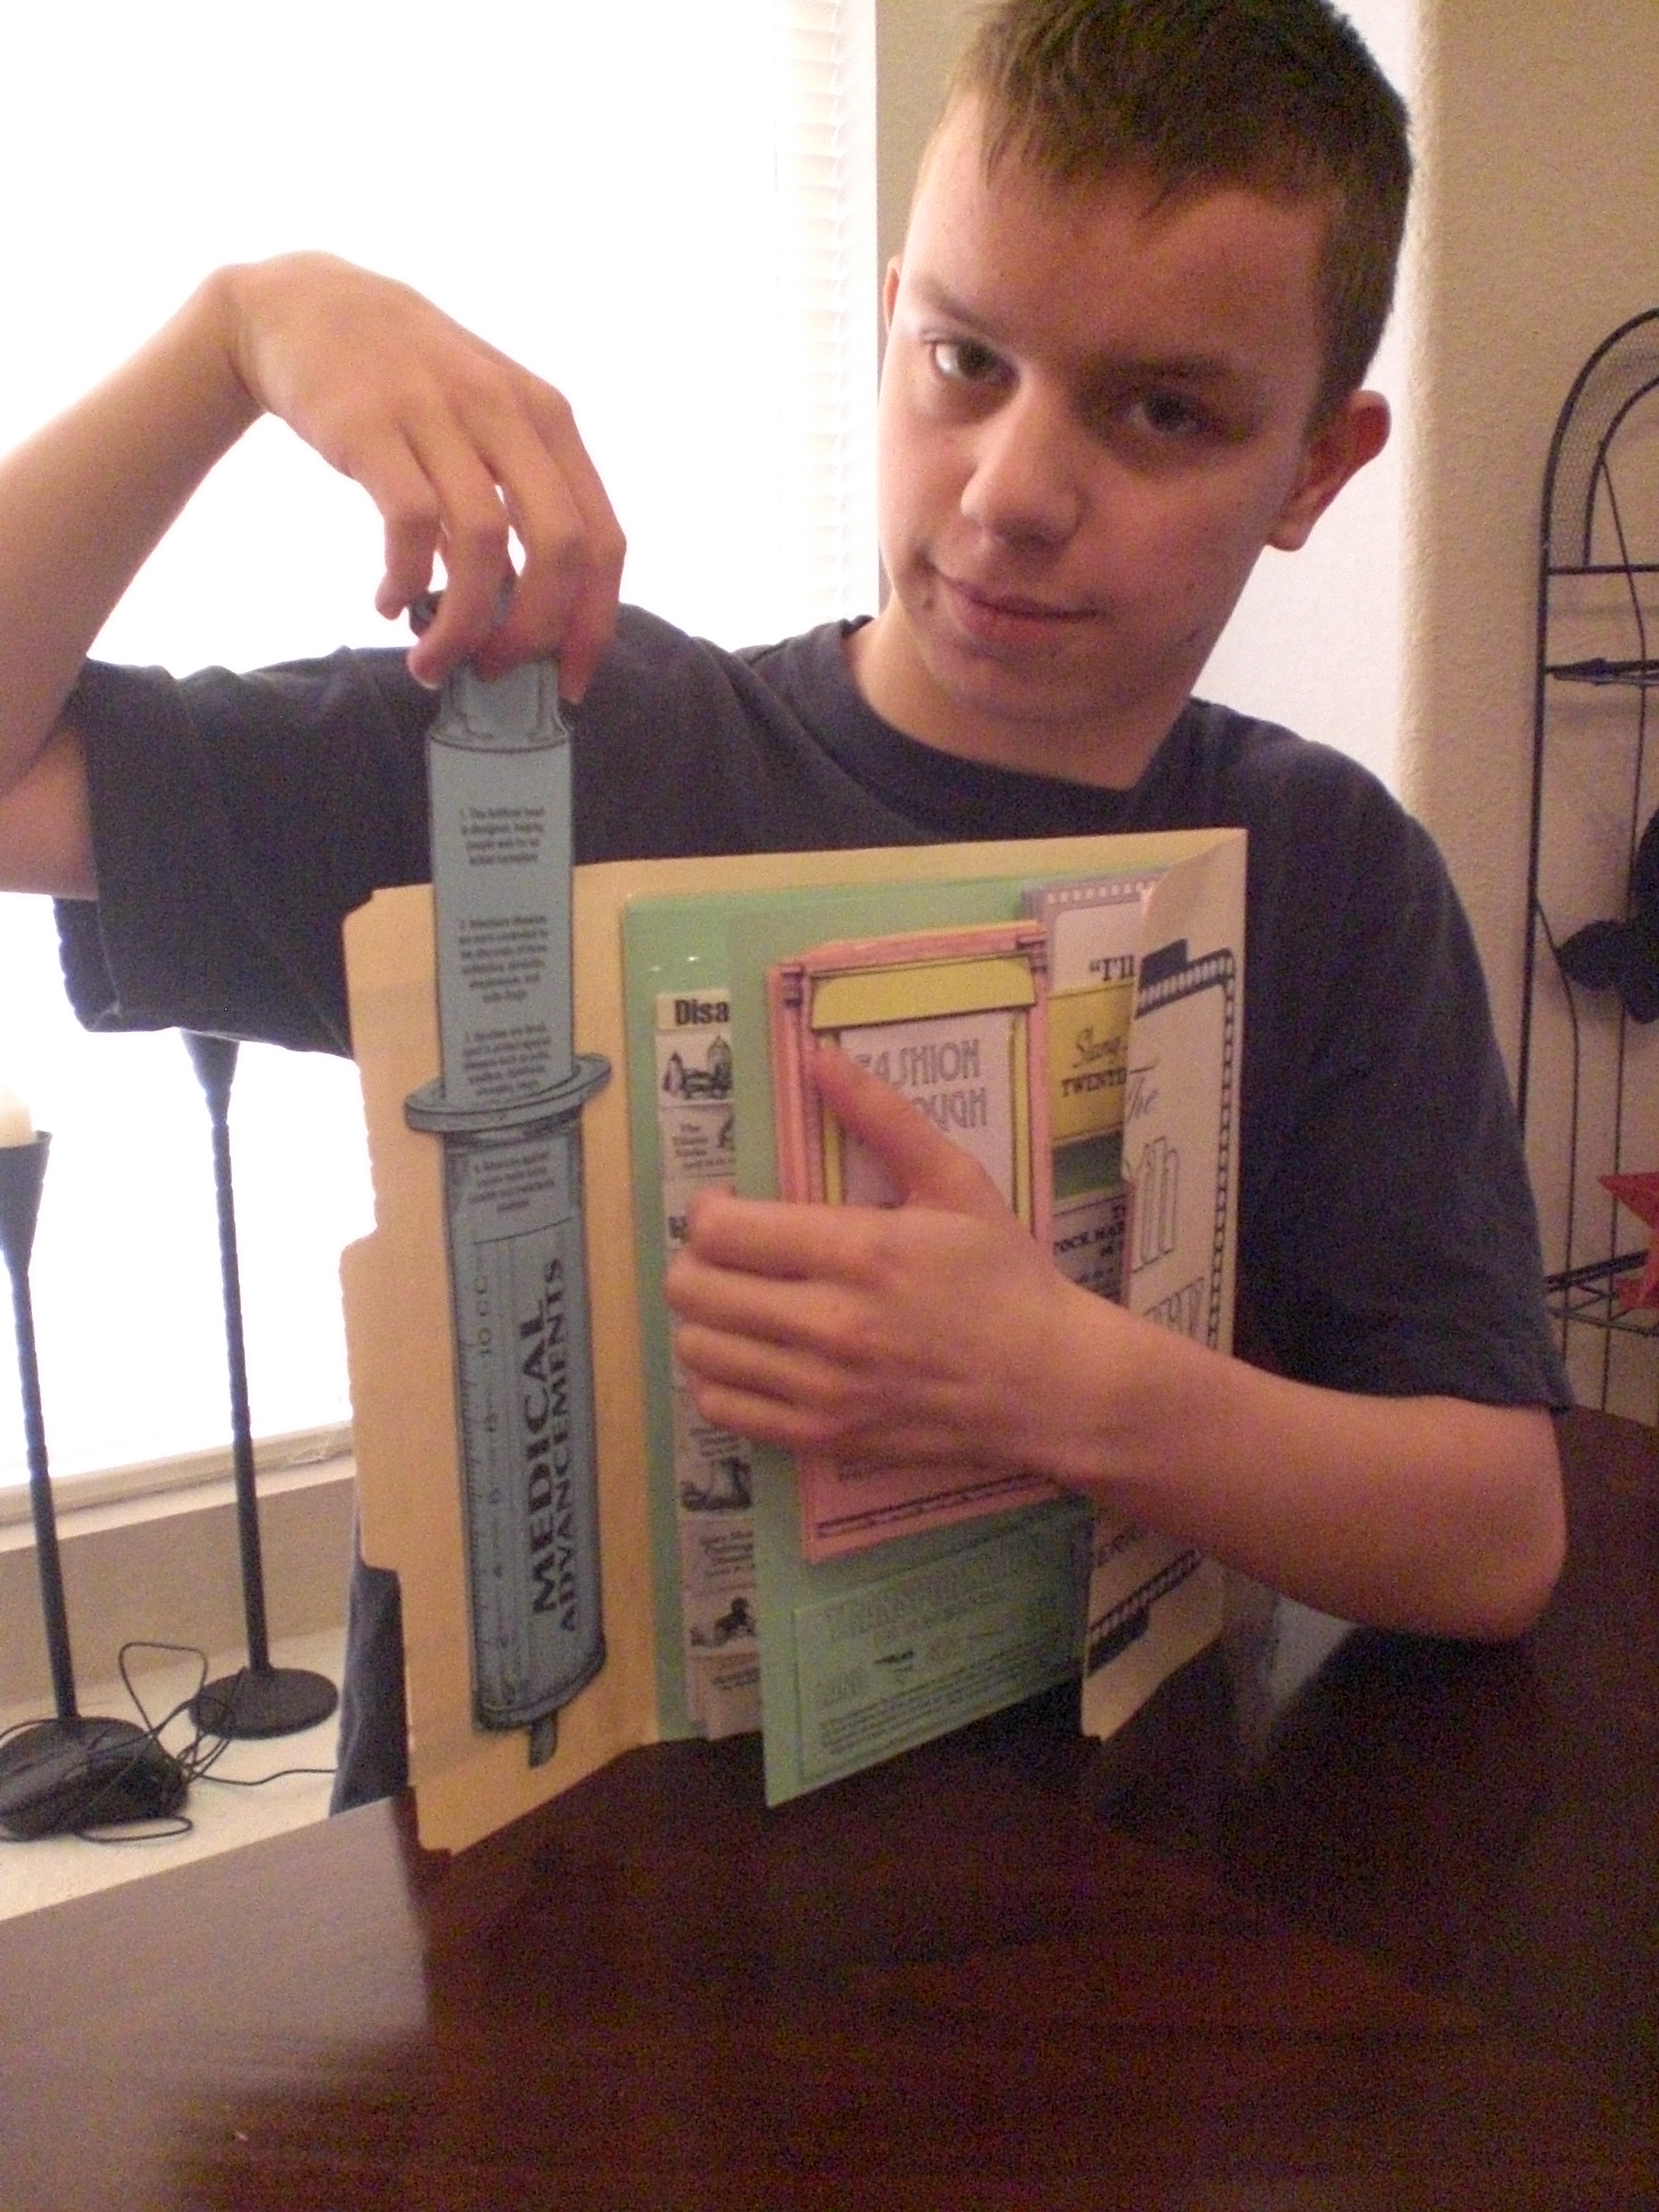
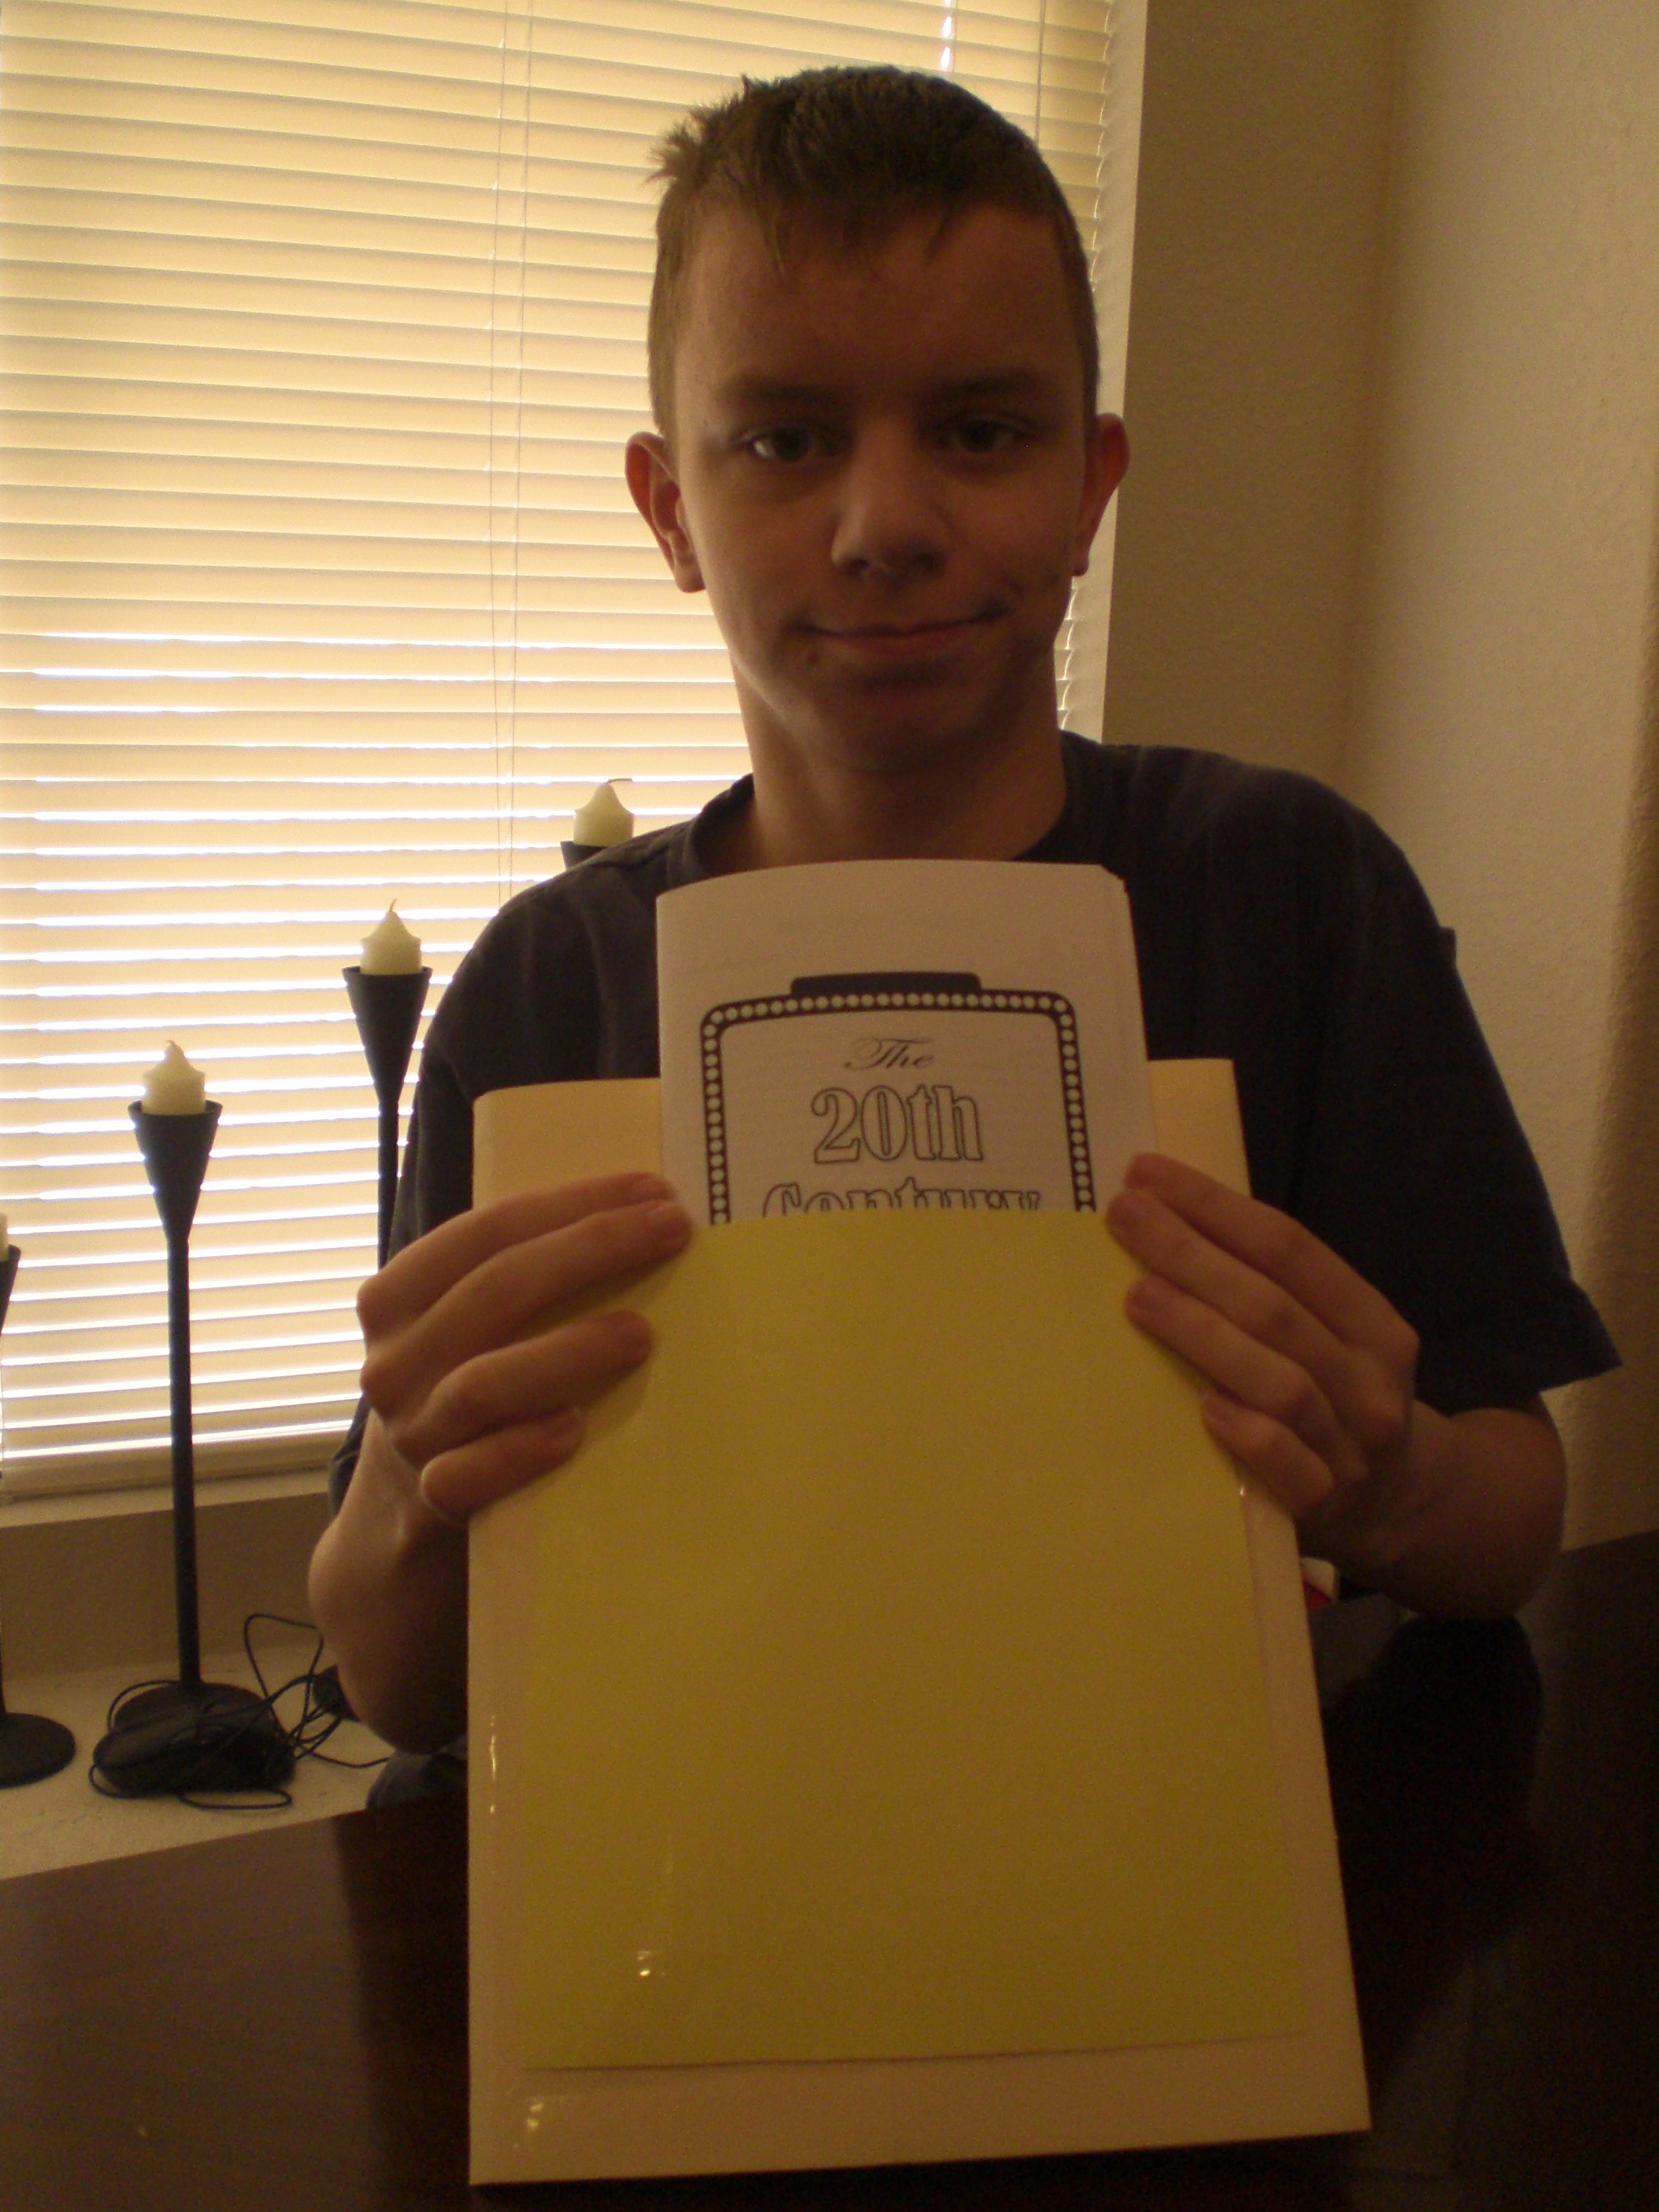
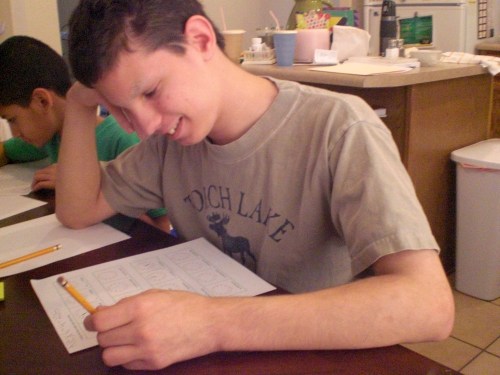
Here are some pictures of my kids doing clock pages:

First, we have “The Puzzler” . . .

008

Next, we have “Mr. Loquacious” . . .

002

And finally, “The Batman”!

001

In the Clock worktext, the only real issue my kids had was that when they were learning about time to the half hour, they kept wanting to put in answers such as “5:30”, instead of “half-past five”, the latter being the format being taught. It was mostly just a matter of this being the way they had always heard it referred to, and once they caught on that this was the way the book was teaching it, it became easier.

This is a 78 page worktext (including answers), covering time from learning the clock all the way into elapsed time, calendar, and changing time units. We are still working our way through the clock, as these particular three boys need a lot of help learning to read an analog clock. However, I was pleased to see how quickly “The Batman” picked up on it, as he is the one who has always had trouble in this area. “The Puzzler” was actually the one child who had the most problems understanding it, and “Mr. Loquacious” picked it up very quickly. I did find similar results when we worked in the US Money worktext, which I will go into next.

mm-cover-US_Money-m

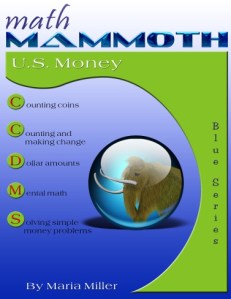
The Math Mammoth worktext US Money can be purchased here. The pdf download is $3.25, or you can order a black and white printed copy for $9.50.

Math Mammoth Money is also available in the following:

Canadian Money
European Money
British Money
Australian Money

This is a 51 page worktext, including answers, and there are sample pages available here.

From the webpage:

“Math Mammoth Money is a worktext that covers U.S. money-related topics usually encountered during grades 1-3. The book contains both textbook explanations and exercises, and is designed to be very easy to teach from, requiring very little teacher preparation (you do need to find some practice coins before the lessons).”

The pdf version of this worktext is also enabled for annotation, just as the Clock worktext is, meaning, as I said above, should you choose to have your student fill in his or her answers on the computer, you can do so if you have Adobe Reader version 9 or greater.

Here is a description of what the US Money worktext covers, from the webpage:

“The book starts with first-grade topics such as counting pennies, nickels, dimes, and quarters. While the lessons use pictures for the coins, practicing with real coins is, of course, even better and you should have real money on hand to practice with.

From there, the lessons advance towards second-grade, and finally to third grade topics. Therefore, you can also let your child work the pages of this book in different time periods, and not go through it all at once, depending on your child’s current level.

The lesson Making Change explains two basic ways of finding the change: counting up, and subtracting (finding the difference). This is all done with mental math. The next lesson also practices money problems using mental math.

In the last lesson we solve money problems by adding and subtracting money amounts vertically (in columns).”

We are going very slowly through this one, because of the various special needs we deal with. So far, “The Batman” is doing pretty well, though I imagine he will need a lot more help when we get to the “counting change” part of the lessons. “Mr. Loquacious” is doing exceptionally well counting various coins together to get to the total, but “Mr. Puzzler” still has considerable trouble when counting coins if we switch from one coin to another.

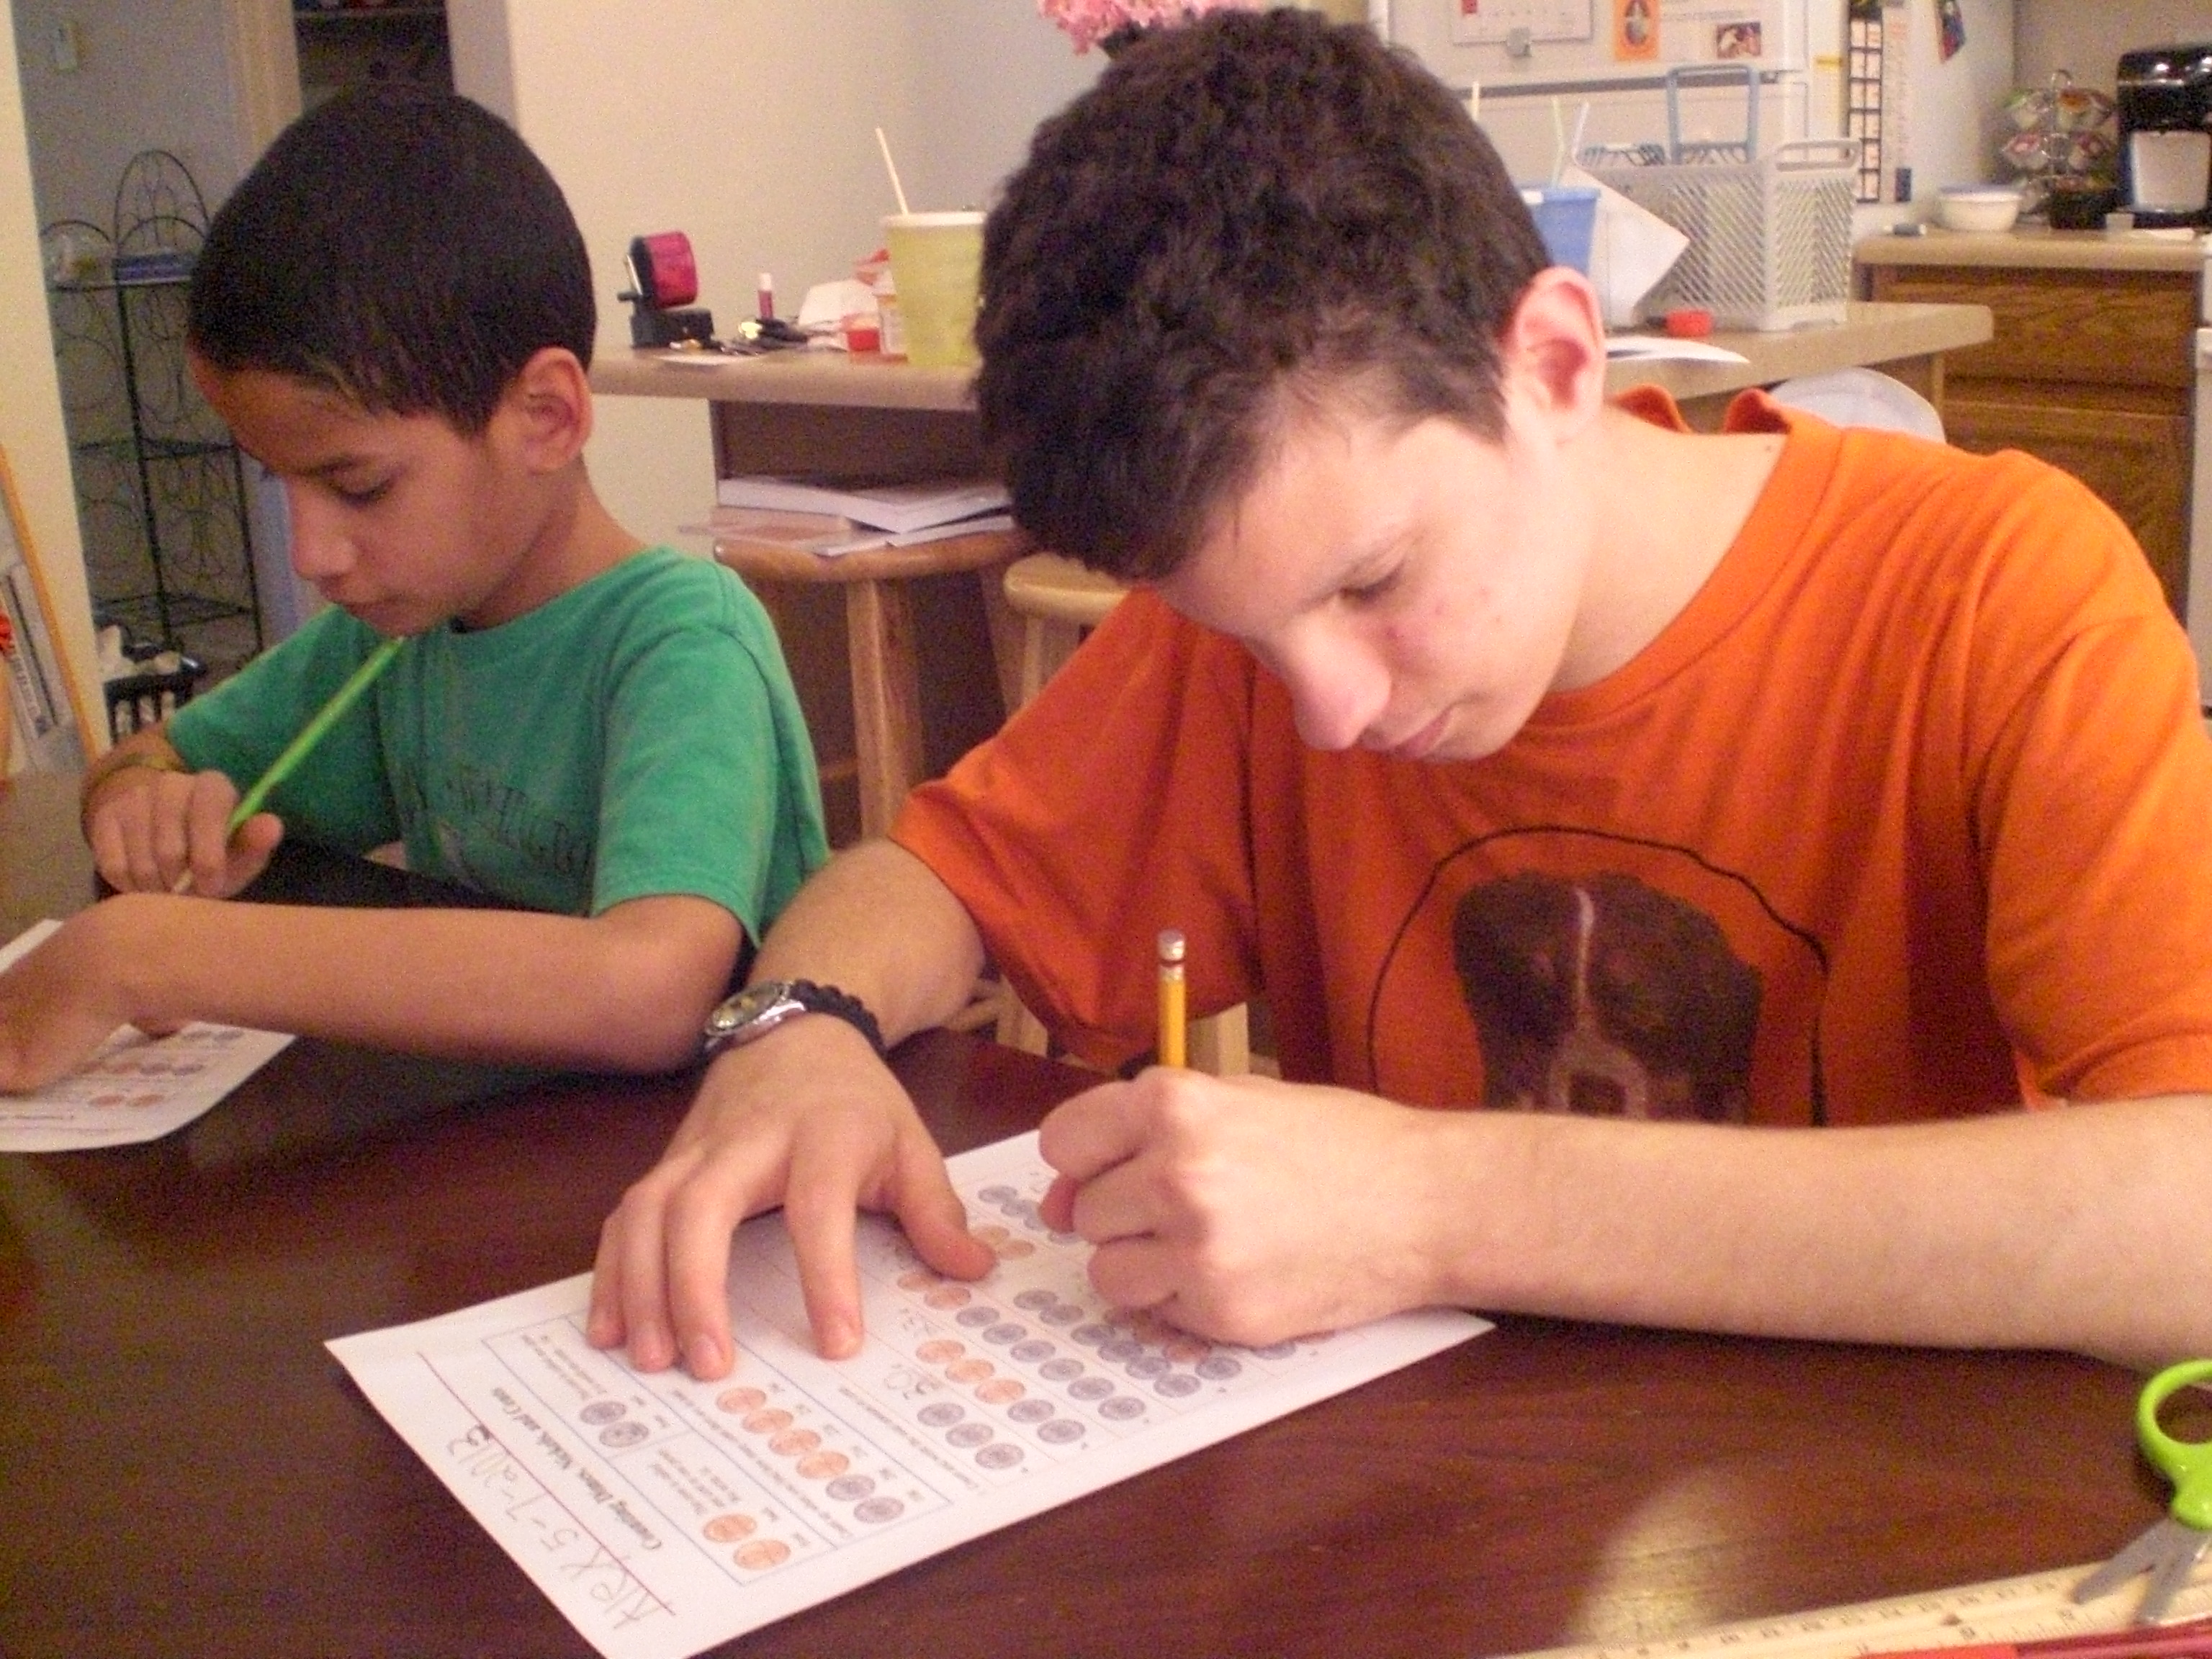
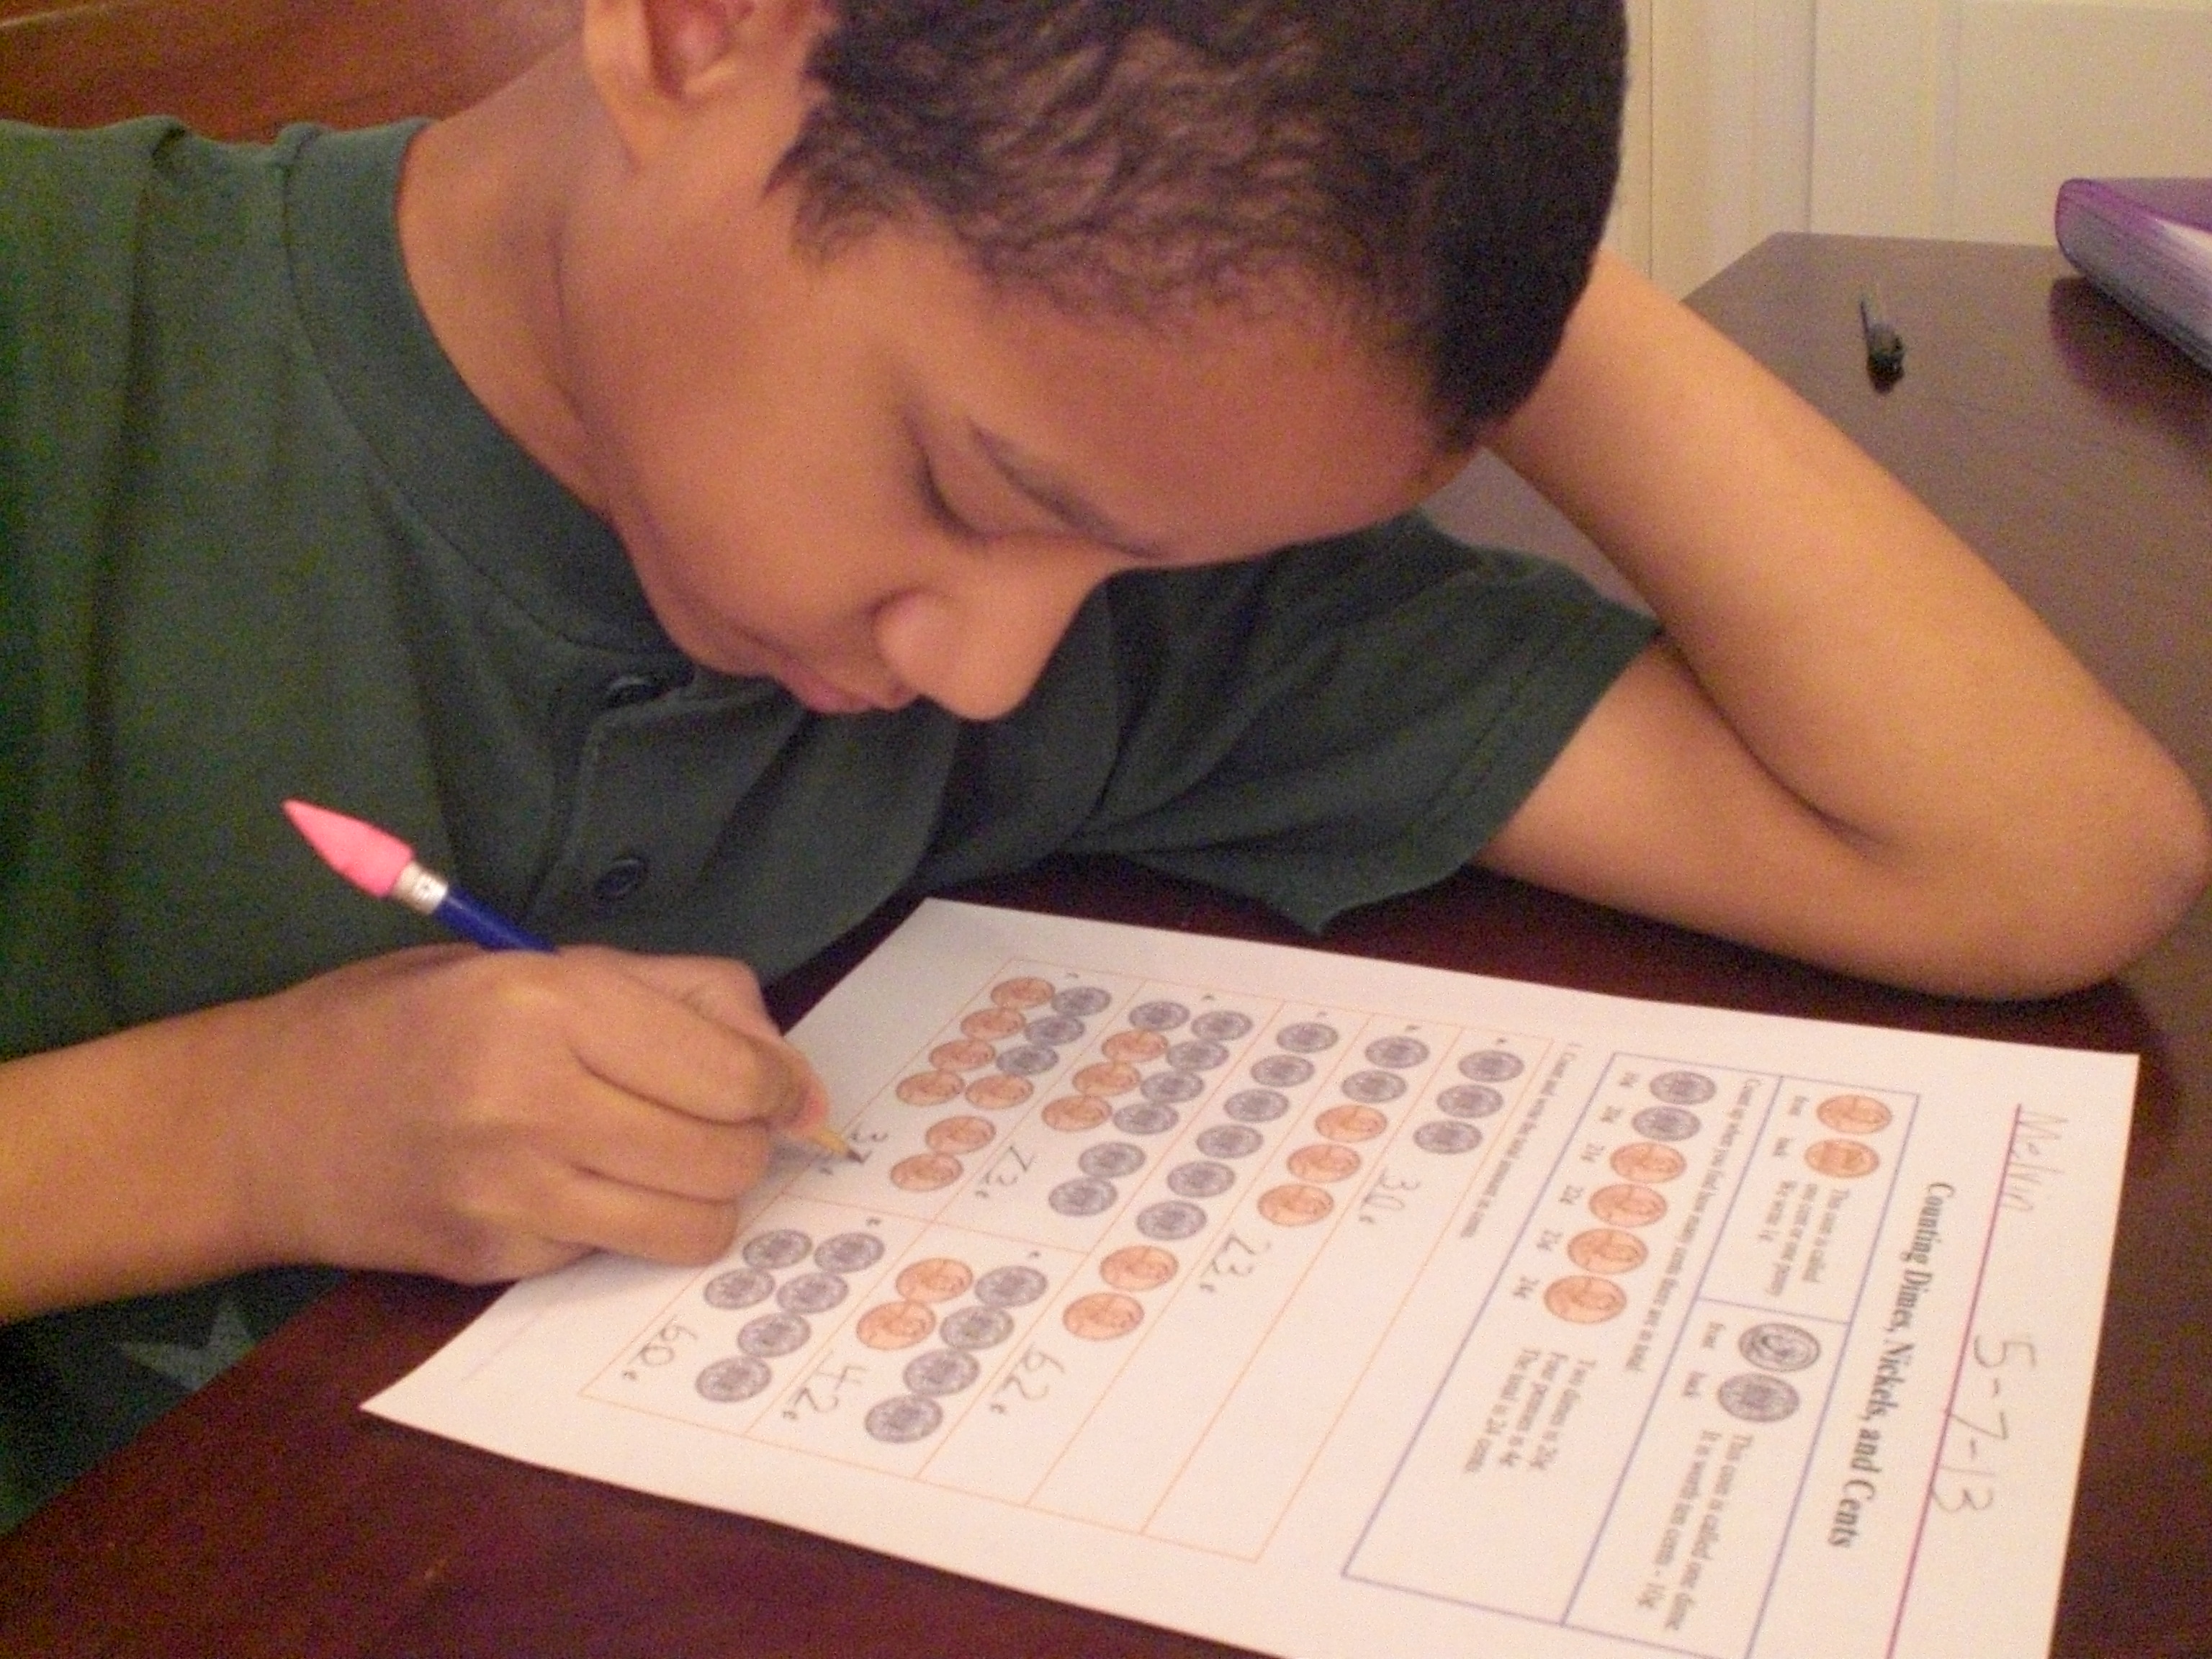
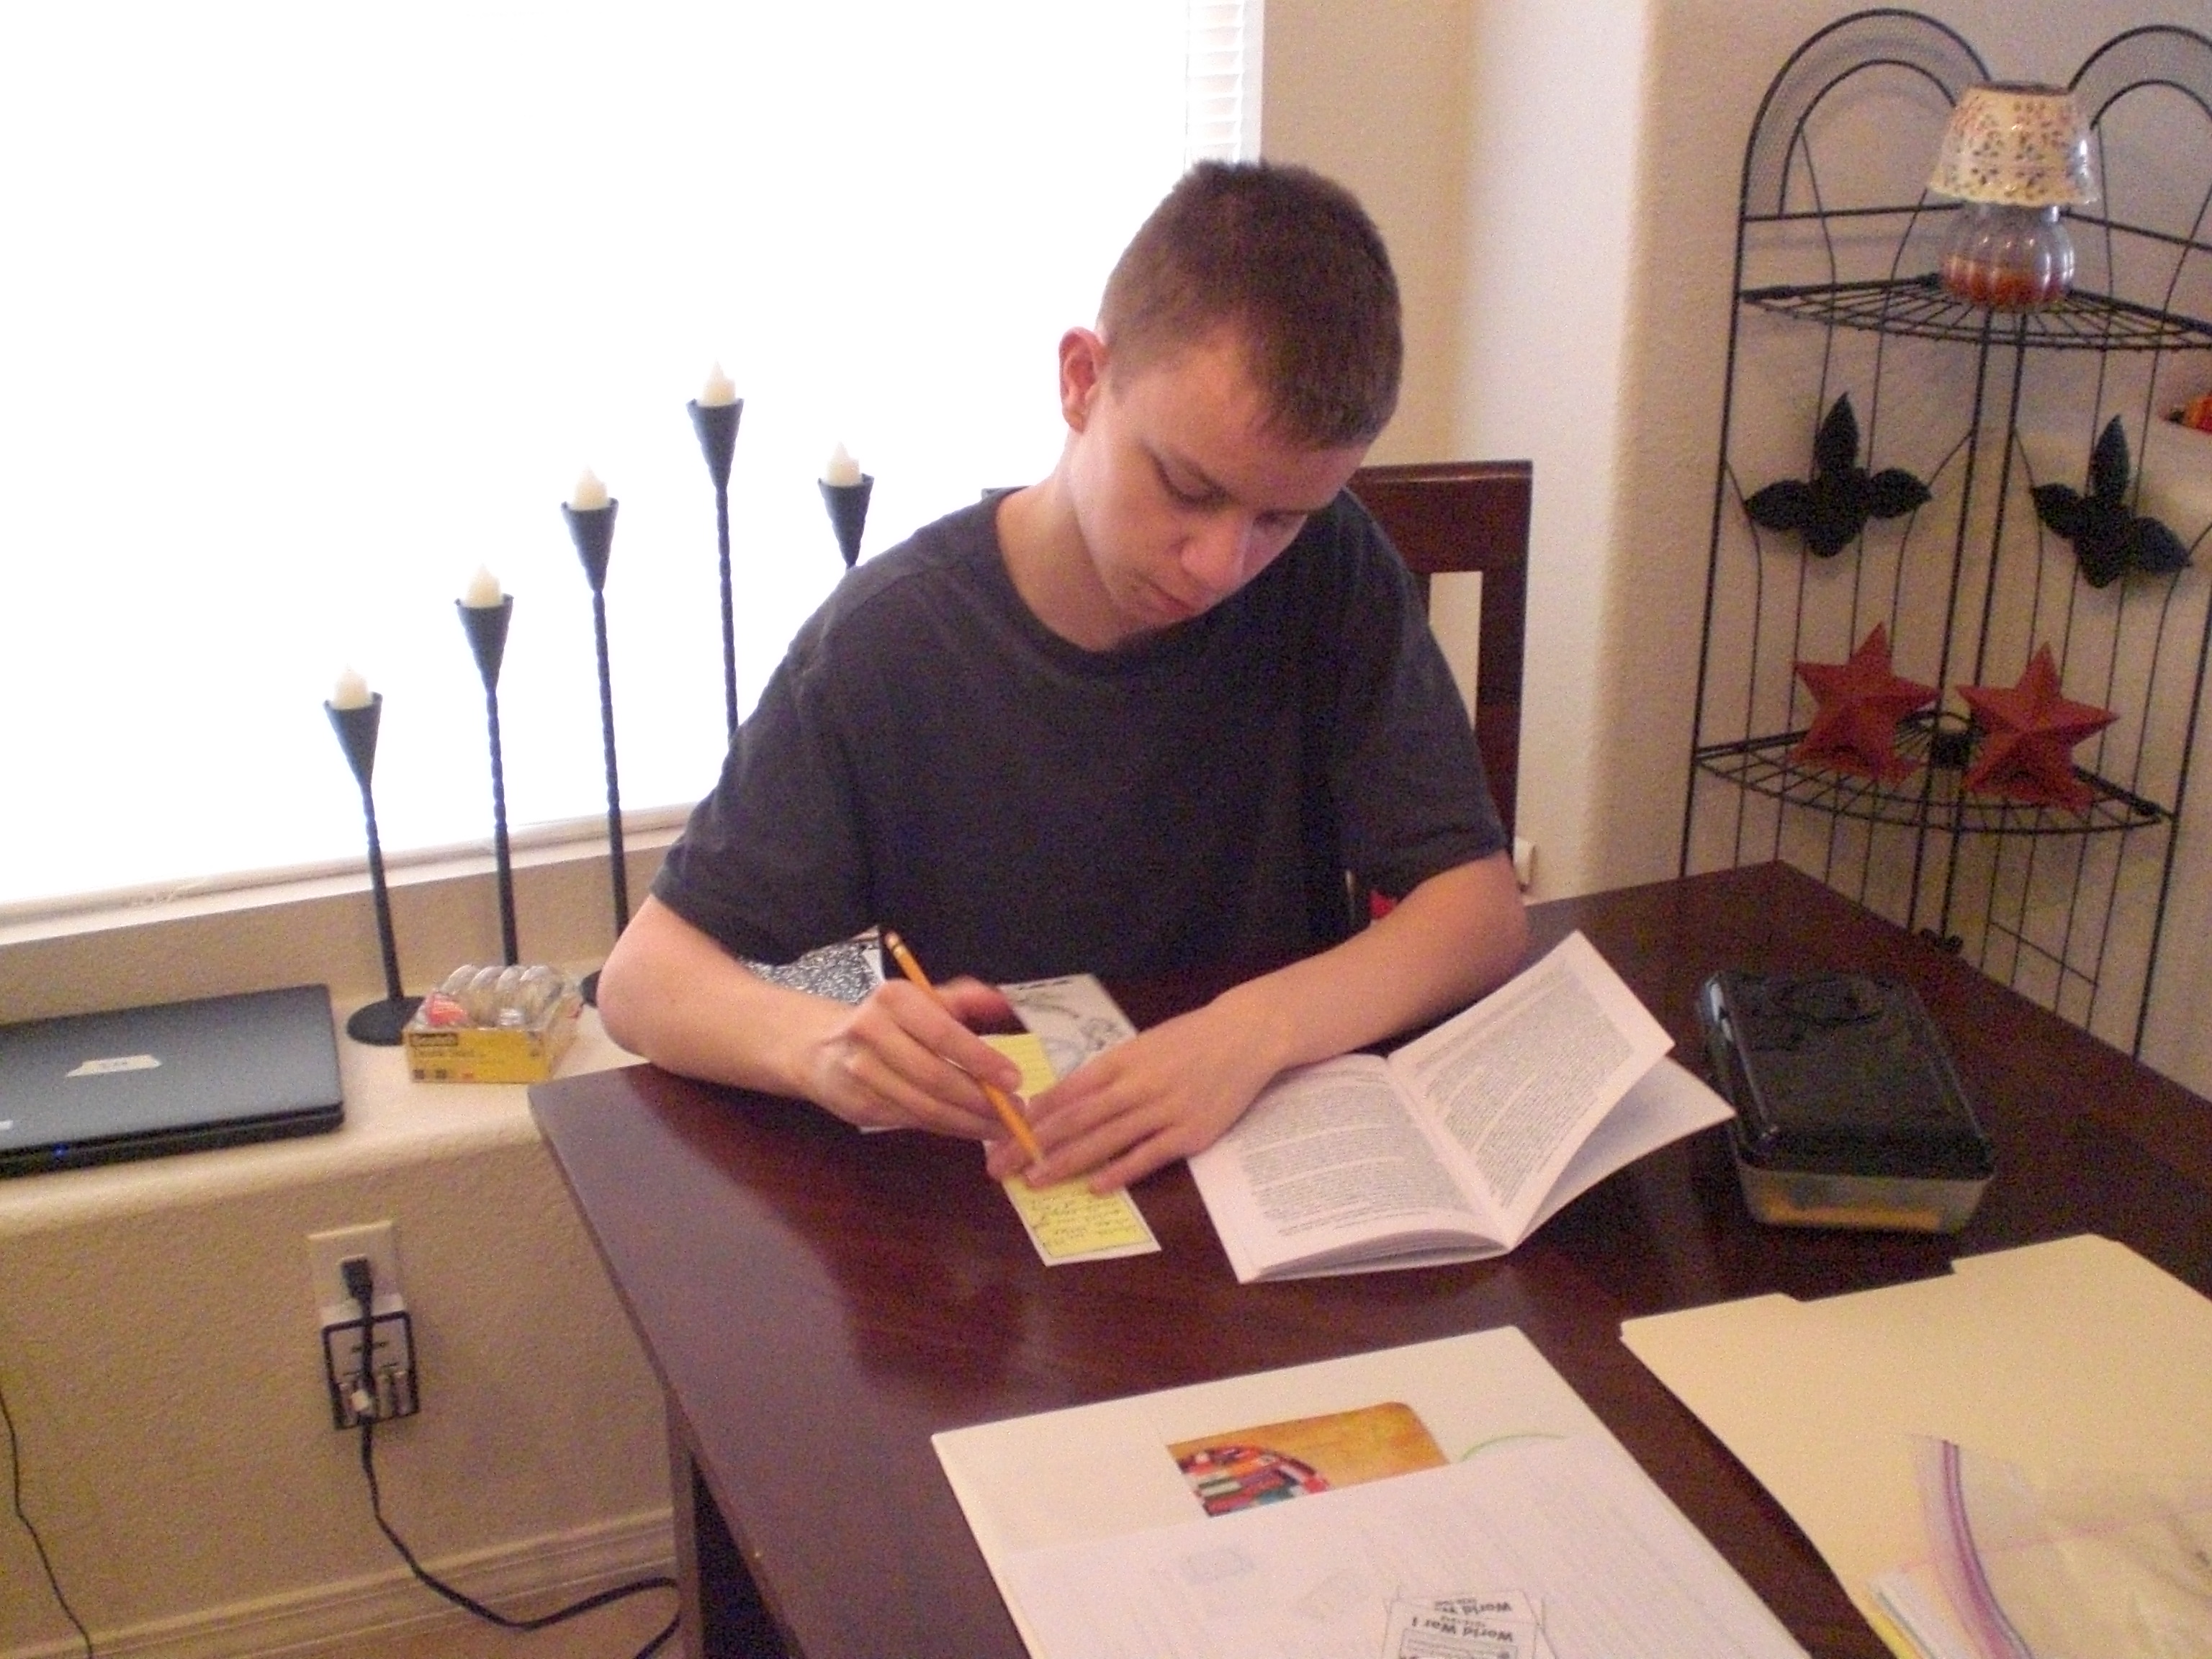
Here are the only pictures I managed to get of the boys doing worksheets from US Money:

First, we have “The Puzzler” and “The Batman” . . .

018

. . . and then we have “Mr. Loquacious” doing his!

019

Overall, and to my surprise, we really liked Math Mammoth Clock and Math Mammoth US Money. Whenever I tell them that we’ll be working in these worktext, they are all quick to come to the table, which just shows that they are actually enjoying learning about these topics. As far as I’m concerned, that’s all I need for an educational product to be a success, and the added bonus is that the prices are great, too!

The Schoolhouse Review Crew used many different products from Math Mammoth, and have written wonderful reviews to give you an idea of what they thought of this and other products. Please click the graphic below to see what they all thought!

Photobucket

Leave a comment

Filed under education, home education, homeschool products, homeschooling, Schoolhouse Review Crew Post

Cartooning with Pat Knepley . . . a TOS Review

As a member of The Schoolhouse Review Crew, I was given an opportunity to review one of several Art Projects DVDs from See The Light. Even though there were a number of good choices, I had no trouble at all deciding what would be a good fit here, and chose Art Projects: Cartooning with Pat Knepley for “The Artist” to work through, because he can often be found curled up somewhere with paper and pencil, drawing something. 🙂 I was dead on with this one, too! When I told him I was filling out the interest form to request it, his reaction was an immediate “oh, I hope we get that one!”

As it turned out, “The Artist” was not the only interested child in this house during this review . . . “Mr. Loquacious” asked if HE could do it as well! Of course, I said yes, he was welcome to join in. 🙂 He did eagerly watch the DVD along with his brother, and did some of the assignments, however, he got bored with it part way through and quit. While he was participating, though, he did improve his drawing, and even went off the lessons to create his own idea at least once, which I will show with pictures later.

See The Light Art Projects is a series of DVDs that can be used as stand alone DVDs, or with the complete box set, as a school year’s worth of lessons drawn from the work of nine famous artists. As I said before, we chose Art Projects: Cartooning with Pat Knepley, but there are several other choices in the Art Projects line, all of which you can read about here.

The Art Projects: Cartooning with Pat Knepley DVD is an enjoyable way for anyone of any age to learn cartooning basics, though it is designed for anyone age 5 and up. With this DVD, you and/or your children will learn:

ART HISTORY – Classical Cartooning

ART ELEMENTS – Line, Space and Shape

ART CONCEPTS – Exaggeration and Movement

And you’ll learn these things with very little financial investment. All you will need to buy is the DVD, priced at $14.99. As far as supplies, you will need very little, most of which I would bet you already have around your home! From the website, the supplies needed are:

•Several sheets of plain white paper (any size)

•A #2 pencil

•A pencil sharpener

•Good white or gray kneaded eraser

•A fine point black marker

•A thick black permanent marker

We already had everything except the special eraser, which “The Artist” ended up not even needing to use, he simply used his regular school eraser!

The instructor on the DVD was very personable, and seemed to be very easy to follow as she led the student in creating basic cartoons, using ideas as simple as different vegetables for characters.

Here is “The Artist” watching and creating along with the DVD . . .

Homeschool in the Woods review 003

Unfortunately, the one picture I managed to get of “Mr. Loquacious” did not turn out, so I can’t show it to you. However, I did get some photos of the work both of the boys did, and I CAN show them to you! 🙂

Ms. Knepley starts the student off with the first segment being devoted to creating parts of the face, showing how to make eyes, noses, and mouths in ways that will turn something as simple as the aforementioned vegetables into funny characters. Here is “The Artist’s” practice page . . .

Ian 001

And here is the one that “Mr. Loquacious” did.

Melvin 002

She then continues on with making cartoon characters out of simple vegetable shapes, as I mentioned before. Here are some that “The Artist” did . . .

Ian cartooning 001

And here are “Mr. Loquacious’s” veggie characters!

Melvin 001

Next, Ms. Knepley had a segment on making cartoon faces. Here is what “The Artist” got from this part . . .

Ian cartooning 002

And, since “Mr. Loquacious” was still participating at this point, I have the page he did, as well . . .

Melvin 003

Next, the lessons go into drawing cartoon style people. These are “The Artist’s” practice pages . . .

Ian cartooning 003

Ian cartooning 004

And since “Mr. Loquacious” was still participating at this point, I also have his practice drawings of cartoon style people . . .

Melvin 004

Melvin 005

It was at this point that “Mr. Loquacious” said he didn’t want to do the DVD anymore, and since I had not originally planned on having him do it at all, I figured that it was a bonus just having him doing any of it, and allowed him to stop. He did, however, do one more thing, he made a cartoon drawing on his own, using one of his toy cars, which you can see below.

Melvin 006

After learning to draw cartoon style people, “The Artist” went on to the segment on drawing cartoon style animals. Here we have what he did after watching that part of the lesson.

Ian cartooning 005

Ian cartooning 006

Next, “The Artist” learned about using numbers to create cartoon faces. Here is what he did with the numbers 2, 3, 4 & 5 . . .

Ian cartooning 007

The final segment was on making a comic strip. Here is what “The Artist” did with it . . .

Ian cartooning 008

Ian cartooning 009

“The Artist” enjoyed learning how to do all these things so much that after following along with all the segments on the DVD, he went on and created his own characters using a variety of fruits and vegetables, as you can see below. 🙂

Ian cartooning 010

Ian cartooning 011

Ian cartooning 012

Ian cartooning 013

Ian cartooning 014

Ian cartooning 015

I asked “The Artist” to write down for me what he saw as the pro’s and con’s of the Art Projects: Cartooning with Pat Knepley DVD, and this is what he wrote:

Pros:

I liked all the tips for cartoon speech and thought bubbles for when I plan to make my own comic.

Cons:

Would be better if the whole lesson was separated into multiple segments.
Would be better if you went a little slower when you were showing how to draw the cartoons and characters.

So, overall, I believe this was a pretty good fit for us. I do think that “Mr. Loquacious” would probably have stuck with it to the end if, as “The Artist” pointed out, the lessons were actually separated into segments using a menu and chapters, instead of just one long lesson. The DVD is about 70 minutes long, which was just too much at one time for either of the boys. While “The Artist” was able to go back and forth and finish it, “Mr. Loquacious” became overwhelmed and chose not to finish. With that one change, I think this could be a really good set of lessons. I don’t know if the other DVD’s in this set are arranged as one long lesson the way that Art Projects: Cartooning with Pat Knepley is, but if so, then changing that is the one thing I would suggest to make the series just right. At $14.99, I think this would be a good fit for any homeschool family which includes a budding artist or two!

Check out reviews of this and other See The Light Art Projects by clicking the graphic below!

Photobucket

1 Comment

Filed under education, home education, homeschool products, homeschooling, Kids, Schoolhouse Review Crew Post

Budding Authors Workbooks & 6 Weeks to Understanding Grammar . . . a TOS Review

Three of our four boys have been helping me to review some products from author Joyce Herzog for a few weeks now. My twins, “Mr. loquacious” and “The Puzzler” have been using the Budding Authors Workbooks, and one of my older boys, “The Artist” has been working with the book 6 Weeks to Understanding Grammar.

I’m going to talk first about the Budding Authors set. This set was different from what I expected it to be, as it is simply a set of workbooks with minimal instruction for the parent/teacher. Don’t let that scare you off, however, because they are quite easy to use!

I had my twins working in the first book, which is titled Step Into Writing. In this book, children will be taking first steps in writing sentences and stories. Since my twins have some developmental delays, along with educational delays that resulted from several years in foster care before coming to us for adoption, this was an appropriate beginning point for them. You may download a sample from this workbook here.

At the very beginning of the book is a page and a half section of instruction for the parent/teacher, primarily describing the kinds of pages you will find in the workbook, and how to use them. The first one listed is Copywork, which is exactly what you would expect it to be. Your child will have a short story to copy, the first one consisting of just one easy sentence. Eventually, the short stories for copywork will be five sentences in the Step Into Writing Workbook. Each day, the student’s work should concentrate on perfection, not on time spent. The idea is that the child is to use his or her very best printing, spacing of words for ease of reading, and remembering to include all capitals and punctuation. The author says that at this level, 10 minutes is a reasonable working time for the copywork each day.

The second type of workbook page in this workbook are the dictation pages. There is a page at the beginning of the book for the parent/teacher which will give you the short story to dictate to your child for each page. In my copy, the page giving me the dictation to read to the child began with dictation for page 9, but the first dictation page for the student to complete was actually page 6, so we skipped that and began with the next set of pages. You will be given a very short, simple story to read to the child, and they will then copy it on their workbook page. My boys really had a problem with the way the writing pages are laid out, though. I like them, they are formatted with two lines, similar to another handwriting program I’ve used with my oldest son, but the twins just couldn’t grasp how to write with this type of lines, and asked me to please allow them to use regular primary paper, so that’s what I did. Each workbook page has thin column sections at the far right with the headings “C” for capitalization, “P” for punctuation, and “S” for spelling. There is a fourth column that you can use for whatever other category you feel your child needs to work on. For my twins, I used a ruler to make the columns on their primary paper.

Next, there is the “Experience Story” page after each dictation page. For this page, you and your child discuss the picture at the top of the page, and decide what the story would be about. Then, your child will dictate the story to you, as you write it down for him or her.

My book says there is also a dictionary page, but it was missing from my copy. It is included in the second workbook “Step On Into Writing”, which we will move on to when we have completed Step Into Writing.

This set of workbooks is very nice, although as I said before, my boys didn’t care for the format of the lines for writing. If we continue using it, we will use regular primary paper for their writing. This set of workbooks is, in my opinion, perfect for anyone who enjoys the Charlotte Mason method of homeschooling. In our family, we use a mix of Charlotte Mason, unschooling, unit study and lapbooking, so the idea of this set is one that works for us at this time. You can purchase the set of Budding Author Workbooks at the following prices:

Step Into Writing – $10.00

Step On Into Writing – $10.00

Adventures In Writing – $10.00

Then And Now – $12.00

Writing US History – $15.00

As I said before, I had “The Artist” going through Joyce Herzog’s 6 Weeks to Understanding Grammar.

This is a small book, 40 pages in length, and much to my surprise turned out to be mostly review for “The Artist”, so what I ended up doing with it was to read it myself, simply to learn how to teach basic grammar to my younger boys when they are ready. The author has made it extremely simple to teach using this little book and some writing paper! You may download a sample of this book here. From the website, This book “follows the teaching style of a hundred years ago: state it simply and give an example.” This little book very easily clears up grammar confusion, and is available here for $12.00.

I think these books are at a good price, and will help your “Budding Authors” on their journey as writers!

Here is “The Puzzler” doing copywork . . .

015

And “Mr. Loquacious” doing the same!

014

And a quick shot of “The Artist” working on grammar! 🙂

021

To see what other crew members thought of this and other products from Joyce Herzog, please click on the graphic below

Photobucket

2 Comments

Filed under education, home education, homeschool products, homeschooling, Kids, Schoolhouse Review Crew Post

Home School in the Woods . . . a TOS Review

My kids have enjoyed learning with lapbooks ever since we discovered them several years ago, so when I got the chance to review a lapbook package from Home School in the Woods, I grabbed for it!

Home School in the Woods has long been well-known for their Timeline figure sets, Timeline Notebook and Olde World Style Map Sets, but I have to say that judging by the one we got for our review, they have also really hit the mark with “ready to go” lapbooking! Amy Pak and her family do live in the woods, and because she didn’t care for the thought of teaching history, she decided to use timelines. Eventually falling in love with the topic, she began to create timeline figures that are realistic. You can read more about Amy Pak and her family here.

We had to choose between:

Hands-on History Lap-Pak: The 20th Century in America

Great Empires

and

Hands-on History Activity Pak: Composers

I decided that I really wanted to focus on American History with this one, so we chose to request the Hands-on History Lap Pak: The 20th Century in America.

Because I thought it might be beyond the capabilities of my other three children at this time, I decided to have “The Artist” be the student this time around, deciding with him that he could “do” the Lap-Pak projects and create the lapbook, and we would, at a later time, use his finished product as an educational tool for everyone. Once he got started doing the projects, he decided that they were a lot of fun, and he was learning cool, creative things (like learning how to make a pop-up card because of one of the first few projects), and really went with it, with MUCH more enthusiasm than I’ve seen for other educational endeavors. 🙂

For this review, I received the Hand-on History Lap-Pak: The 20th Century in America as a download product. In my download were files for the following:

Booklet directions
Introduction and lists of additional resources that can be added for deeper study
Project assembly directions
Lapbook assembly directions
Reading text pages, to either print as a booklet or on 8 1/2 x 11 paper for a notebook
Lapbook project masters

The download version of Hands-on History: The 20th Century in America is available for $21.95, or you can purchase it on a CD for $22.95. Since I personally am not skilled in the art of waiting (my personal motto appears to be “instant gratification takes too long”), if I were purchasing this or any other downloadable vs. CD product for our home-schooling, I would most likely always choose the downloadable version. 🙂

This download gives you a very complete unit study, which touches on so very many important historical events, movements, topics, and/or people. You can use the lists of additional resources, and take a much longer time with this unit by “digging deeper” into each subject, or you can do the entire thing “as is”, because everything, and I do mean everything, that you need is included.

Here is our “project center”, all printed out and kept neatly in a three-ring binder and in the actual file folder we would ultimately use for the lapbook, until each page was needed (the only “extra” in the photo is the colorful booklet tucked into the binder pocket. This is a list of the missionaries supported by our church, because we decided to use it for the Modern Missionaries project) . . .

001

“The Artist” really enjoyed the “putting together” aspect of the projects, but often needed to be reminded to read the text first, and then to go back to the text for his research, so he would know what sort of information to write into each project. In fact, we discovered while assembling the final lapbook that he had completely skipped reading the text and writing information into the project on music, so after completely finishing the assembly, he went back and read that portion of the text, and wrote in the information needed. 🙂

Here are some photos of “The Artist” working on individual projects for the lapbook . . .

002

003

004

007

Homeschool in the Woods review 004

And here is a photo of the completed individual projects, waiting to be put into the assembled lapbook . . .

Homeschool in the Woods review 005

Really, we liked all of the individual projects, although he had a problem with the project for “Slang Terminology”, because the pocket as printed out and assembled was not large enough to hold all of the printed cards and still be able to be adhered to the lapbook. “The Artist” worked around that by making a separate backing out of the same color of cardstock, so that there would be something to adhere! The only other issue in my opinion, was with the Modern Missionaries project. It is a beautiful little booklet when completed, but it is really beginning to bother me more and more that Christian home education companies seem to be completely disregarding the use of the 1611 King James Version of the Bible when there are Bible verses used. I’m usually having to measure the area and print out the KJV version, hoping that it won’t look like a bad patch job (which, of course, it usually does). I realize that the King James Version has fallen out of favor in a lot of circles, but there are still an awful lot of us who use it exclusively, and would appreciate having it included as an alternative option in the print outs. Other than these two things, we are VERY pleased with this lapbook, both the building of it and the completed product! “The Artist” is excited about the plan to use it later on as an educational tool, adding in the resources for “digging deeper”, and learning as much as we can from it. 🙂

Here are photos of “The Artist” proudly showing off his completed Lap-Pak . . .

Homeschool in the Woods review 009

Homeschool in the Woods review 013

Homeschool in the Woods review 014

Homeschool in the Woods review 016

Homeschool in the Woods review 017

Homeschool in the Woods review 018

Homeschool in the Woods review 019

Homeschool in the Woods review 020

Homeschool in the Woods review 021

Homeschool in the Woods review 026

Homeschool in the Woods review 023

Homeschool in the Woods review 027

Didn’t he do a great job? After discussing it further, we’ve decided we might like to also do the Hands-on History Activity Pak: Composers, and eventually the Great Empires, because “The Artist” so enjoyed putting together the Hands-on History Lap-Pak: The 20th Century in America.

We enjoyed this product, and I think you might, as well!

To see what other Schoolhouse Review Crew members thought of this and other products from Home School in the Woods, please click below . . .

Photobucket

Leave a comment

Filed under education, History, home education, Home School In The Woods, homeschool products, homeschooling, Kids, Lapbooking, Schoolhouse Review Crew Post

“Q” is For . . .

Quiet, which I will have in just a few minutes when the kids go off to bed. Don’t get me wrong, I love my kids very, very much, but sometimes, you just need some quiet. Here’s to it! 🙂

Leave a comment

Filed under Blogging From A to Z April Challenge 2013, Kids

Sacagawea (Brave Explorers Every Child Should Know) . . . A TOS Review

For the past several weeks, my children have been enjoying a wonderful read aloud using Sacagawea (Brave Explorers Every Child Should Know), by Karla Akins, published by Knowledge Quest.

This is our first experience with this company, but I doubt it will be our last! Knowledge Quest is well-known for a wealth of geography and history materials, but I didn’t know they also had published e-books such as the one my children have just completed.

Sacagawea (Brave Explorers Every Child Should Know) would be an excellent book in and of itself, but the way Knowledge Quest has published it goes beyond just giving us a book. This is an interactive book, so it has links all through the story. It is available from Amazon.com for $4.97.

Sacagawea (Brave Explorers Every Child Should Know) is a very well written book, in which we learned a lot more than we ever knew about Sacagawea. We also gained more information about the Lewis and Clark Expedition as a result of reading this book, and plan to go back and add in a free CD unit study about that expedition which I have had for a few years, and simply had not yet gotten around to using.

This book is written for children age 10 and above. My kids are above age 10, but they (most of them, anyway) really liked it. In the case of “The Batman”, he was frequently wanting to be done with it for the day so he could go back to something that interested him more, but he’s all about his sports cards, Nintendo 3DS, and the Hardy Boys series right now . . . )

In the book, Sacagawea is telling the story to her son, Pompey, although at times, it seems as though it switches to a different perspective. For example, sometimes, instead of speaking TO her son, it’s as if she is telling the story about Pompey to someone else.

Most people likely know the basics of Sacagawea’s story, she was stolen away from her Shoshone tribe, and taken to be with the Mandan Tribe. She was given to a trader as his wife, and eventually went as a translator and guide on the Lewis and Clark Expedition. We found out a lot in the story about her relationship with her son, and her relationship with her husband, as he treated her like one of his belongings. I believe, through hearing my kids reading this book, that Sacagawea got to learn what it was like to be treated with respect when she went on the expedition with Lewis and Clark. It was amazing though, how much more detail we were able to get from this e-book, and the interactive links! Although the author did have to take literary license in order to create dialog, it is still a very educational read. It is what many who teach with the Charlotte Mason method would call a “living book”.

I asked “The Artist” to read this book out loud to the other three boys, which at first, although “Mr. Loquacious” and “The Puzzler” were into it, “The Batman” was definitely NOT. Until, that is, they started seeing the links in the story. When there was a link, “The Artist” would click on it, taking them out of the e-book to see a picture, or a description of what was being talked about in the story, or sometimes, it would simply be more information about the person being referred to in that part of the story. THAT perked up “The Batman’s” interest, he seemed to enjoy it when they got “more to the story” that way.

My kids thought the description in chapter 15, where the men were jumping from the cold river to the hot springs, and back again over and over, was really funny, and went to look at the link. Another one that they were really excited about was when “Man With Red Hair” (Clark) did the following: “On the side of the rock he wrote his name beside other pictures drawn by the ancient ones“. They were so excited, they called me to the table to see, because we have been to the National Petroglyph Monument Park, here in New Mexico.

I myself found the following note by the author, at the end of the book, to be of great interest, as I did wonder about the different spelling of Sacagawea’s name, different from the one I grew up seeing:

“Some may wonder why I have chosen to spell her name with a “g” instead of a “j.” One reason is because that is the way it was spelled in the Corps’ journals. Another reason is because that is how it was pronounced when Captains Lewis and Clark met her. Her name in Hidatsa language means “bird woman.”
The “j” spelling occurred after the editor of the 1814 narrative of the journals, Nicholas Biddle, transcribed it as a “j” instead of a “g.” No one knows why. He had never met Sacagawea and therefore did not know that she herself pronounced her name with the hard “g” sound in the middle.
While some historians have tried to prove that the “j” in the name is a Shoshone word meaning “boat pusher,” Dr. Sven Liljeblad, professor of linguistics, emeritus, at Idaho State University in Pocatello, analyzed the word “Sacajawea” and concluded that “it is unlikely that Sacajawea is a Shoshoni word….The term for ‘boat’ in Shoshoni is saiki, but the rest of the alleged compound would be incomprehensible to a native speaker of Shoshoni.”

Here is a video of “The Artist” reading from Sacagawea (Brave Explorers Every Child Should Know)

Overall, we really liked the interactive e-book Sacagawea (Brave Explorers Every Child Should Know), finding it to be a fun way of being educated further about Sacagawea, Lewis and Clark, and the time in which they lived. We think that Knowledge Quest is a company that is well worth exploring for our future home-school endeavors!

Many of the crew members reviewed this e-book, while others reviewed the Timeline Builder App, also from Knowledge Quest. Please, click below to find out what they all thought, too!

Photobucket

1 Comment

Filed under education, home education, homeschool products, homeschooling, Kids, Schoolhouse Review Crew Post, Uncategorized

“N” is For . . .

Number! As in the huge number of things going on around here this week! First, we have the Biblical Music Conference at our church, which began this past Sunday morning, and concludes tomorrow evening. It has been FANTASTIC so far . . . please, go here to listen to what we’ve been learning about!

Tonight, I am singing the special before the message, so I will not be eating the meal beforehand, as the menu tonight is green chili cheese burgers and hot dogs. I’m far enough out from my gastric bypass that I can handle a cheeseburger most of the time, but I just know that if I try it on a night I have to sing, I WILL get sick, so I’m just not taking the chance.

For the meals being served before the evening sessions, I’ve been making desserts. Last night I made cherry/chocolate cake, and today I made my “Totally Bad For You” (aka chocolate/peanut butter) cake. Tomorrow I’m making pineapple upside down cake, plus a casserole for the potluck.

Then Thursday is the beginning of our state homeschooling convention, and I will be attending that Thursday afternoon, all day Friday, and then Saturday morning.

Thursday morning, before going to convention, I need to go to Maurice’s in the mall to return a dress that my husband didn’t approve of, stop at Barnes and Noble to pick up a book for “The Batman”, along with finding birthday gifts for “Mr. Loquacious” and “The Puzzler”, and get to the convention. And get lunch in there somewhere.

I need to finish writing a review of an e-book my kids just finished as a read aloud, and get that posted.

And then, there is the never-ending Mount Wash-more . . .

So I have a NUMBER of things going on this week!

Leave a comment

Filed under Birthdays, Blogging From A to Z April Challenge 2013, Christian faith, education, home education, Kids

“L” Is For . . .

Love . . . first, the biggest and best love, the love that God had for me, that He would send His only begotten Son, to sacrifice Himself to cover my sin. It just amazes me, that God would do that. For me. It’s so hard for me to understand how there can still be any people who would reject that love, that gift . . .

Love . . . that I feel for my husband of nearly 23 years. It hasn’t always been perfect, but I love my husband, and I’m so glad he’s still here, that he survived his surgeries, and is still here with me and our children.

Love . . . that I feel for each one of my children . . . I did not conceive or give birth to any of the four of them, but I could not love them any more if I had done so.

My life would be empty without these loves in it . . . I’m so very glad they ARE in it!

Leave a comment

Filed under adoption, Blogging From A to Z April Challenge 2013, Christian faith, family, Kids